Crock Pot Chicken Wild Rice Soup
January 30, 2014
It has been yet another busy week; some later nights at work, things that have to get done at home, and lots of volleyball in the evenings for me (I can’t complain about that though!) We try every week to plan out dinner for each night and try even harder to stick with it. But, these busy weeks make it easier to say “let’s get takeout” instead of putting the effort into cooking a healthy meal. I do love using the crock-pot when I can, especially since dinner is all done by the time we get home! I often swap recipes with a friend of mine, and he sent me a lower calorie version of chicken wild rice soup, with milk instead of cream. We thought this week would be the perfect week to test out the recipe. You would never have know it was made without the cream! The soup turned out very hearty and creamy.
Crock Pot Chicken and Wild Rice Soup
2 Tbs butter
1/2 small onion, chopped
2 celery stalks, chopped
2 small carrots, chopped
salt & pepper to taste
2 garlic cloves, minced
1/2 tsp dried thyme
8 c chicken broth (we used low sodium)
1 rotisserie chicken, shredded (you could also use 2 chicken breasts, shredded)
3/4 c wild rice blend
1 c milk
1/4 c flour
1. Melt the butter in a large frying pan over medium heat. Add onion, celery and carrots, season with salt and pepper, and saute until tender (about 10 minutes.)
2. Add garlic and thyme and saute for another minute. Add finished veggies to the crock pot.
3. Shred the meat from the rotisserie chicken, add to the crock pot.
4. Add the chicken broth and wild rice blend to the crock pot. Stir well to mix everything together. (Don’t worry if you think 8 cups is a lot of chicken broth, the rice will absorb a lot and it will cook down)
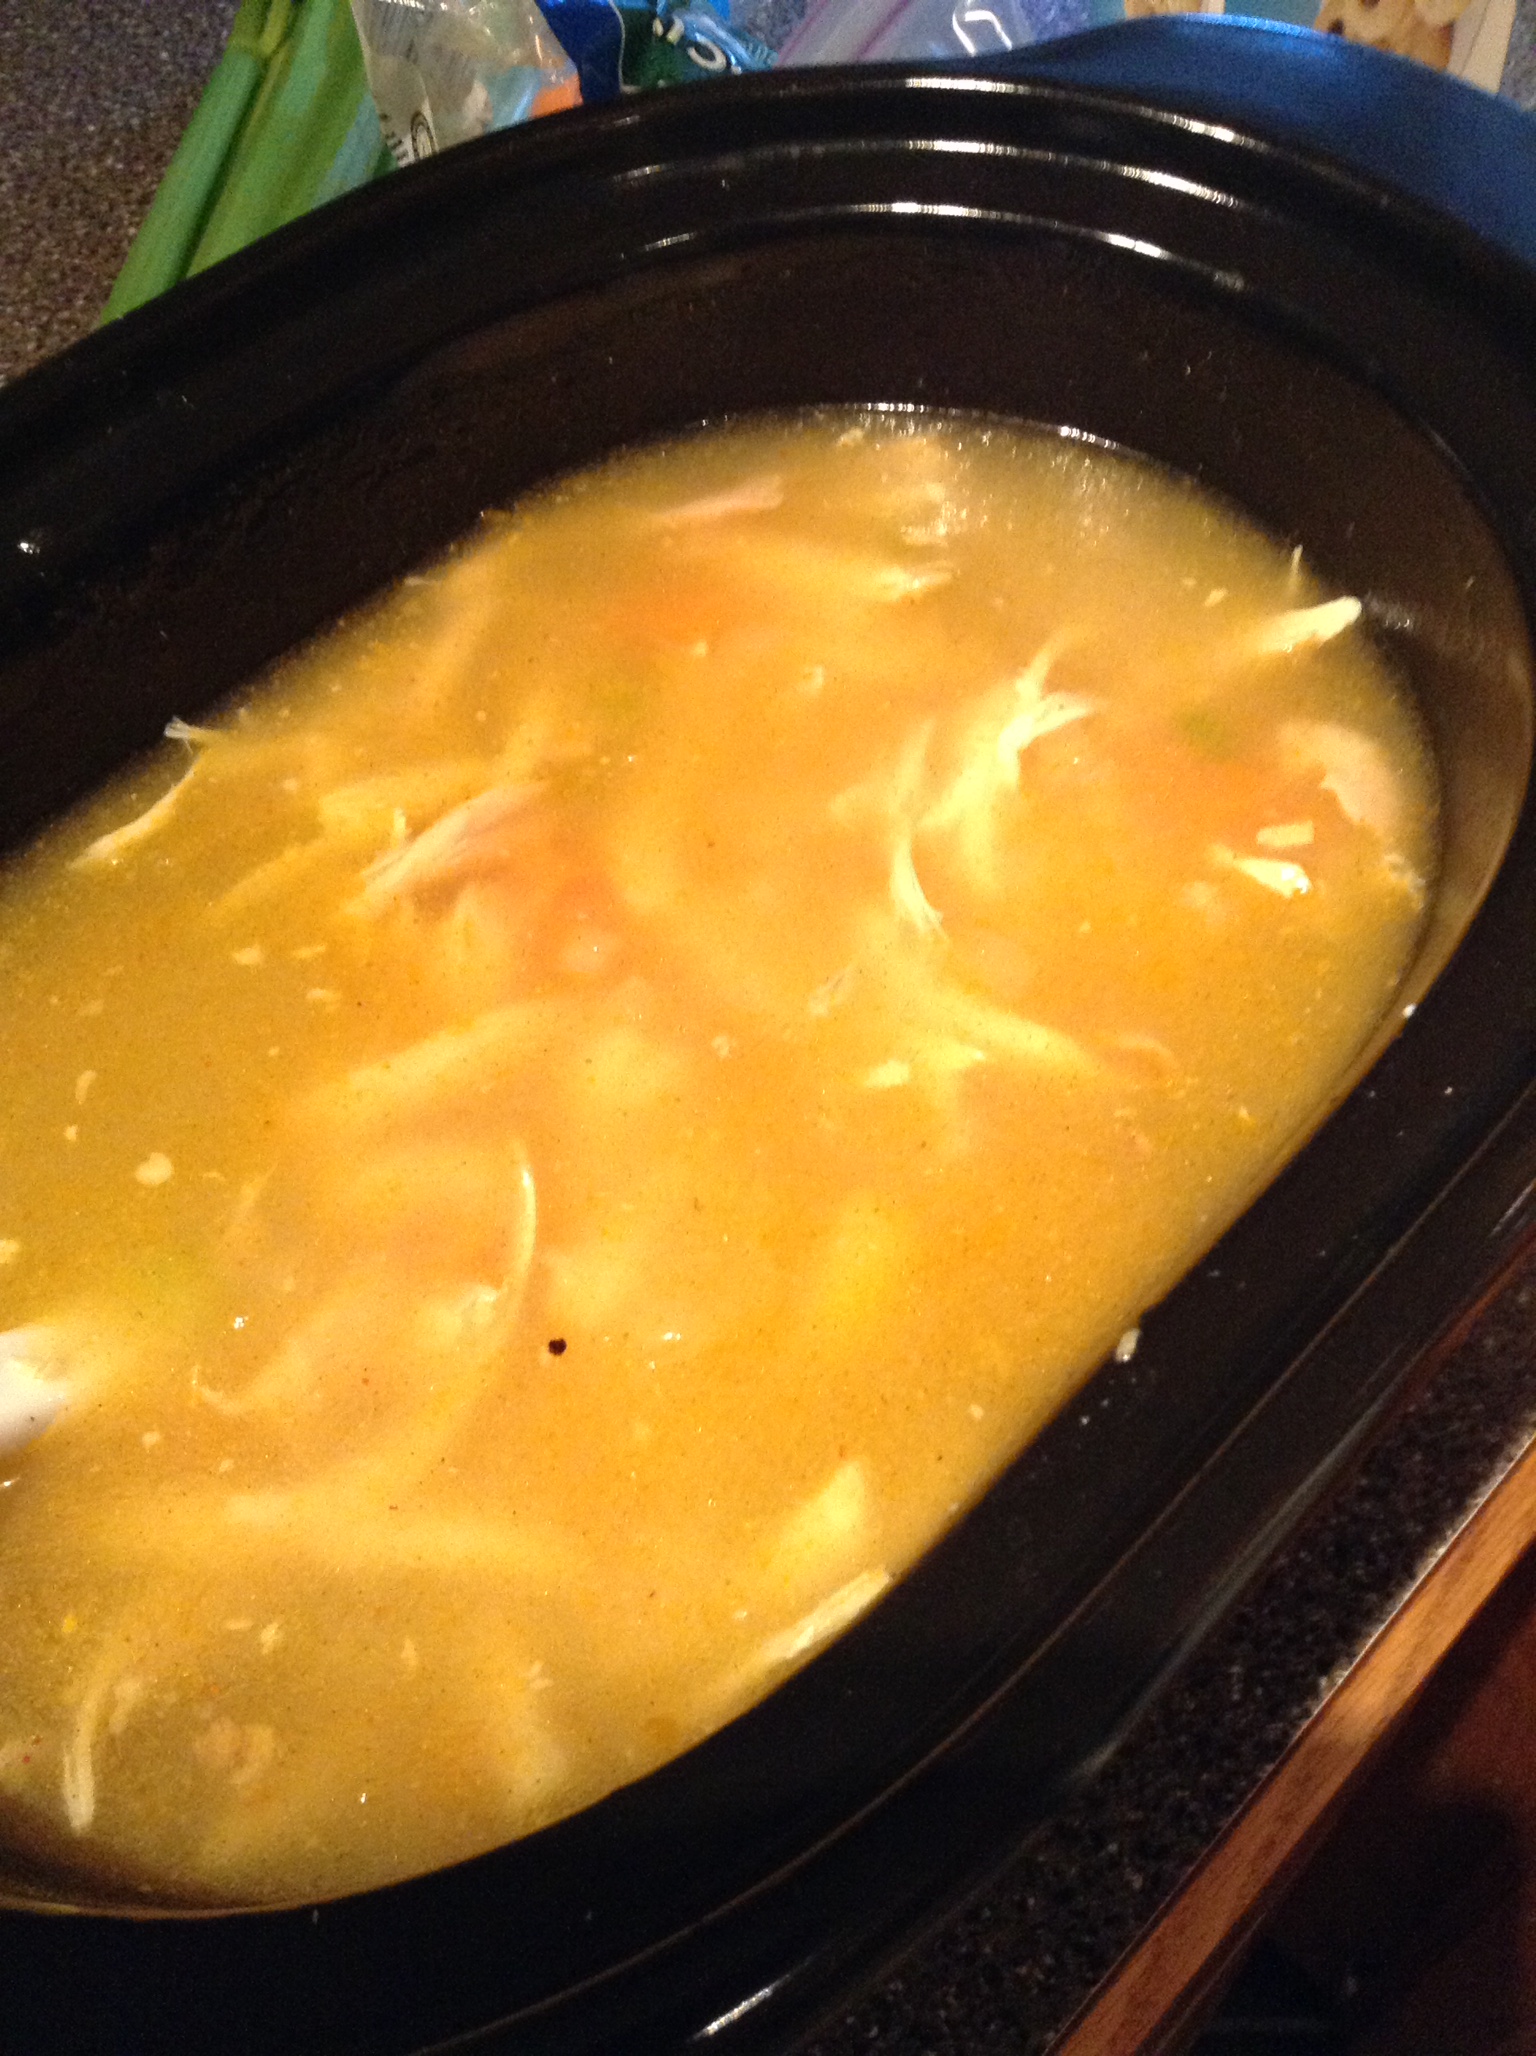
Everything mixed in the crock pot!
5. Cook on low for 8 hours.
6. In a small bowl, whisk together 1/4 c of milk with the flour until smooth. Add remaining milk. Slowly stir into the crock pot. Turn the crock pot to high for 10 more minutes, stirring occasionally.
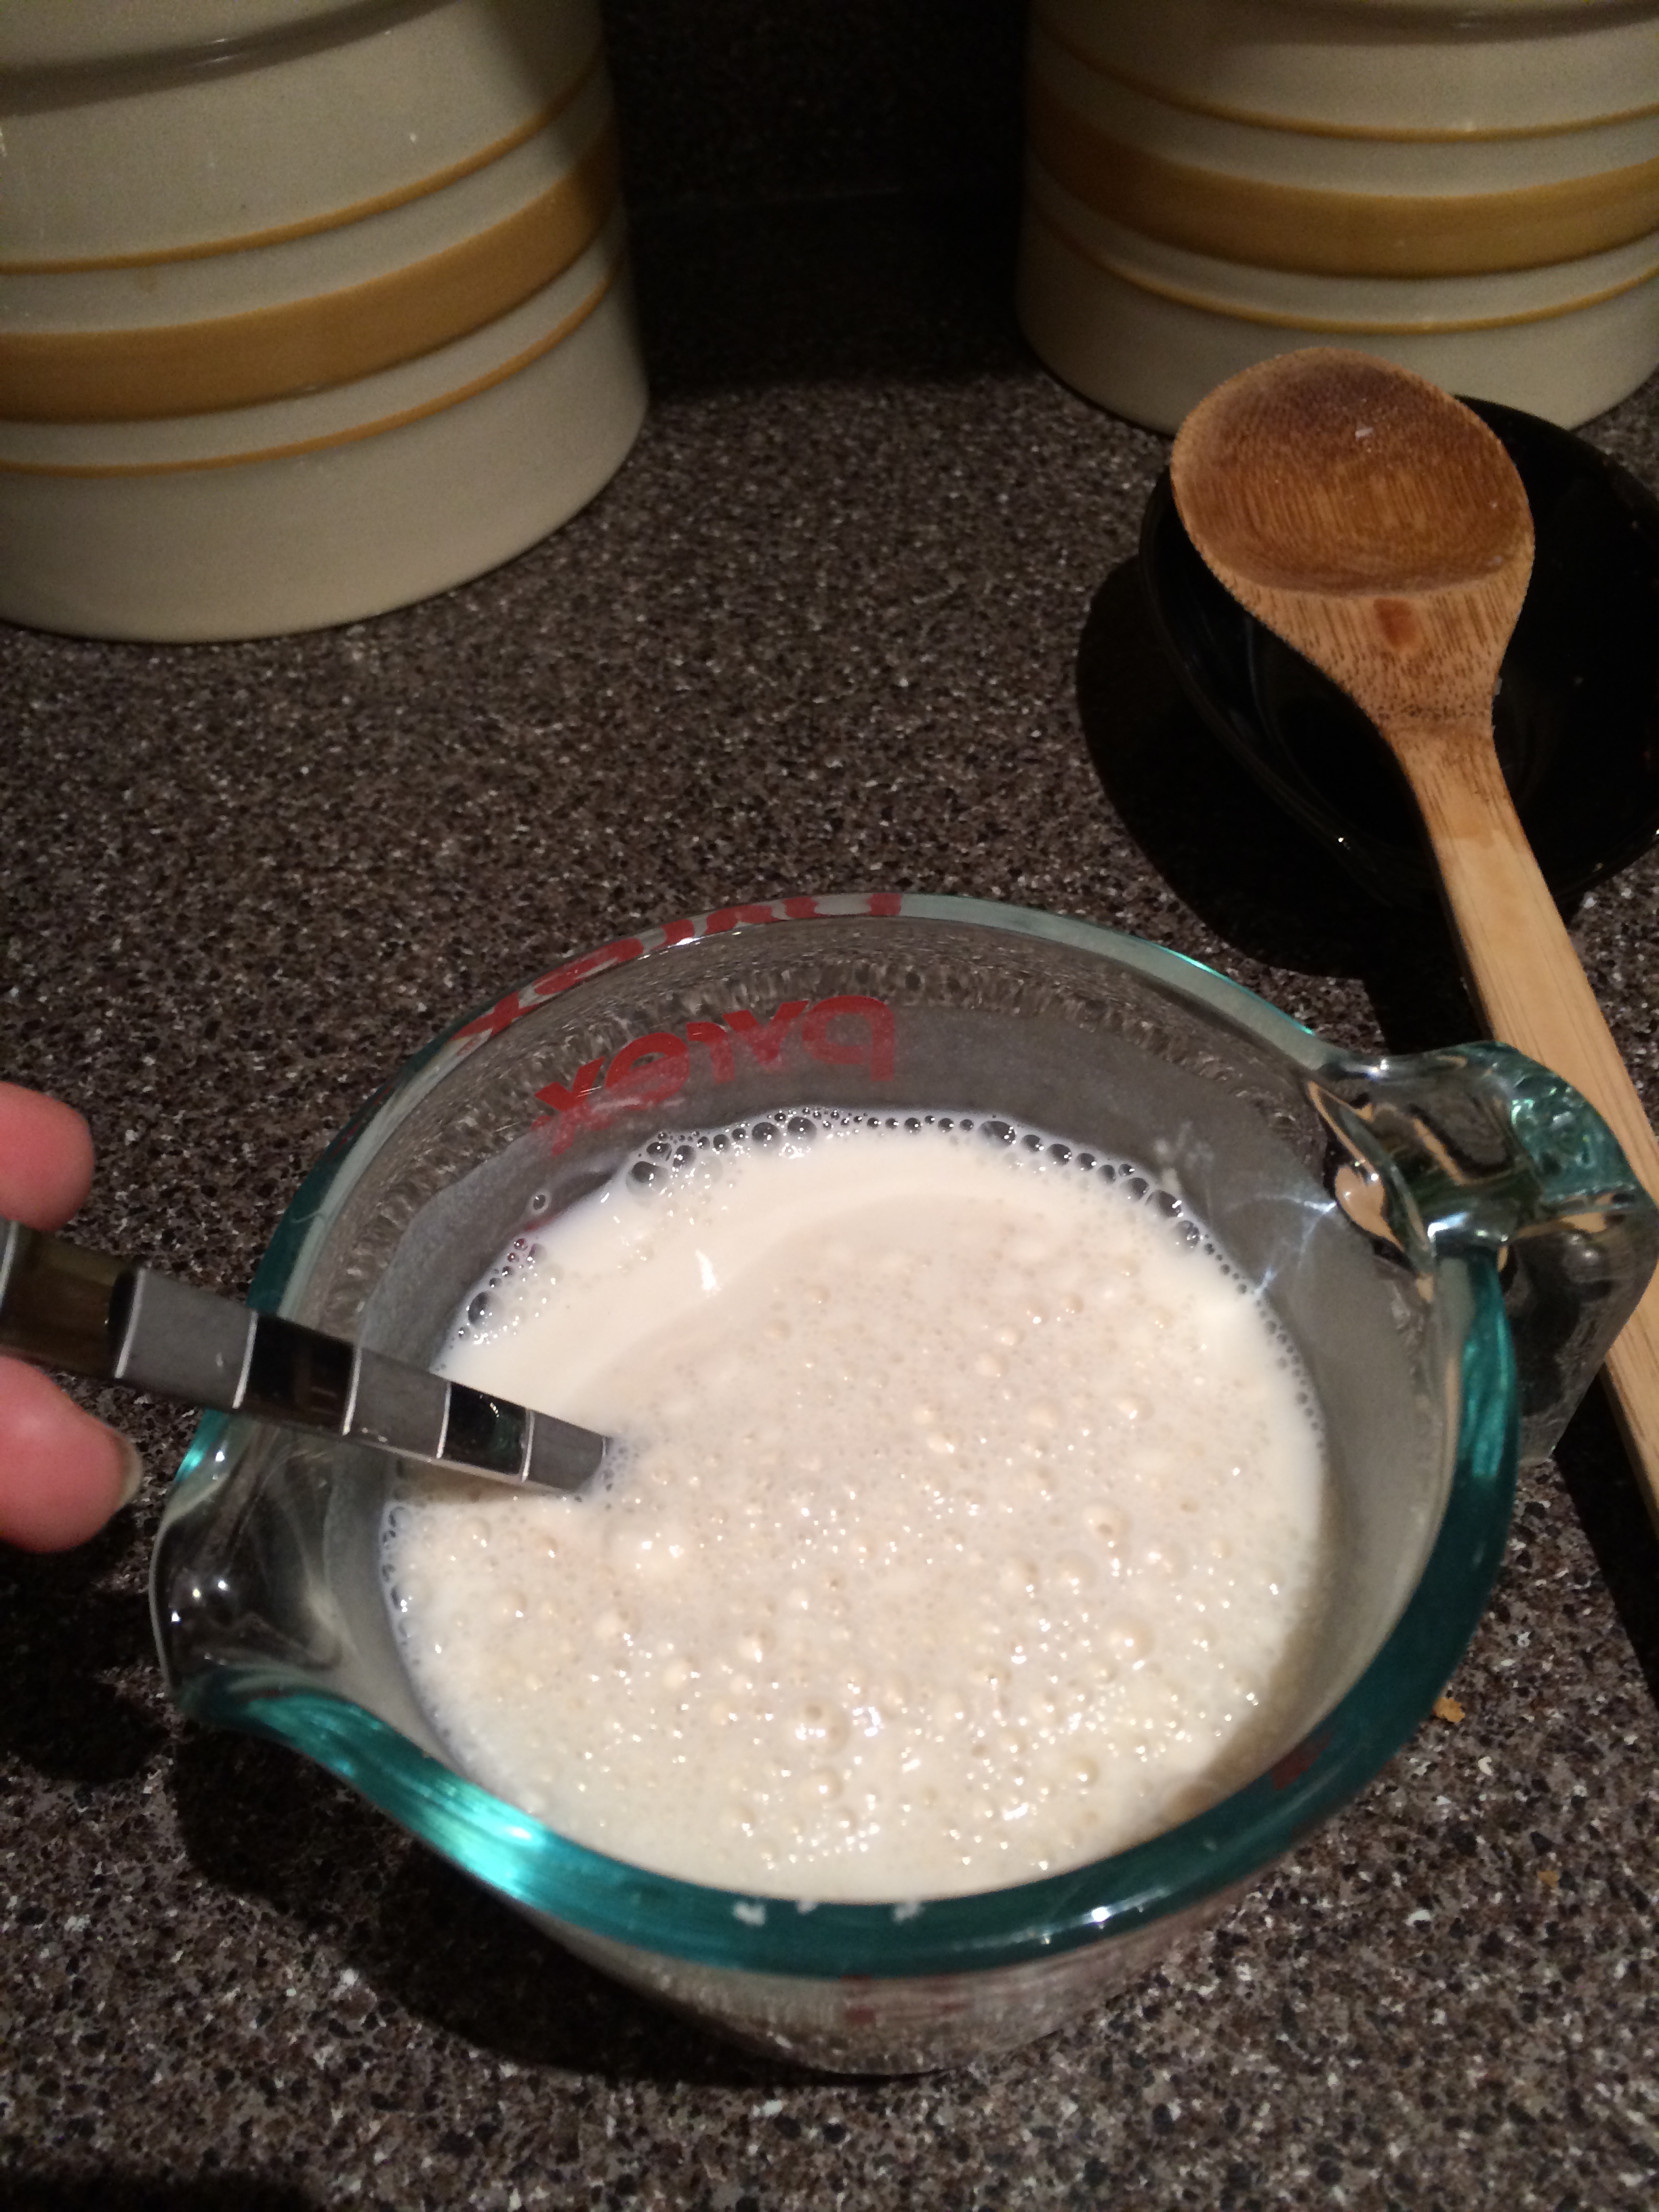
Slowly mixing together the milk and the flour
7. Serve and enjoy!
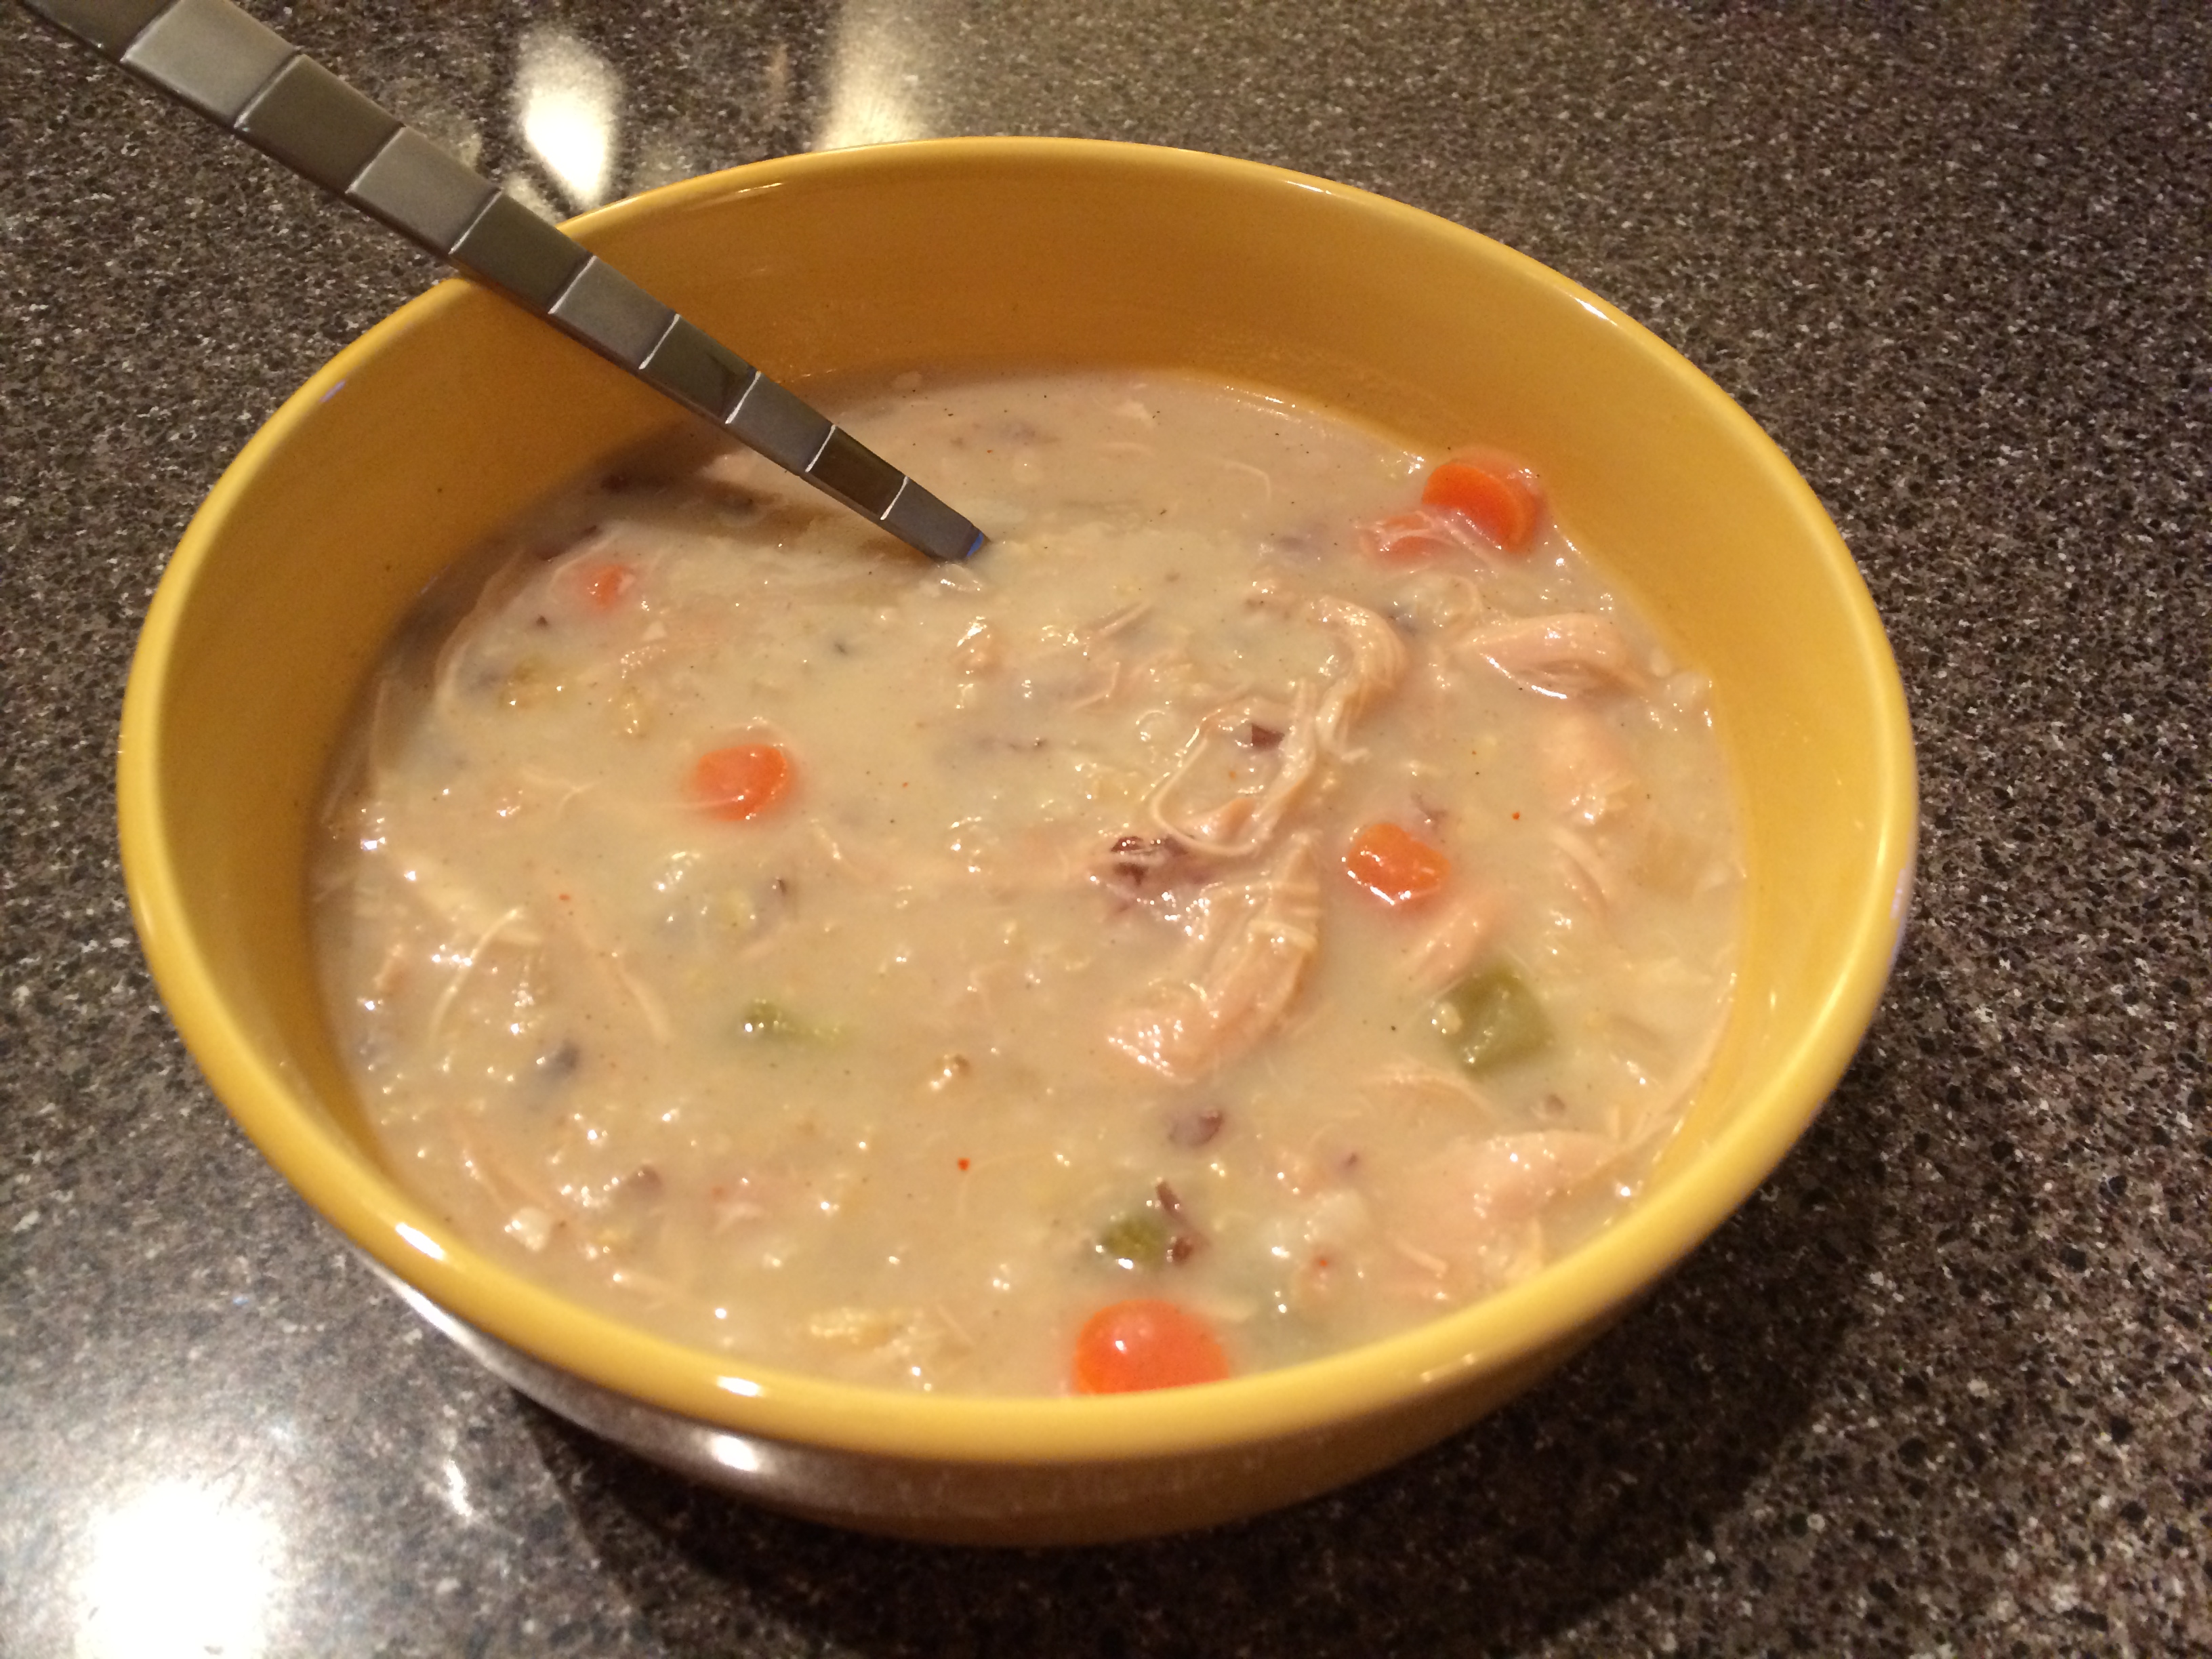
Chicken Wild Rice Soup!
I sauteed the veggies and mixed everything together (minus the flour/milk) the night before we were planning on cooking the soup. The next day we let the crock pot do all the work and mixed the flour/milk in right before we were ready for dinner, so prep time was not bad at all! I think it took us about 20-30 minutes the night before, with all the chopping, sauteing and shredding.
Now I compare all chicken wild rice soup to a restaurant called Grandma’s up in Duluth, MN. In my opinion they make the BEST version of this soup I have ever had. But since Duluth is a little too far away, we’ve been trying to find a recipe that we could make at home that was close to Grandma’s. We both loved the way this recipe turned out. It was creamy, hearty, tasted delicious and the best part, it was lower in calories! I’m excited for the leftovers too, especially since we are in for another visit from the Polar Vortex! What are your go-to crock-pot soup recipes?
-LG
Sweet Potato Gnocchi with Balsamic Brown Butter Sauce
January 20, 2014
I’m just going to be upfront with this…I love gnocchi. My mom said it was one of my favorite things to eat when I was little. How can you go wrong with potato, flour and cheese? The best gnocchi I ever had was in Vernazza, a little town in the Cinque Terre region of Italy. I’ve tried a couple of times to make gnocchi at home since then and failed miserably each time…the first time I had really lumpy gnocchi and the second time I had a pile of mush. So I’ve been a little shy about trying gnocchi at home again, but when my co-worker sent me this recipe for a sweet potato gnocchi with a balsamic brown butter sauce, I had to give it a try. I mean, third time’s the charm right?
Sweet Potato Gnocchi with Balsamic Brown Butter Sauce
For the gnocchi:
2 red-skinned sweet potatoes (about 1 lb)
1 15oz container of ricotta, strained in a sieve/colander for 2 hours
1/2 c grated Parmesan cheese
1 tsp salt
2 to 2 1/2 cups (maybe more) all-purpose flour
For the brown butter:
8 Tbs (1 stick) unsalted butter
1/4 c loosley packed sage leaves
3 Tbs balsamic vinegar
1/4 tsp salt
1/4 tsp black pepper
Parmesan cheese, for serving
Make the gnocchi
1. Wash the sweet potatoes, prick all over with a fork and microwave them using the baked potato button. (You could also microwave on high about 5 minutes per side) You want the sweet potatoes to be tender.
2. Cut the potatoes in half, and scoop the flesh into a large bowl. Thoroughly mash the sweet potatoes.
3. Add the ricotta, stirring until thoroughly combined. Stir in the Parmesan and salt.
4. Begin to add the flour, 1/2 c at a time until a soft, pliable dough forms. Have patience here! Sweet potatoes vary in the amount of moisture they contain, so the amount of flour you will need might vary. But, the trick is not to add too much flour, otherwise your gnocchi will be very dense. After adding about 1 1/2 c of flour I started using my hands to mix the flour in. It made it easier to mix and feel when the dough got to the “soft, pliable” point.
5. Shape the dough into a large ball.
6. Flour a baking sheet and set it aside.
7. Flour your work surface and divide the dough into 6 equal portions. Take one portion and roll it onto your work surface using your hands until it’s about 20 inches in length. Cut about 1 inch pieces to form each gnocchi and transfer them to the floured baking sheet. Repeat with the remaining 5 pieces of dough.
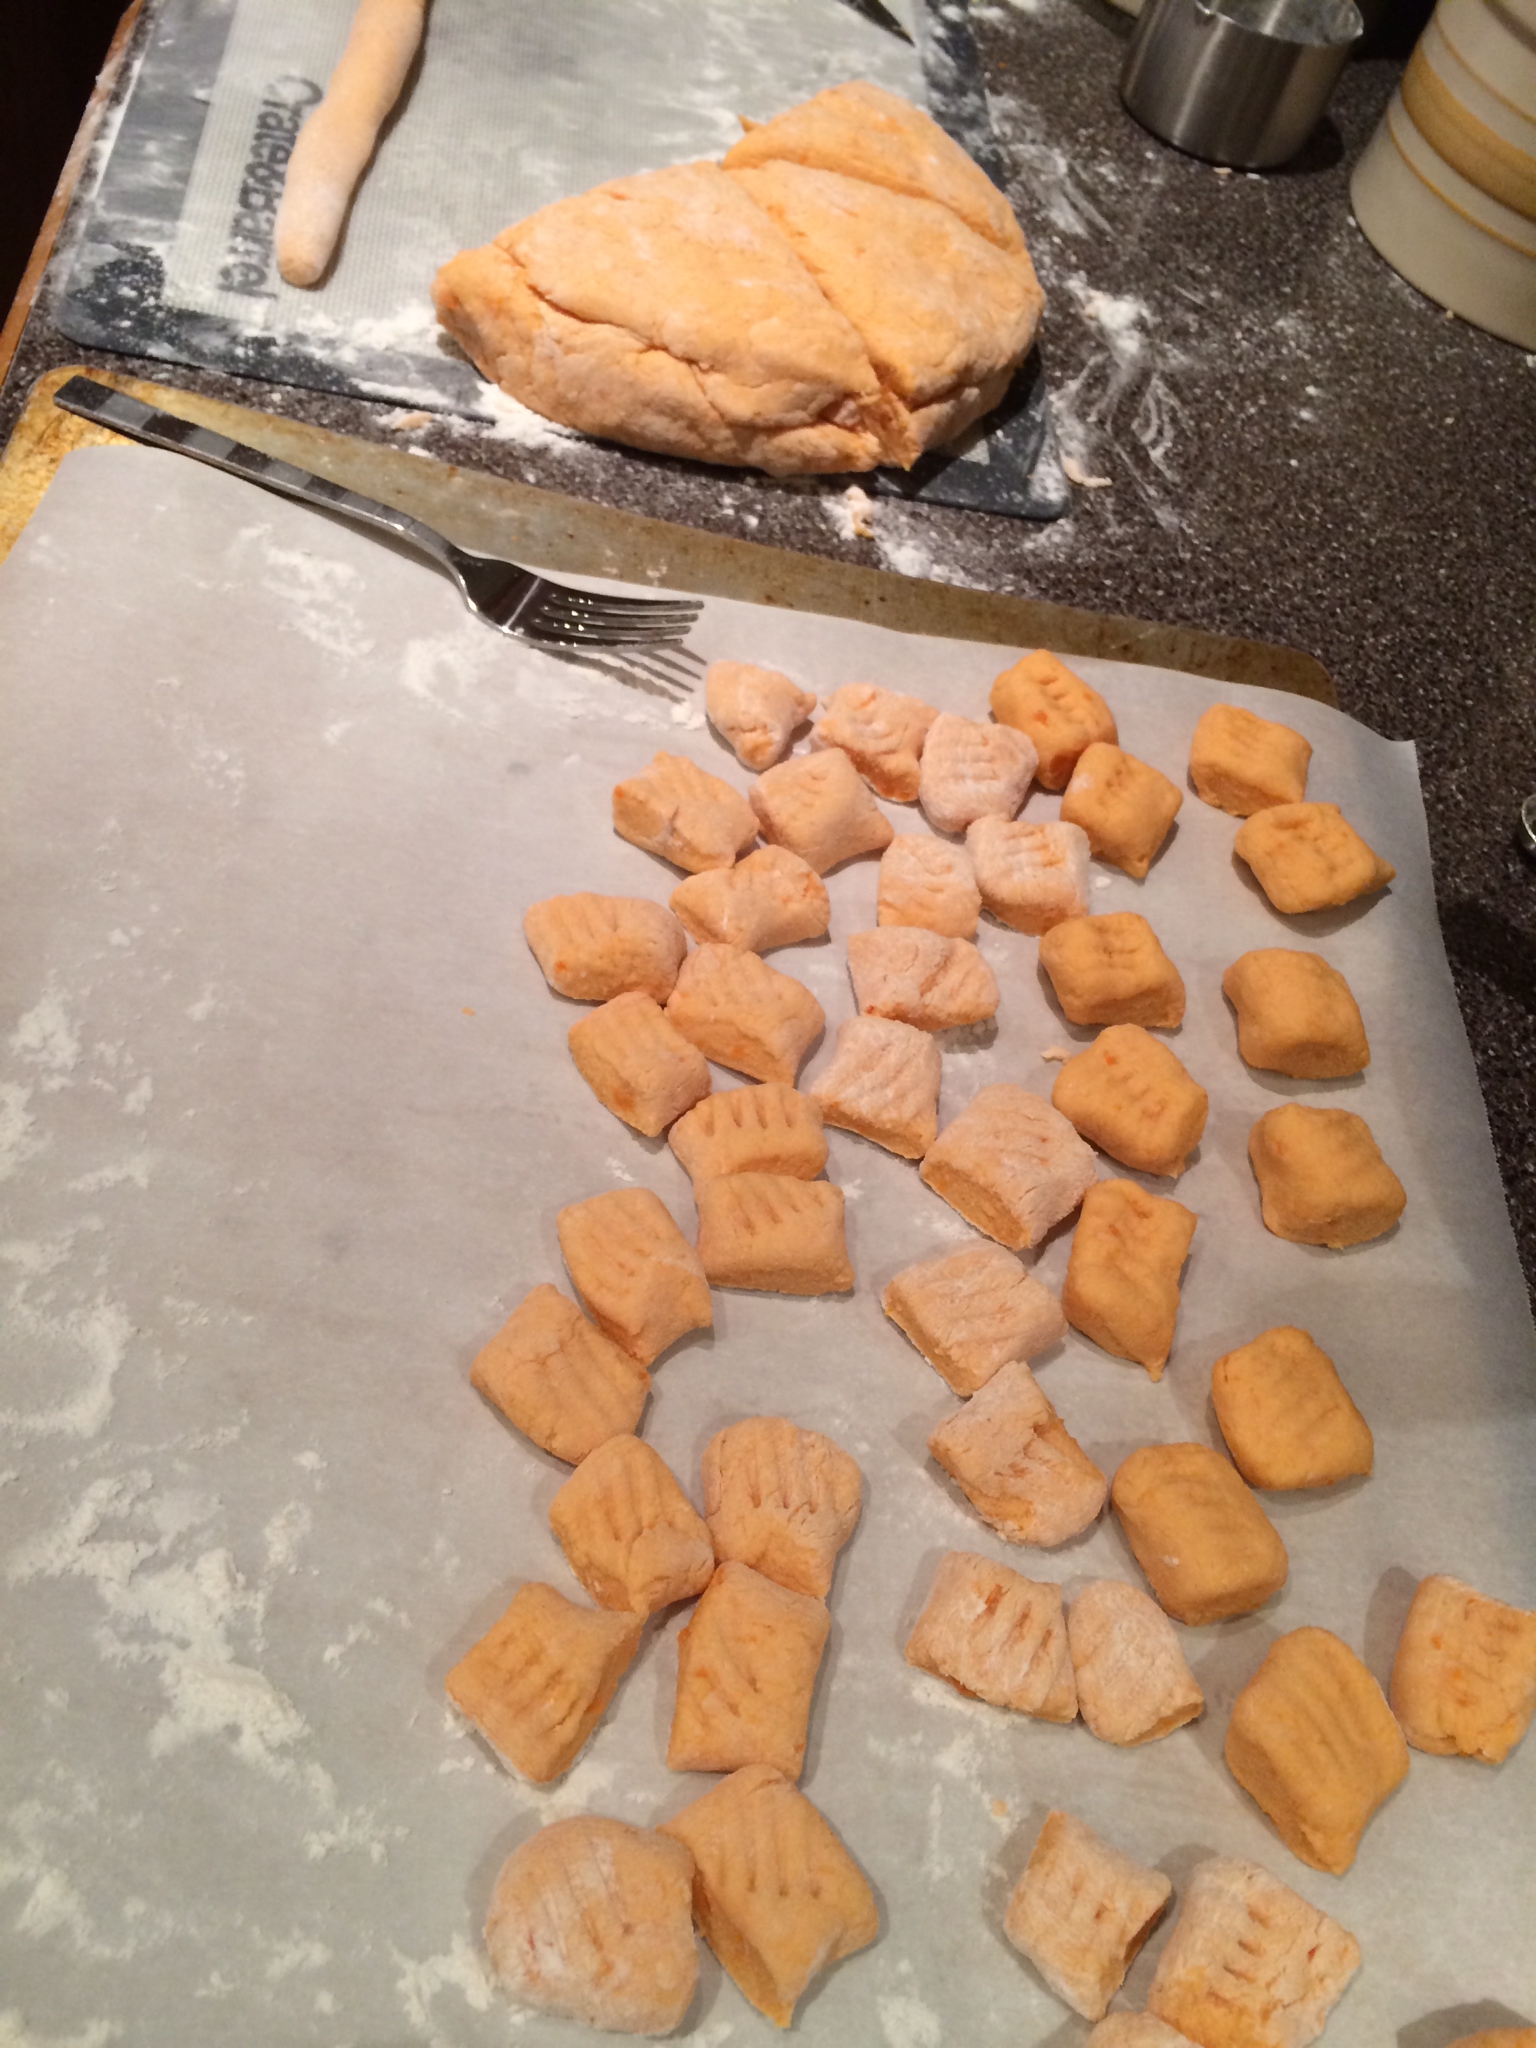
Cutting the little gnocchi
8. Using the tines of a fork, press each gnocchi to form little indentations.
Make the brown butter
1. Bring a large pot of water to a boil while you’re making the sauce. I like to add a little olive oil to the sauce to keep the pasta from sticking. The sauce will cook in about the time it takes the water to boil.
2. Melt the butter in a medium saucepan over medium heat. Stir occasionally.
3. Cook until the foam subsides and it begins to turn a golden brown color (about 3 minutes)
4. Turn off the heat and add the sage leaves, cook for about 1 minute.
5. Remove the pan from the stove and stir in the balsamic vinegar, salt and pepper. Save to toss with the warm gnocchi.
Cook the gnocchi
1. When the water is boiling, add a portion of the gnocchi to the boiling water and stir.
2. Let the gnocchi cook until the float back up to the top, about 1 minute. Be careful not to let the gnocchi cook too long! They’ll take on water and get mushy.
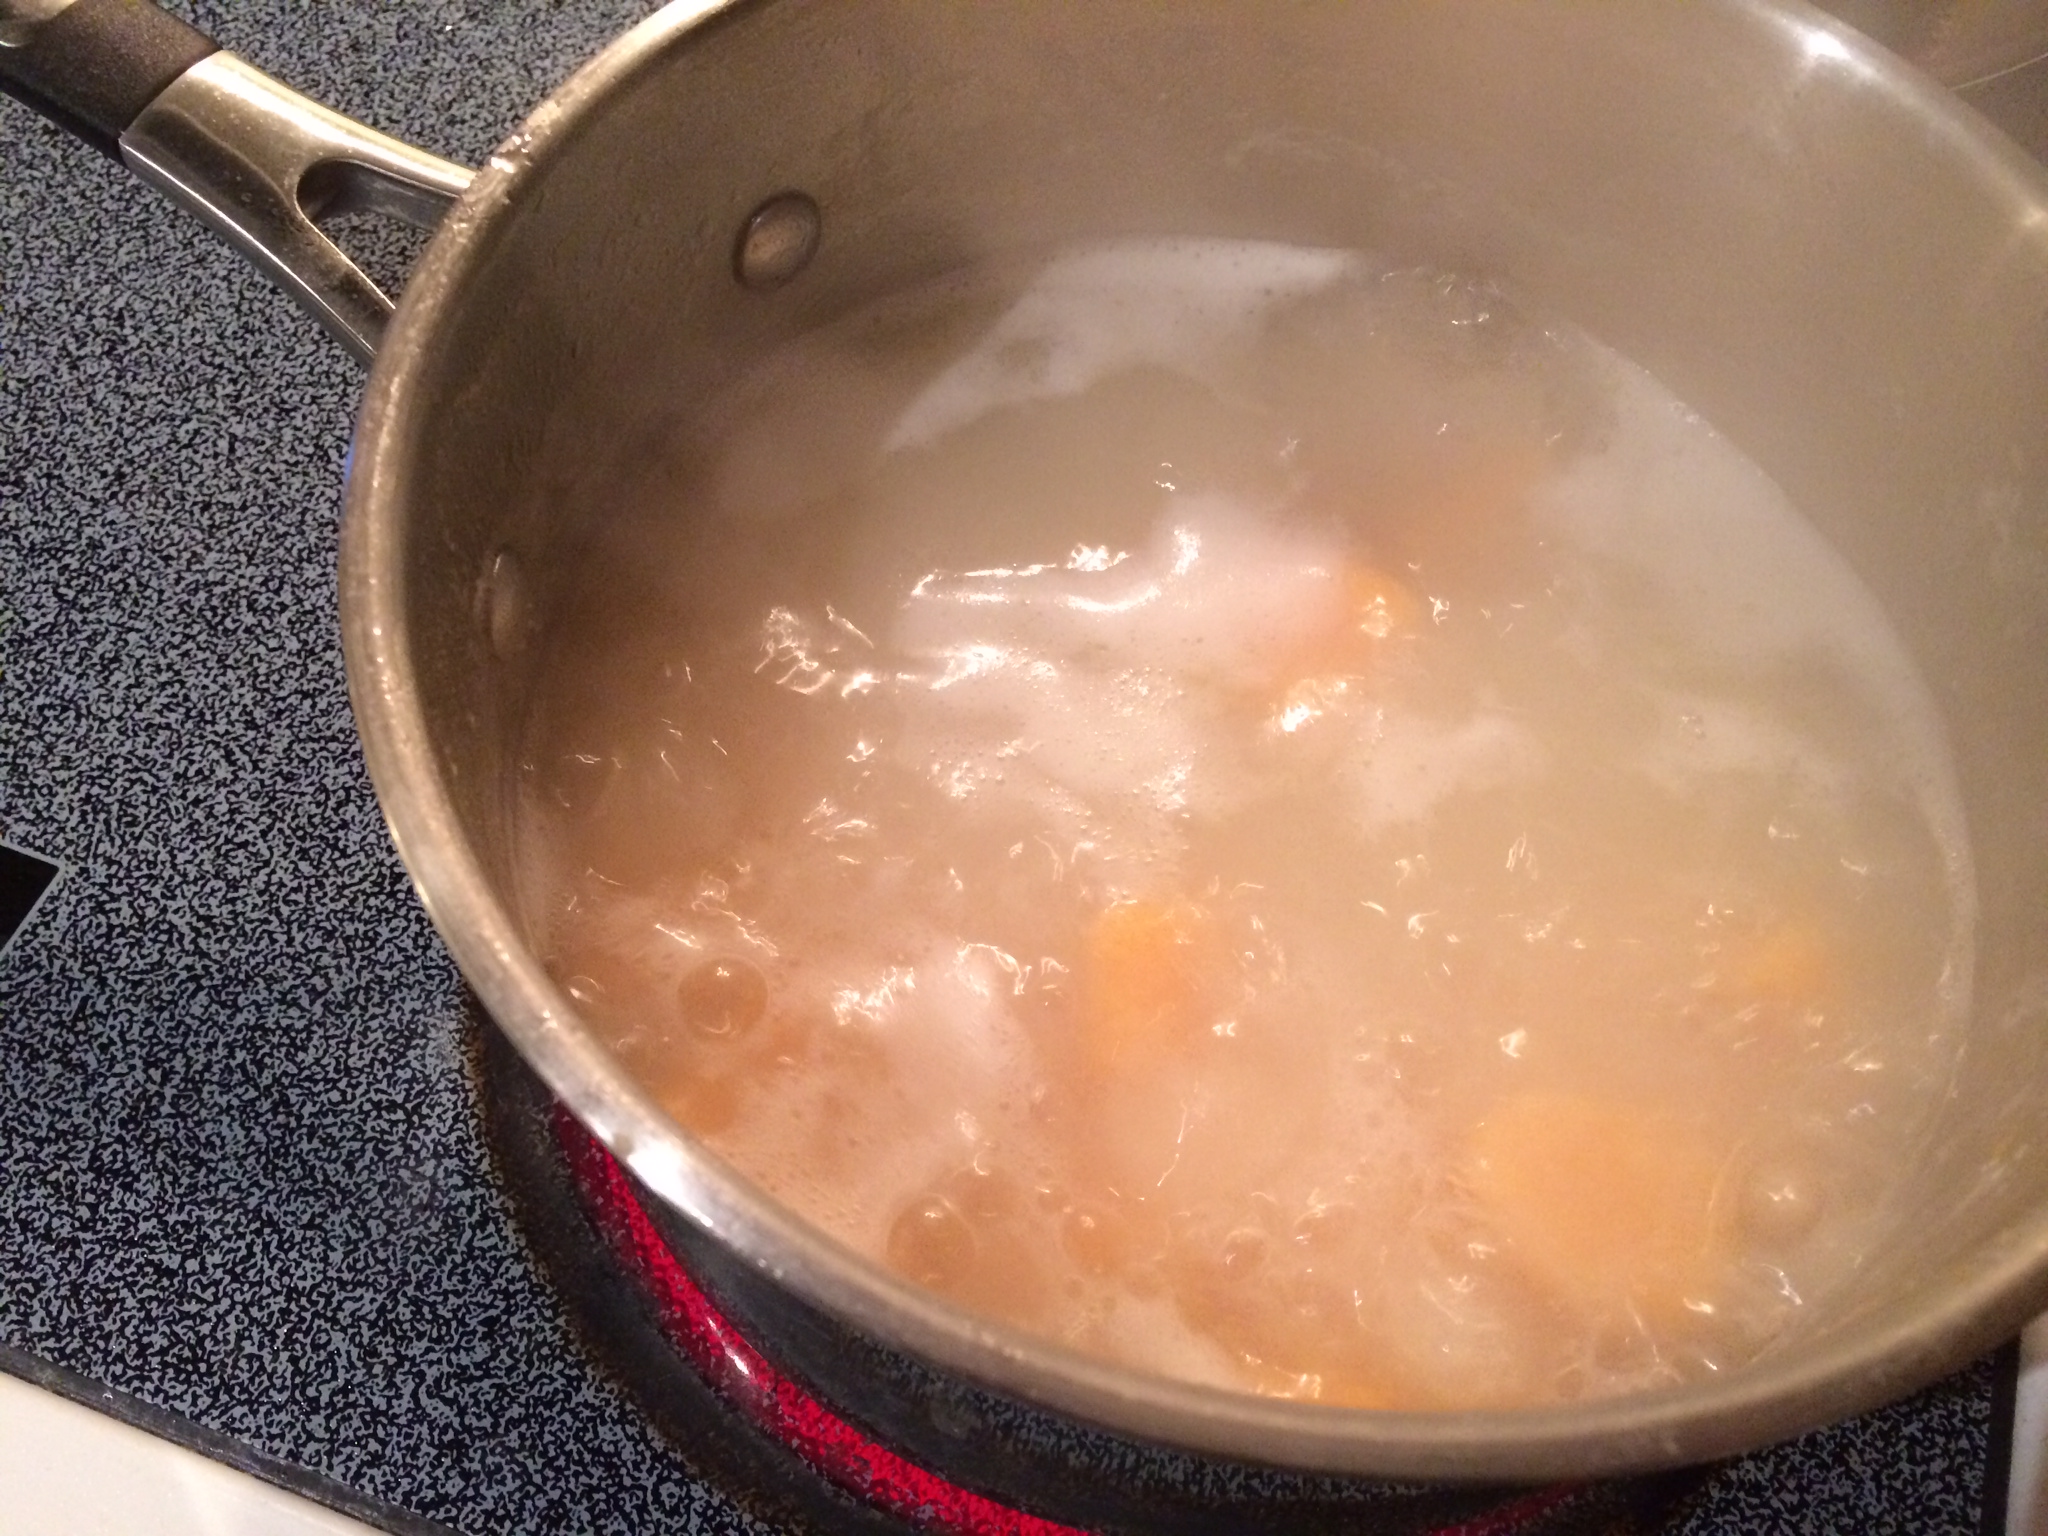
Watching the gnocchi float to the top of the pot
3. Remove the gnocchi with a slotted spoon into a serving bowl. Repeat until all your gnocchi is cooked.
4. Toss with the brown butter sauce, top with Parmesan cheese and serve.
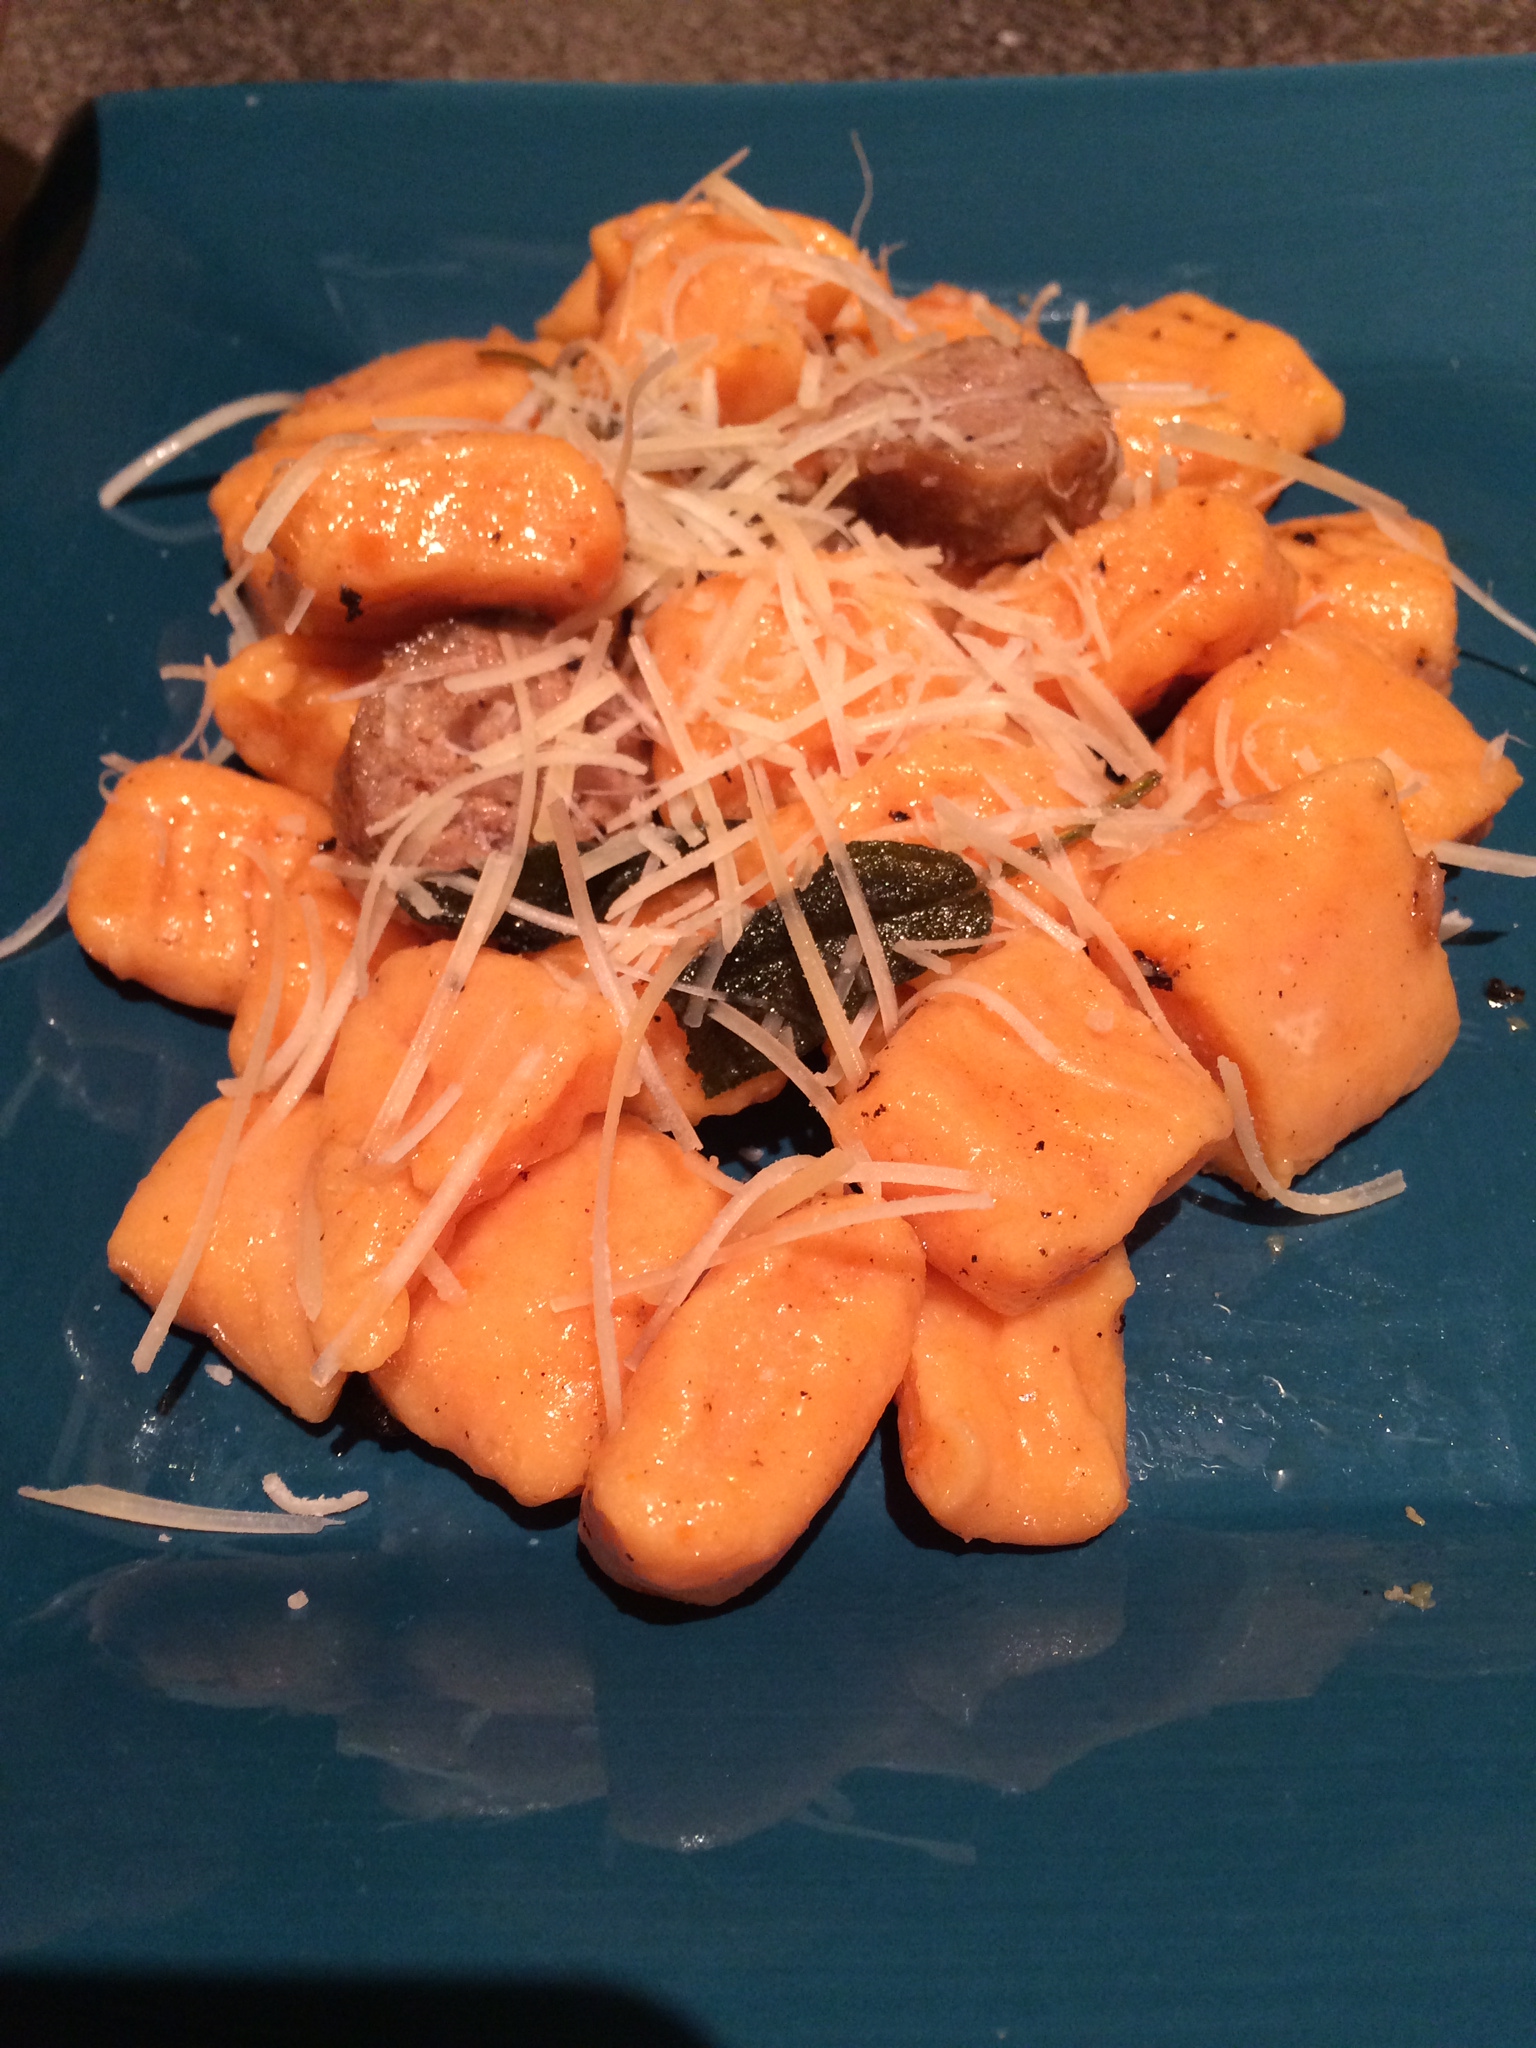
Sweet Potato Gnocchi
I was so nervous but the gnocchi turned out delicious! The texture was right and the sauce had the perfect flavors to compliment the sweet potatoes. It took me about an hour and 15 minutes to cook all of it, not counting the time I left the ricotta out to strain. I suggest a lot of patience with the dough though, take your time and don’t be afraid to add more flour to your work surface or hands to help keep the dough more manageable. Now to add a little bit of protein, I also cooked up some sweet Italian turkey sausage while I was cooking the gnocchi and mixed it in with the pasta. The savory of the sauce and sweet of the sausage worked really well together! I’m really happy that there are leftovers for lunch today!
– LG
Turkey Roll Deliciousness – A Must Have!
January 6, 2014
It’s no secret that I love food so two of my favorite holidays throughout the year are Thanksgiving and Christmas due to the large amounts of really delicious food that we get to make and eat! But not only do I look forward to the meals that day, one of the best parts is all of the leftovers. I am a huge leftover fan!
Every time we have any turkey leftover, I have made it a house rule that we make one of these Turkey Rolls because they are pure deliciousness! I’ve even gone as far as recreating this meal with rotisserie chicken from the super market but nothing beats having it with leftover turkey!
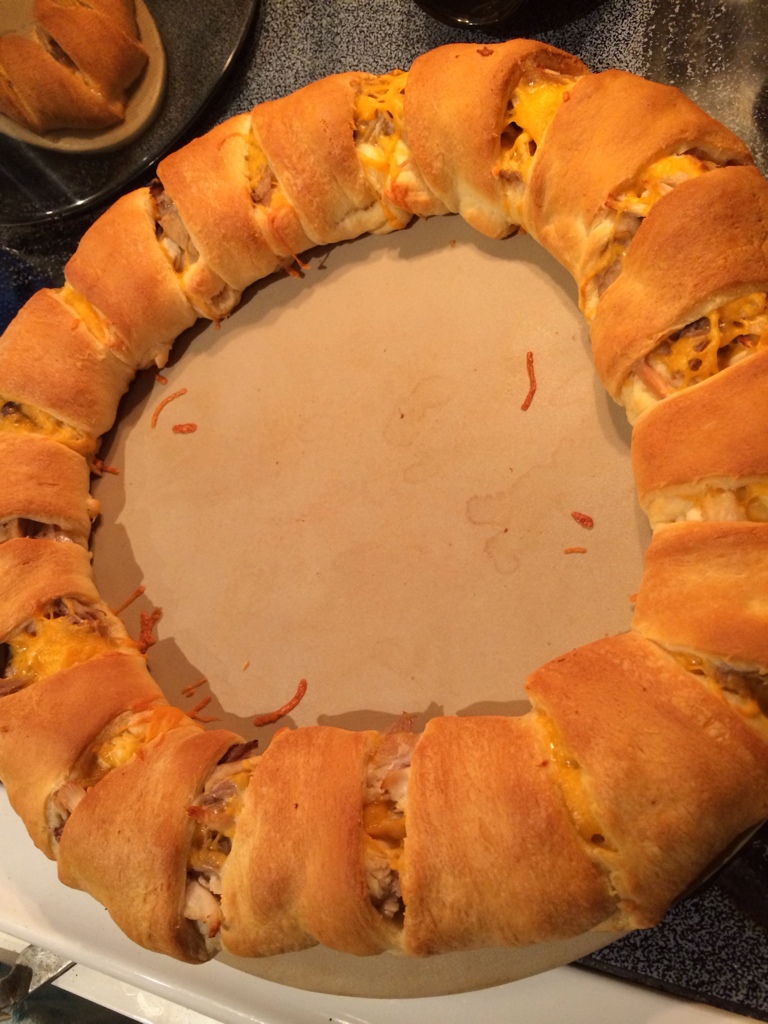
Finished Turkey Roll deliciousness!
Turkey Roll
10 oz turkey/chicken
1c cheddar cheese
2 packages crescent rolls
Dipping sauce (optional)
1c Mayo
2tbsp dijon mustard
1tbsp finely chopped onion
• Preheat oven to 375
OPTIONAL: mix mayo, mustard and onion
• Separate rolls into 16 triangles and arrange in a circle with wide ends overlapping in the center and points the outside.
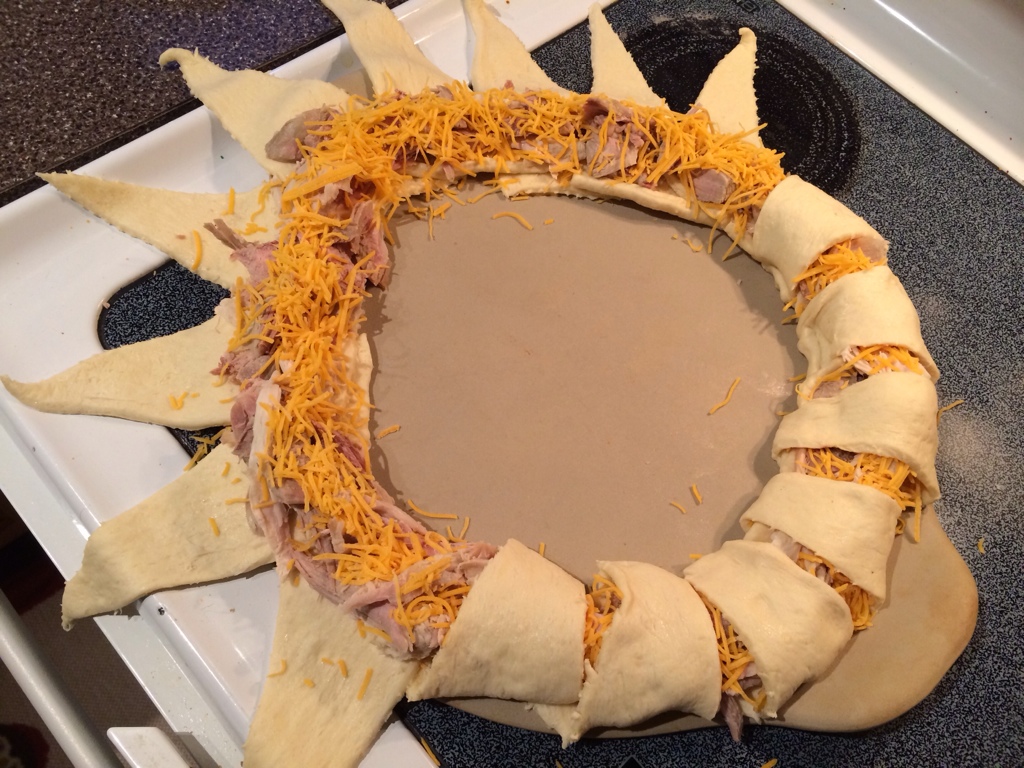
Fold each triangle over the roll and tuck up underneath
• Add turkey and 3/4 cup of cheese mixed together
• Fold outside points of crescent rolls over the filling and tuck under the dough
• Bake 20-25 minutes
• Remove from oven and sprinkle with remaining 1/4 cup of cheese
• Serve with mayo/mustard mixture as dipping sauce
Do you have anything special you like to do with leftover turkey? I’m always looking for great ideas!
– JM
Paris Travel Tips
January 3, 2014
Did I mention that I love to travel? My first 2 years in the workforce I spent traveling alone around the US and I loved it! I got to visit some cities I probably would never have on my own. The best part is, my family loves to travel too. My parents started a tradition a few years ago, after my sister and I were out of their house, traveling for Thanksgiving. They discovered that it’s a great time to visit Europe, it’s not tourist season, the flights are relatively inexpensive, and we already have a couple of days off of work!
This past Thanksgiving, we were all lucky enough to join them in Paris! I do mean we too, my parents, my sister and her husband, Jason and I. Paris had been on my bucket list of places to visit and I was so excited to be able to experience it with my family. Paris is beautiful, the food is amazing, and there is so much to see! The hard part was trying to coordinate what everyone wanted to do while we were there! We hit a lot of the main highlights, the Louvre, Musée d’Orsay, Versailles, Champs-Élysées, Arc de Triomphe, Eiffel Tower, Notre Dame, Mom and I even took a French cooking class! It was a busy trip but somehow we were able to fit it all in. I think we can all say we learned a few things about traveling in Paris on our trip. Some things we heard from others before we left, and some we figured out when we were there. So here is our top 5 list of Paris travel tips.

Eiffel Tower at night
1. Buy a Metro pass
We were in Paris for a week, so after a couple days of buying carnets (packs of 10 metro tickets) we decided it would be more cost effective to buy a Metro pass. You can get around basically anywhere you need to in the city for the number of days you buy your pass for. The Metro was not hard to navigate either, as long as you know what stop you need before you get off, and all of our tour books were good about listing what Metro stop was the closest. By the end of the week we really knew what lines would get us back to our hotel!
2. Get the Museum Pass
If you have a lot of the main attractions on your list, I highly recommend the Museum Pass. It got us into the Louvre, Musée d’Orsay, Musée de l’Orangerie (Monet’s Water Lilies are beautiful!), the towers of Notre Dame, Centre Pombidou (modern art museum)…and the list goes on! A lot of the main attractions are included in the pass so it is worth checking out. You can buy the pass for a set number of days (1, 3, 5, etc) and it becomes active on the first day you use it, so you have to plan out your stops accordingly.

A Gargoyle on the towers of Notre Dame and the Eiffel Tower
3. Spend some time sitting in a cafe
Everyone we talked to that had been to Paris said that we had to do this, and know I know why! It was fun to order a cappuccino, a snack, sit and just people watch. I loved to watch everyone in the cafes catching up with their friends, or family, in the middle of the work day! Les dux Magots is a well known cafe on Saint Germain that is supposed to have great people watching. Unfortunately, when we were there they were closed for renovations, but there are quite a few other cafes in that same area. That’s also by the oldest church in Paris which is cool to see!
4. Pay for the guided tour at Versailles
You have quite a few ticket options when you visit Versailles and our hotel concierge recommended purchasing tickets to the guided tour. You get to see the private apartments of King Louis XI and Louis the XVI, and the Royal Chapel with a smaller group, and the ticket includes admission to the rest of the palace as well! We walked the gardens, took the guided tour, then walked around the rest of the palace. We learned so much on the guided tour and it was so nice to be in a smaller group without all the crowds! The guided tour ticket is only €6 more and well worth it.

Inside the Hall of Mirrors at Versailles
5. Have the hotel concierge recommend where they would eat, and go there!
Our hotel concierge was a wonderful young lady who could not have been more helpful! She strongly recommended reservations for dinner every night, and helped us find restaurants within walking distance from the hotel. My mom made it a point to ask her where she would go eat dinner, and then we had her make reservations at those places. We tried some traditional French cuisine, a concept restaurant where all the main dishes looked like desserts, tapas, and a small Italian place. It didn’t look like any of these restaurants could hold more than 30 people at a time and the food was always amazing! I don’t think we had a bad meal the entire trip! I’m going to have to remember this tip when I go places on my own too, always ask where the locals go eat.
We had a wonderful week in Paris, ate way to much, saw some amazing sights, and did quite a bit of shopping. Both Jason and I said we would go back, but this time take some day trips outside the city, and spend some more time just wandering around the streets of Paris. We found some cute areas with shops on the last couple days and we wish we had more time to spend just browsing. Until next time, au revoir!
-LG

Notre Dame Cathedral
How I Met Your Mother “Sumbitch” Cookies
December 5, 2013
Yesterday we got our first snowstorm of the season. I love snow, don’t get me wrong, but I really dislike the traffic that happens when it snows. Lucky for me, I was fortunate enough to work from home while we got about 6″ of snow dumped on us. I loved watching the big fluffy snowflakes fall from the sky, and how pretty all the trees looked with the blanket of fresh snow. I felt so cozy at home that I got this urge to bake cookies, no complaints from Jason of course.
Normally I have my go-to recipe when I want cookies (oatmeal chocolate chip), but I had been holding onto a recipe we had heard about from an episode of How I Met Your Mother. Jason watches the show pretty regularly, and I just happened to be watching an episode with him, the one when “The Mother” meets Lily on the Train and uses her “sumbitch” cookies to help calm her down. They sounded so good! Who could resist, chocolate, peanut butter and caramel?
Here’s the recipe I used:
How I Met Your Mother “Sumbitch” Cookies
1 c butter softened
1 c granulated sugar
1 c packed brown sugar
1 c creamy peanut butter
2 eggs
1 tsp vanilla extract
2 c all-purpose flour
1 tsp baking soda
1/2 tsp salt
bite size chocolate covered caramel candy (I used Hershey’s Kisses with caramel)
1. Beat butter, sugars and peanut butter until smooth. Add eggs and vanilla, beat until blended
2. Stir together flour, baking soda and salt in a small bowl. Add to the butter mixture, beat until blended. Cover and chill for at least 30 minutes
3. Preheat over to 350°F. Shape 2 Tbs of dough around each unwrapped candy. It helps to use lightly floured hands to keep the dough from sticking. Place on an ungreased or parchment paper-lined baking sheet.
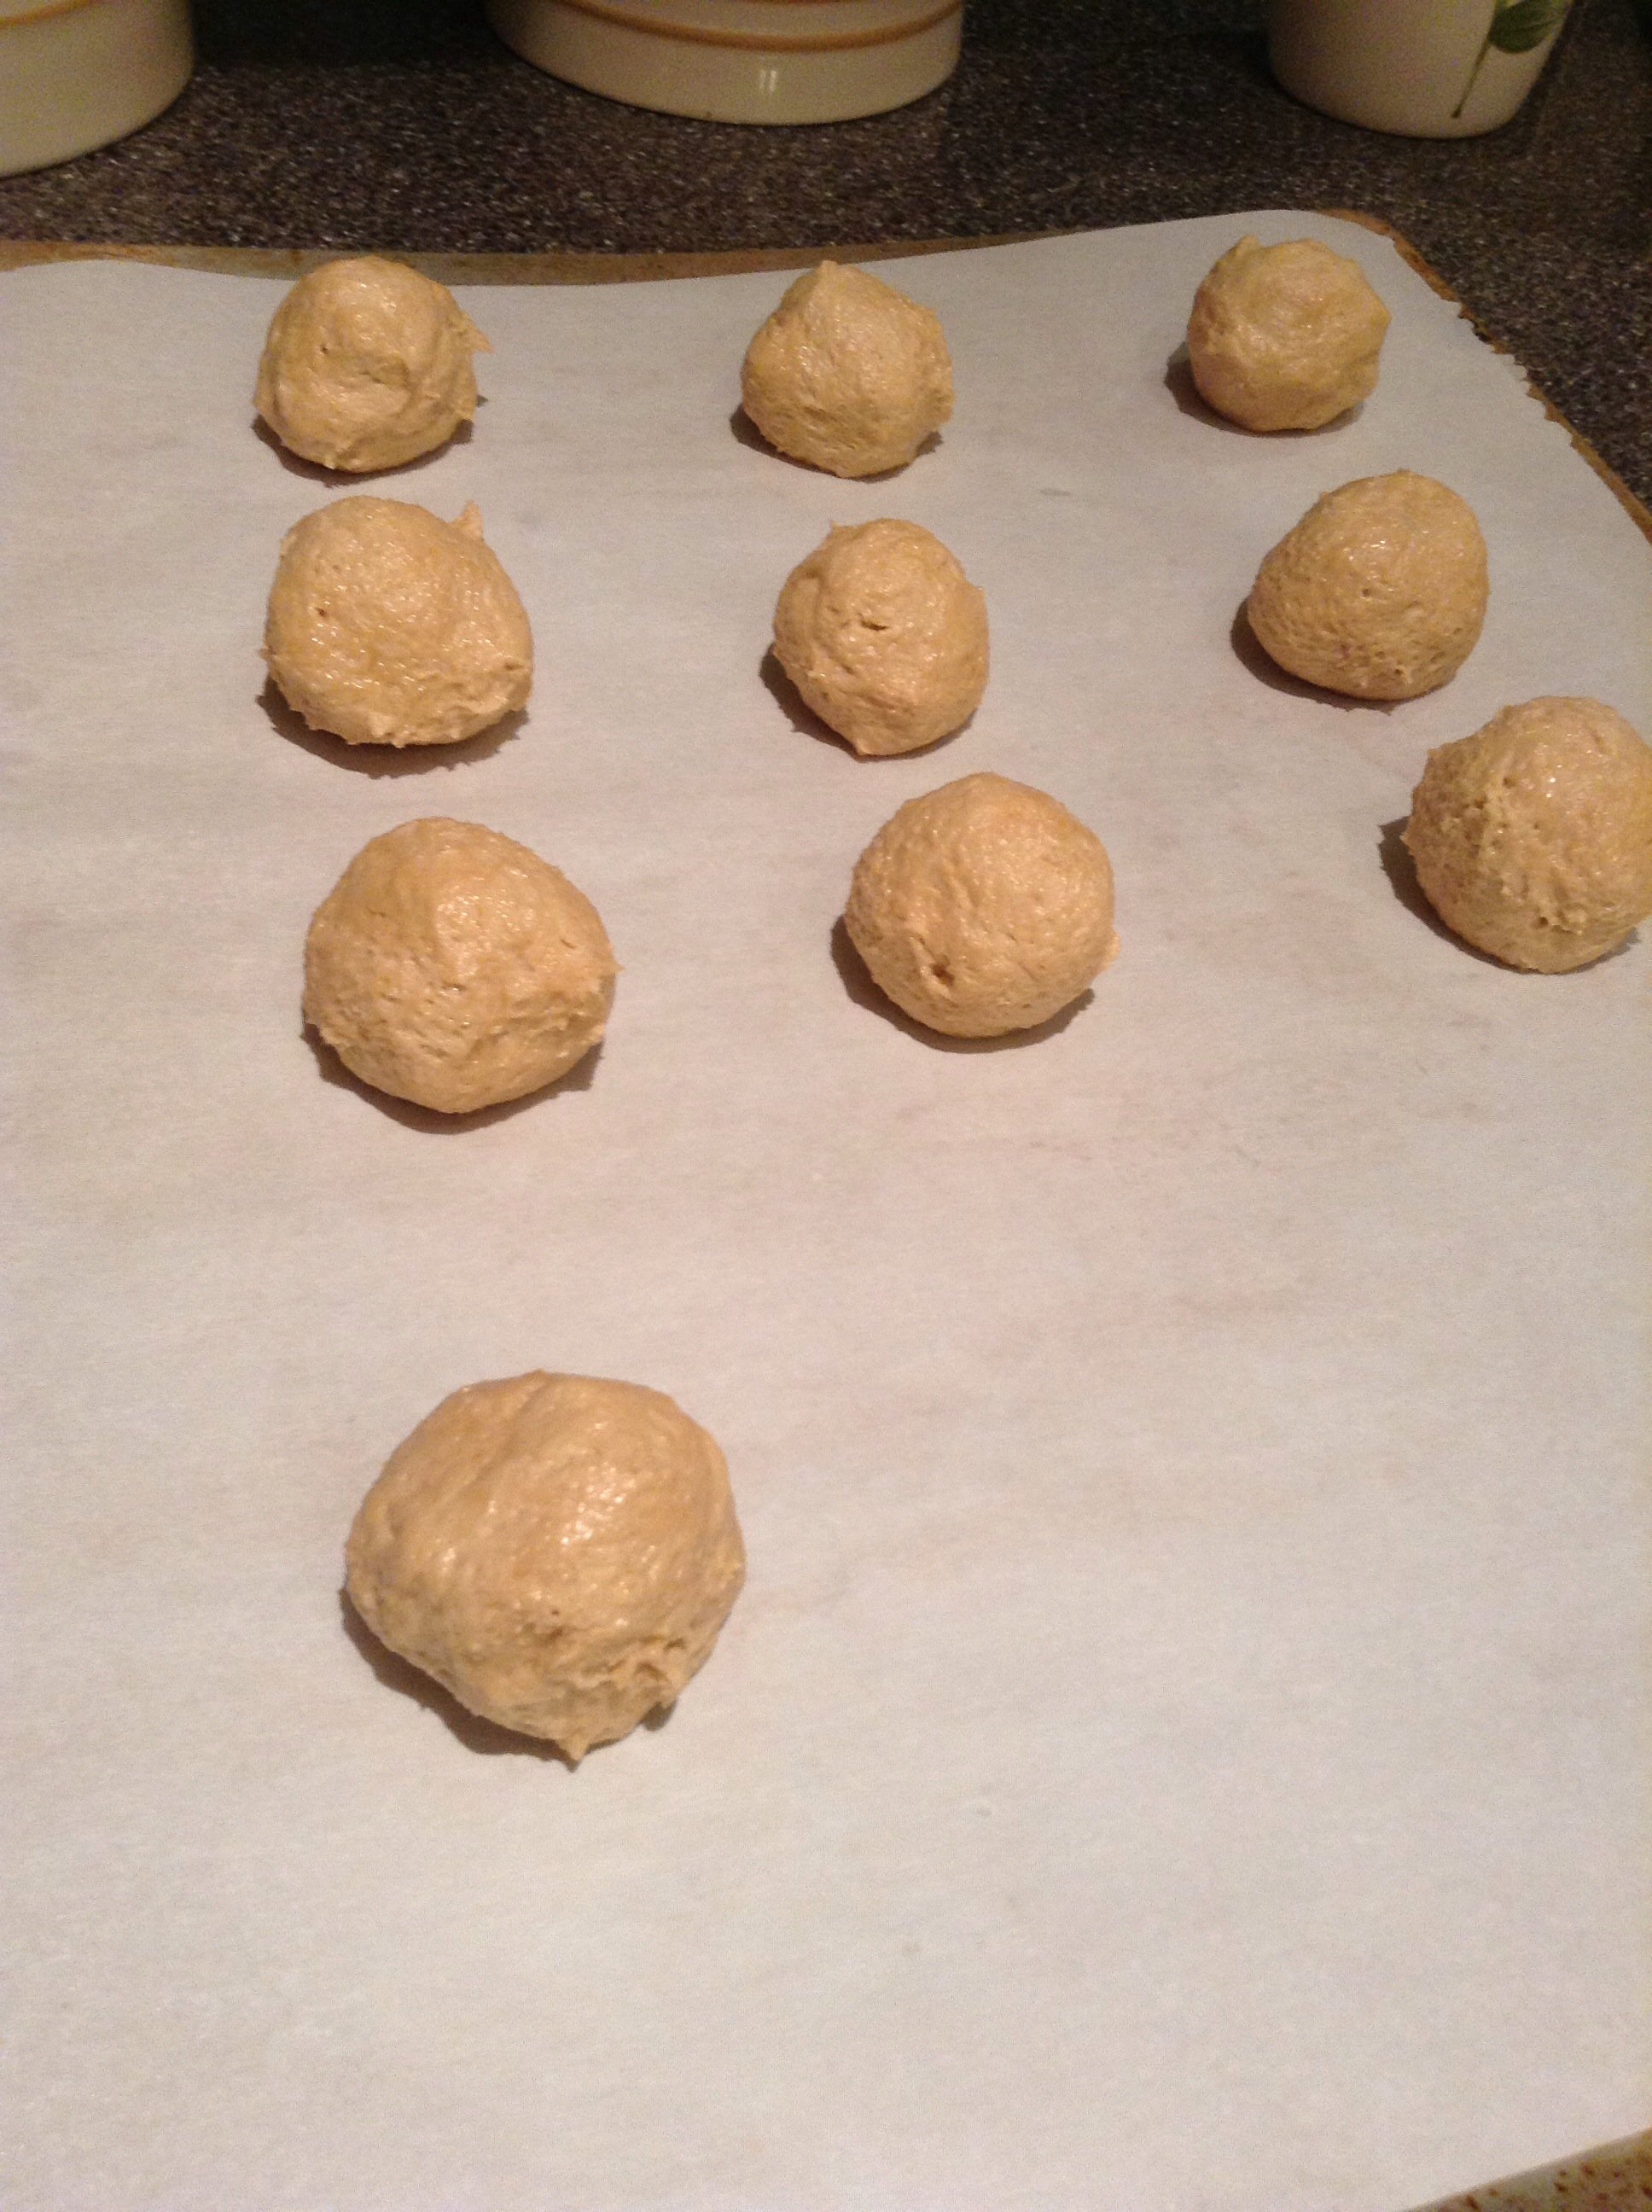
Cookie dough around the Hershey Kisses
4. Bake for 13-14 minutes or until lightly browned. Cool on baking sheet for 5-10 minutes before transferring to a wire rack. (Cooling for extra time on the sheet is very important! The candy is still really soft/melted so if you pick up the cookies too early, the whole thing will fall apart.)
Yields: about 4 dozen
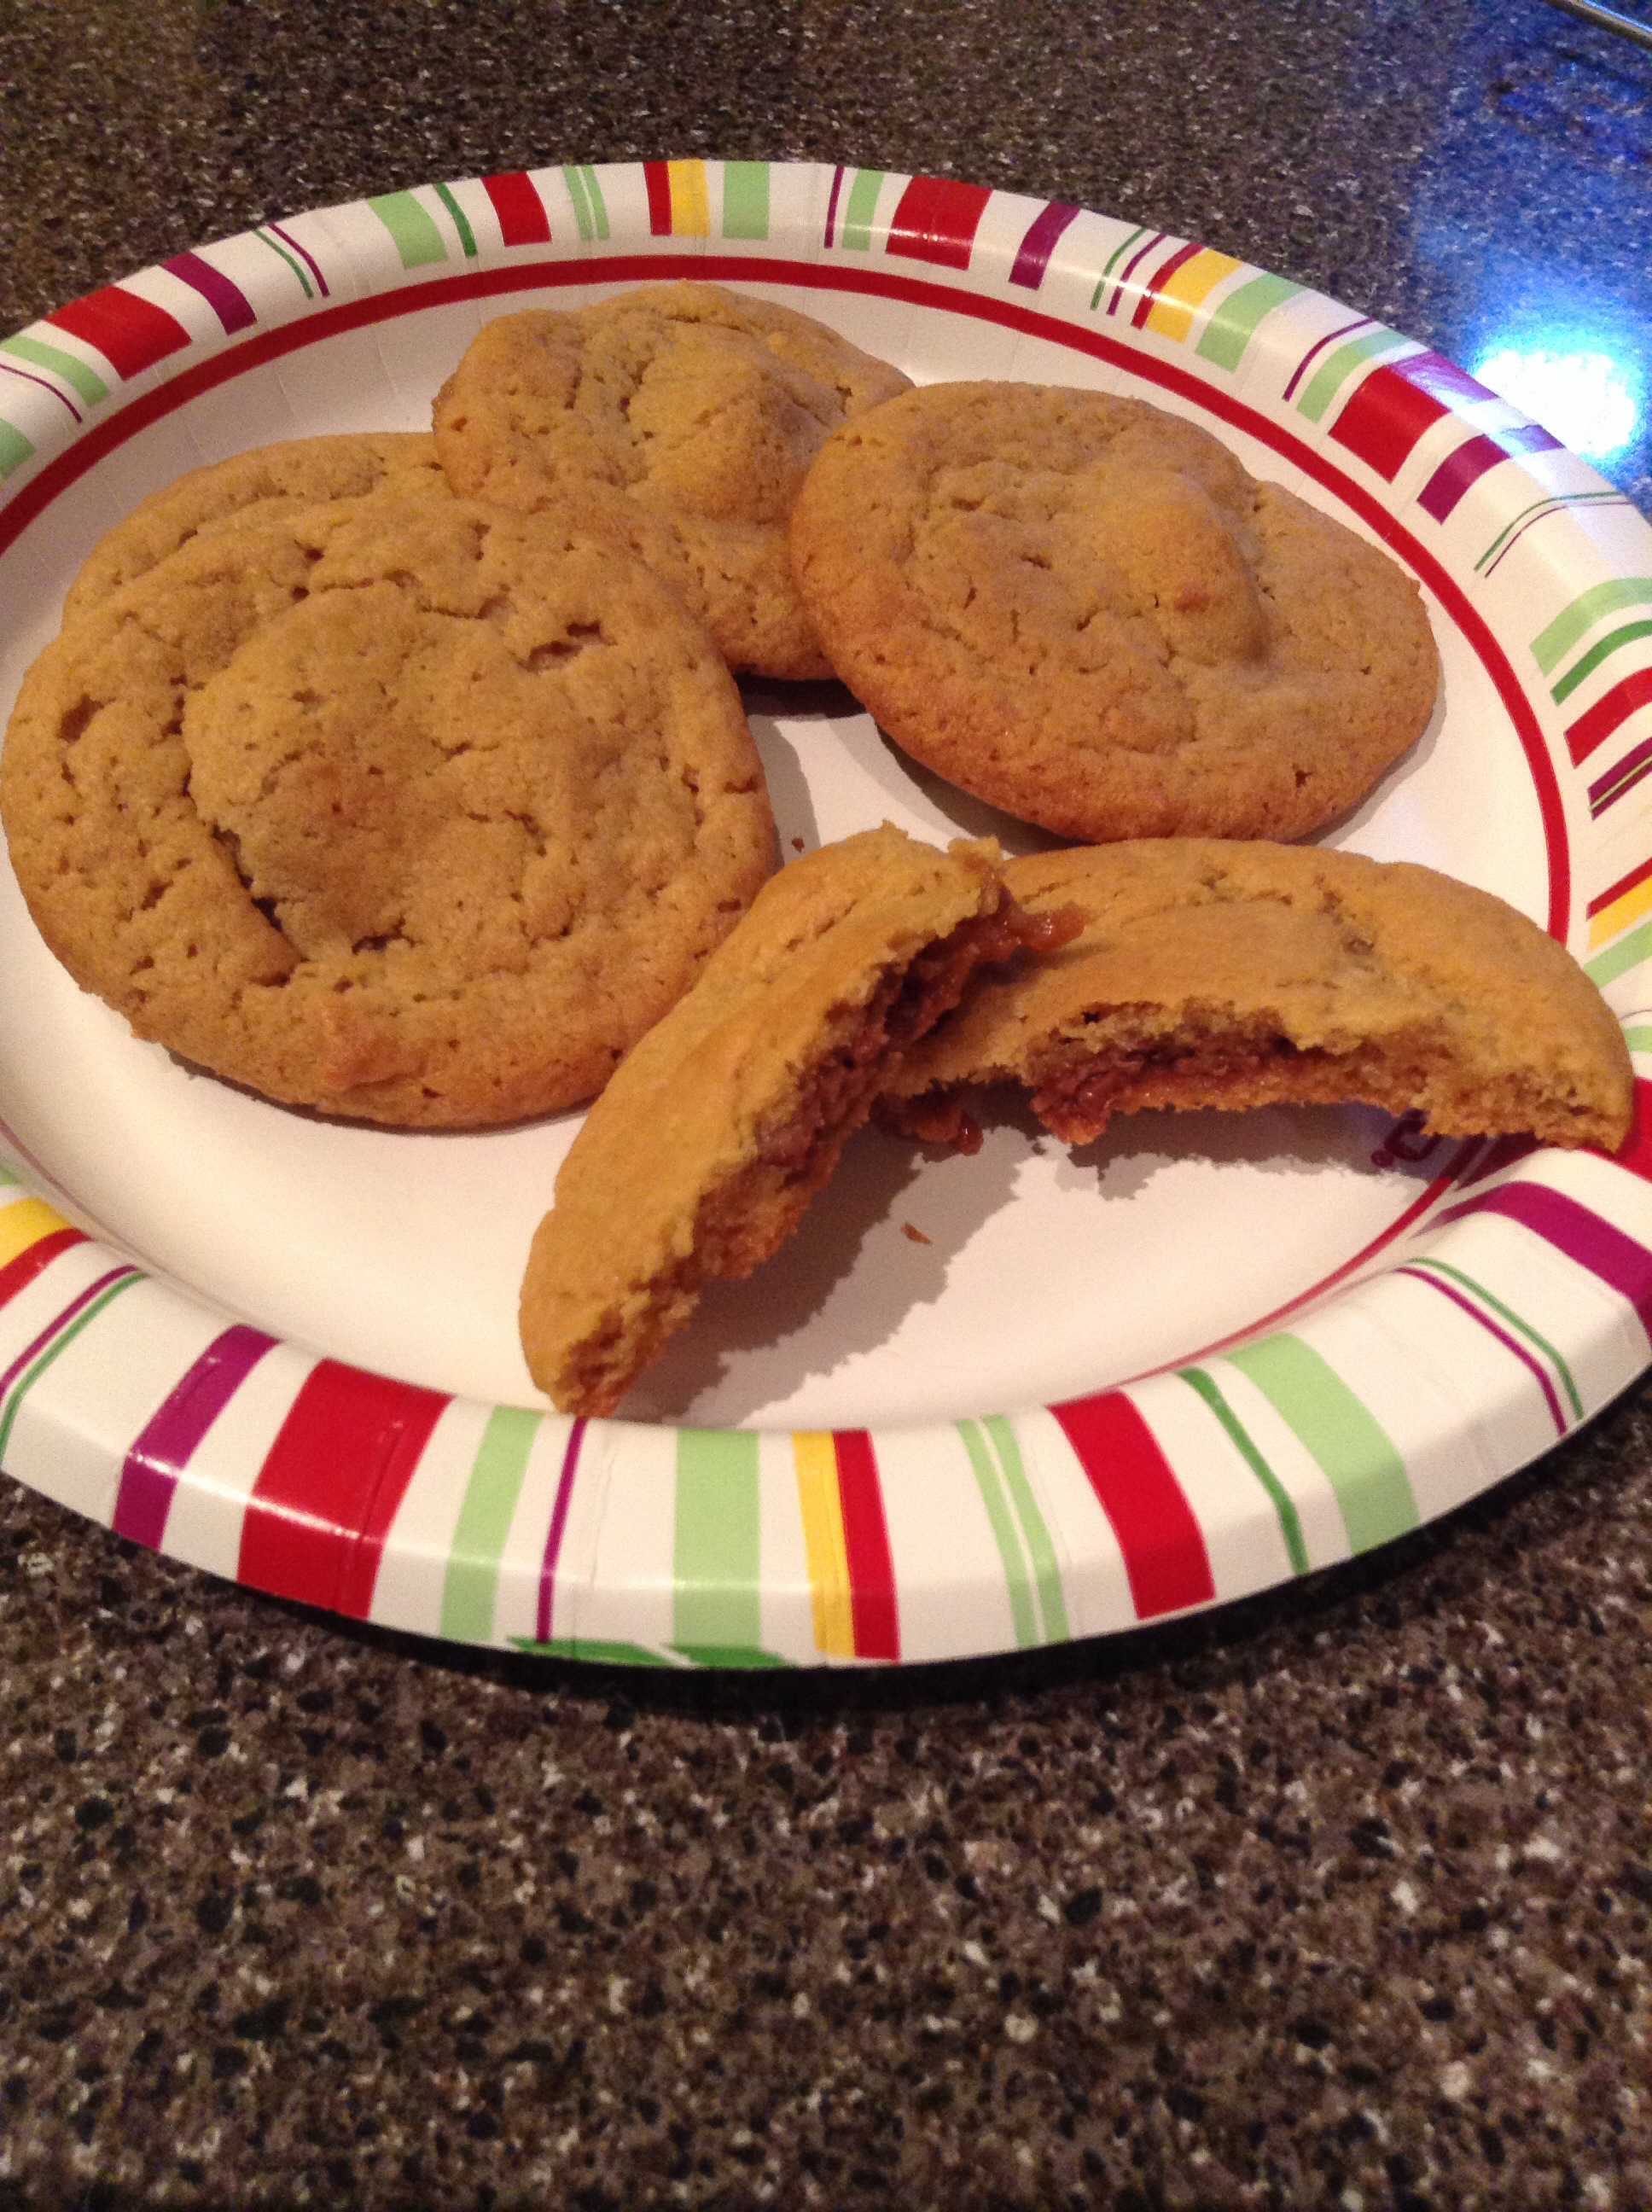
The finished HIMYM “Sumbitches!”
The cookies did not disappoint! I loved the combination of peanut butter and chocolate and to throw the caramel in there too added another yummy flavor. The cookies were chewy (my favorite) and the caramel stayed pretty soft too. I was worried about it hardening, but it didn’t at all. The kisses melted into the dough really well too, but did not spread all the way though the cookie. The stayed close to the center, so don’t be surprised if that happens to you too. Jason took a few into work for taste testing, and everyone loved them! Now I’m really craving a “sumbitch” and of course they’re all on the counter at home.
Homemade Crockpot Applesauce
November 21, 2013
We’re fortunate enough to have two apple tress in the backyard, a Courtland tree and a Honey Gold tree. The first year I moved in, the trees didn’t produce any apples, so I originally thought they were too young. But after talking to the people at our local greenhouse, they said it wasn’t uncommon for young trees to have apples one year, and none the next year. They also gave us some great tips about using something to help strengthen the roots, since apple tree roots don’t grow very deep, and different sprays we could use to keep bugs away.
This year, the apple trees delivered! We had so many apples, we almost ran out of room to store them. The Courtland apples ripen first, and I was ambitious enough to make an apple pie, and we saved the rest for eating. The flavor was so delicious! Crisp and the right amount of tartness. The Honey Gold tree ripens second, usually about 2-4 weeks later, and by this time, I do not want to make another pie or even a crisp! We both love applesauce but hate how the store bought stuff has so much sugar added in, we decided to try making our own at home.
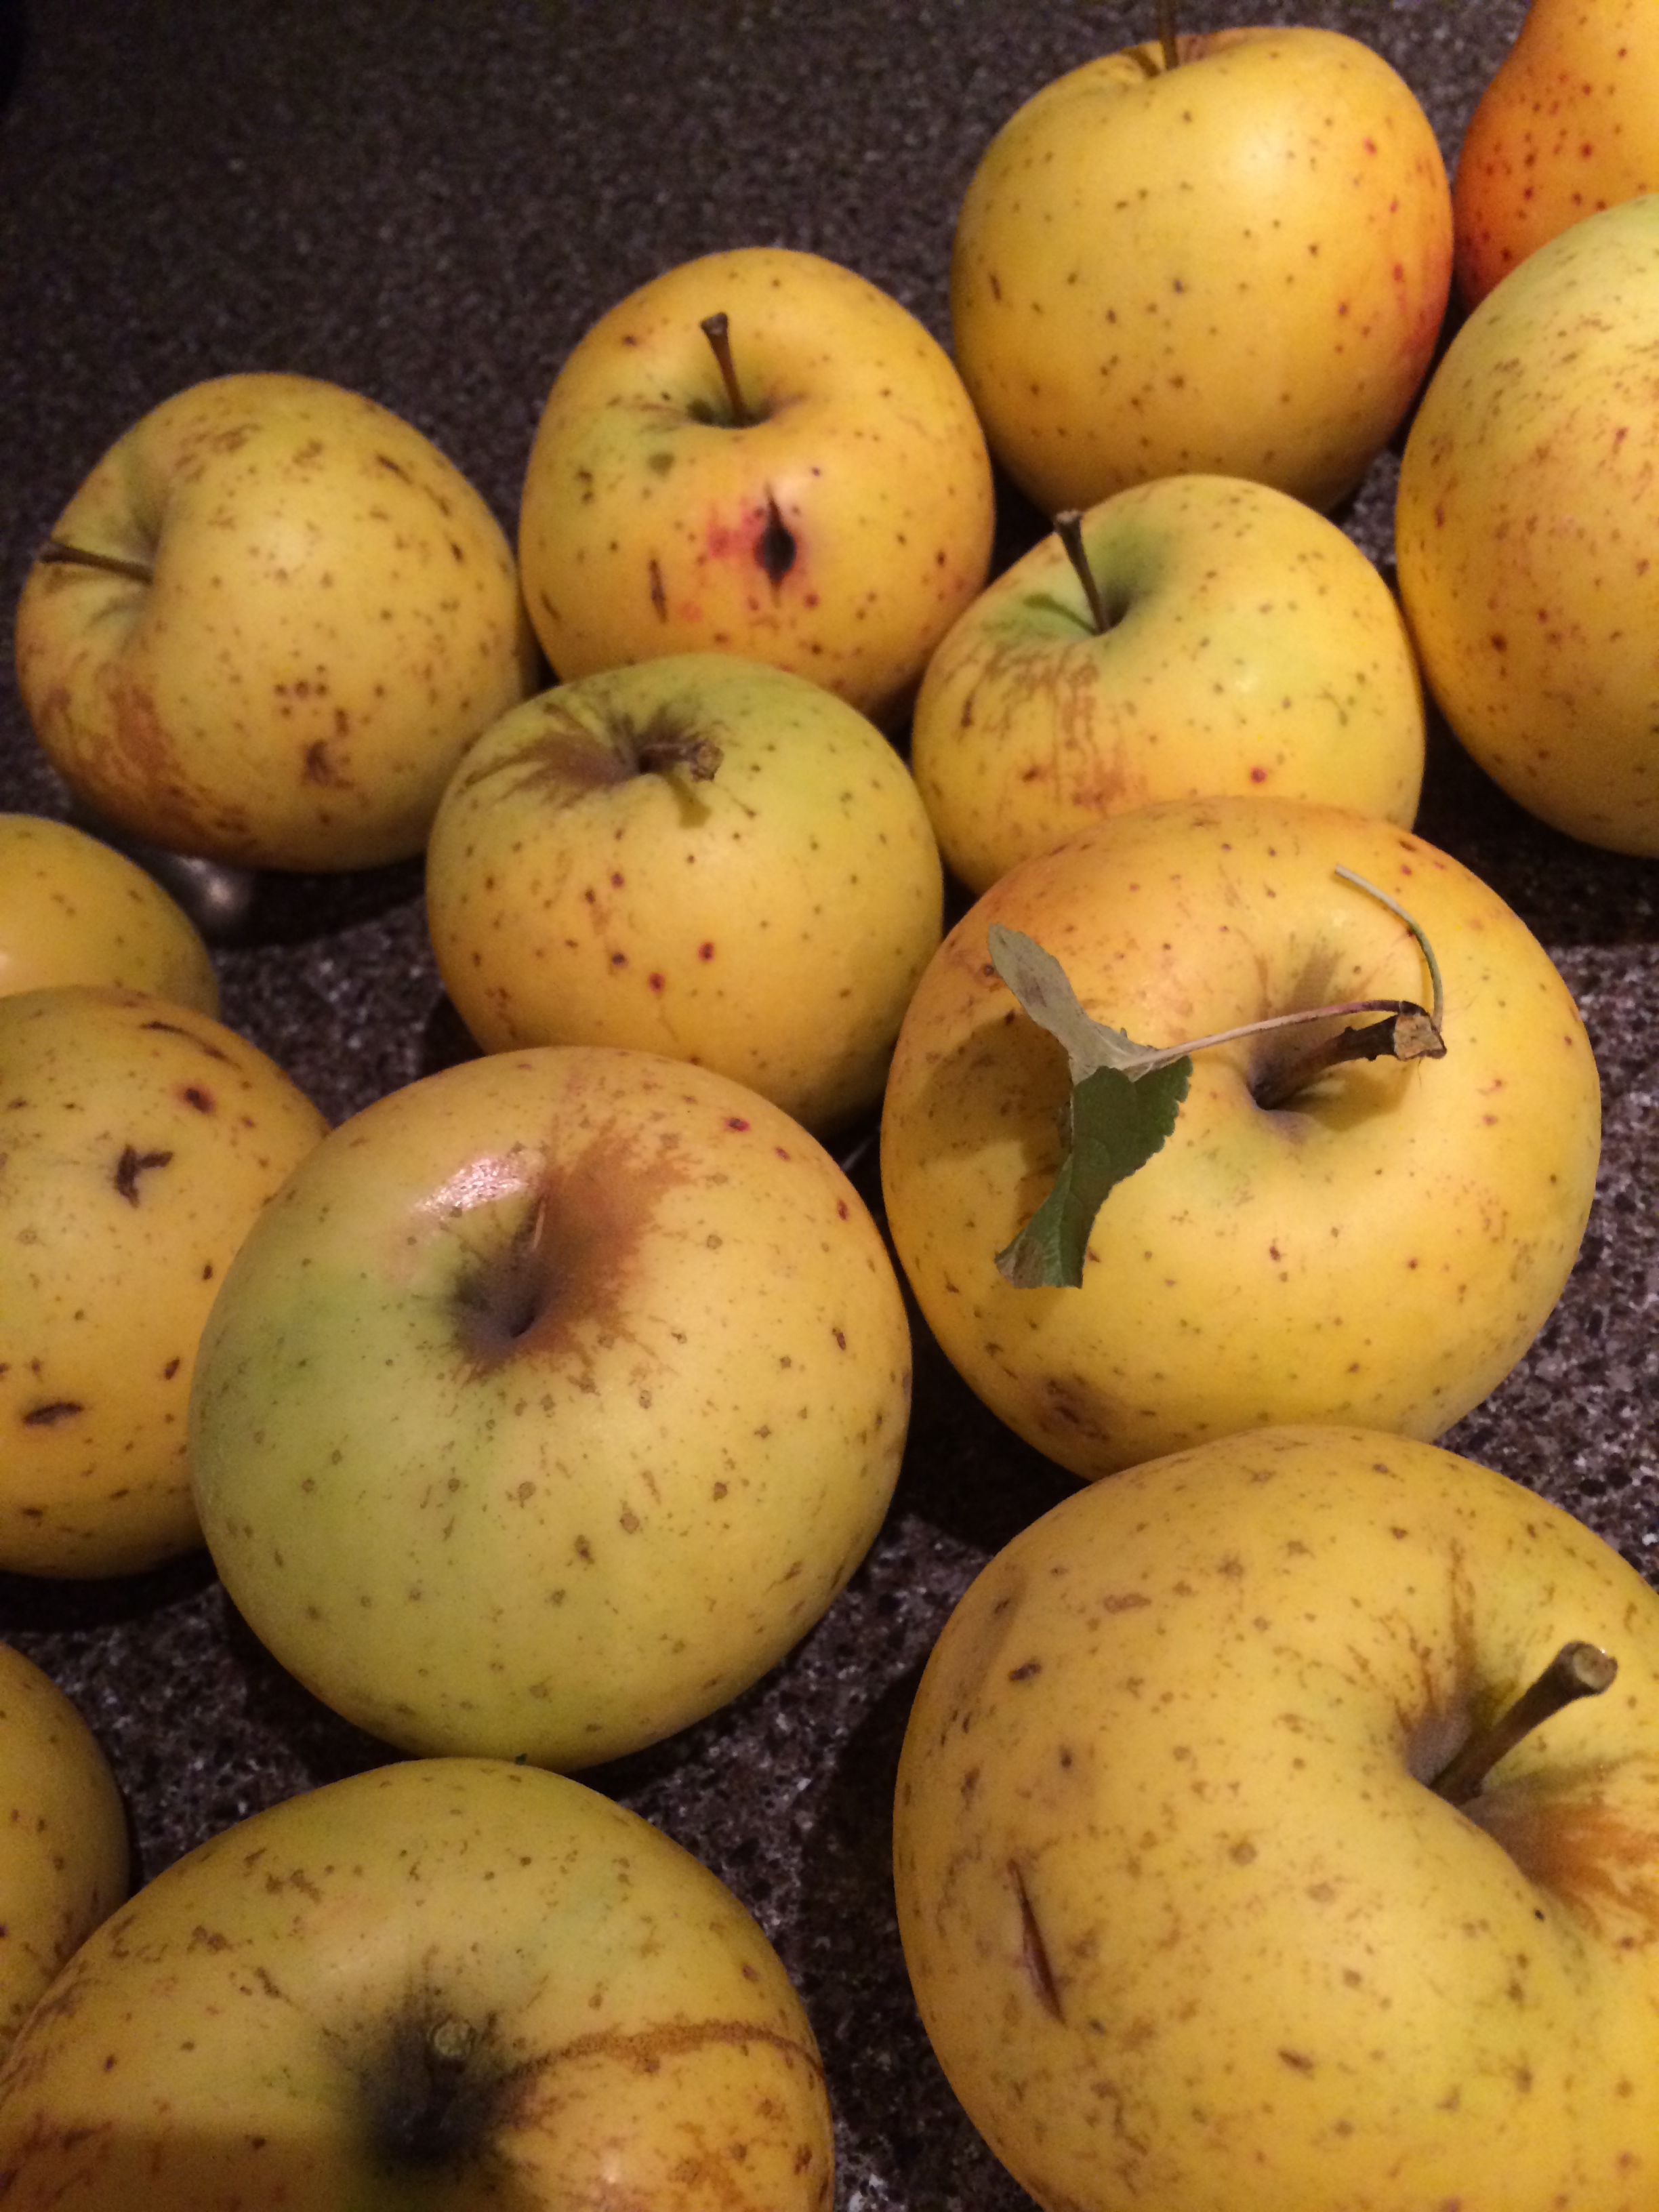
Our bounty of apples
Our schedule has not lightened up at all recently, I think in the last 2 weeks we’ve had something going on after work every night of the week! I knew we wouldn’t have time at home to make the applesauce on the stove top so I decided to try it in the crockpot. Except for all the prep work of peeling and cutting up the apples, it was so simple!
Crockpot Applesauce
14 medium apples (I filled the crockpot very close to the top)
1 strip of lemon peel
1 tsp lemon juice
cinnamon stick
8 tsp brown sugar
2/3 c sugar
1. Peel, core and chop up the apples, add to the crockpot
2. Add sugar, lemon peel, lemon juice and cinnamon stick. I broke the cinnamon stick in half, hoping it would help increase the flavor
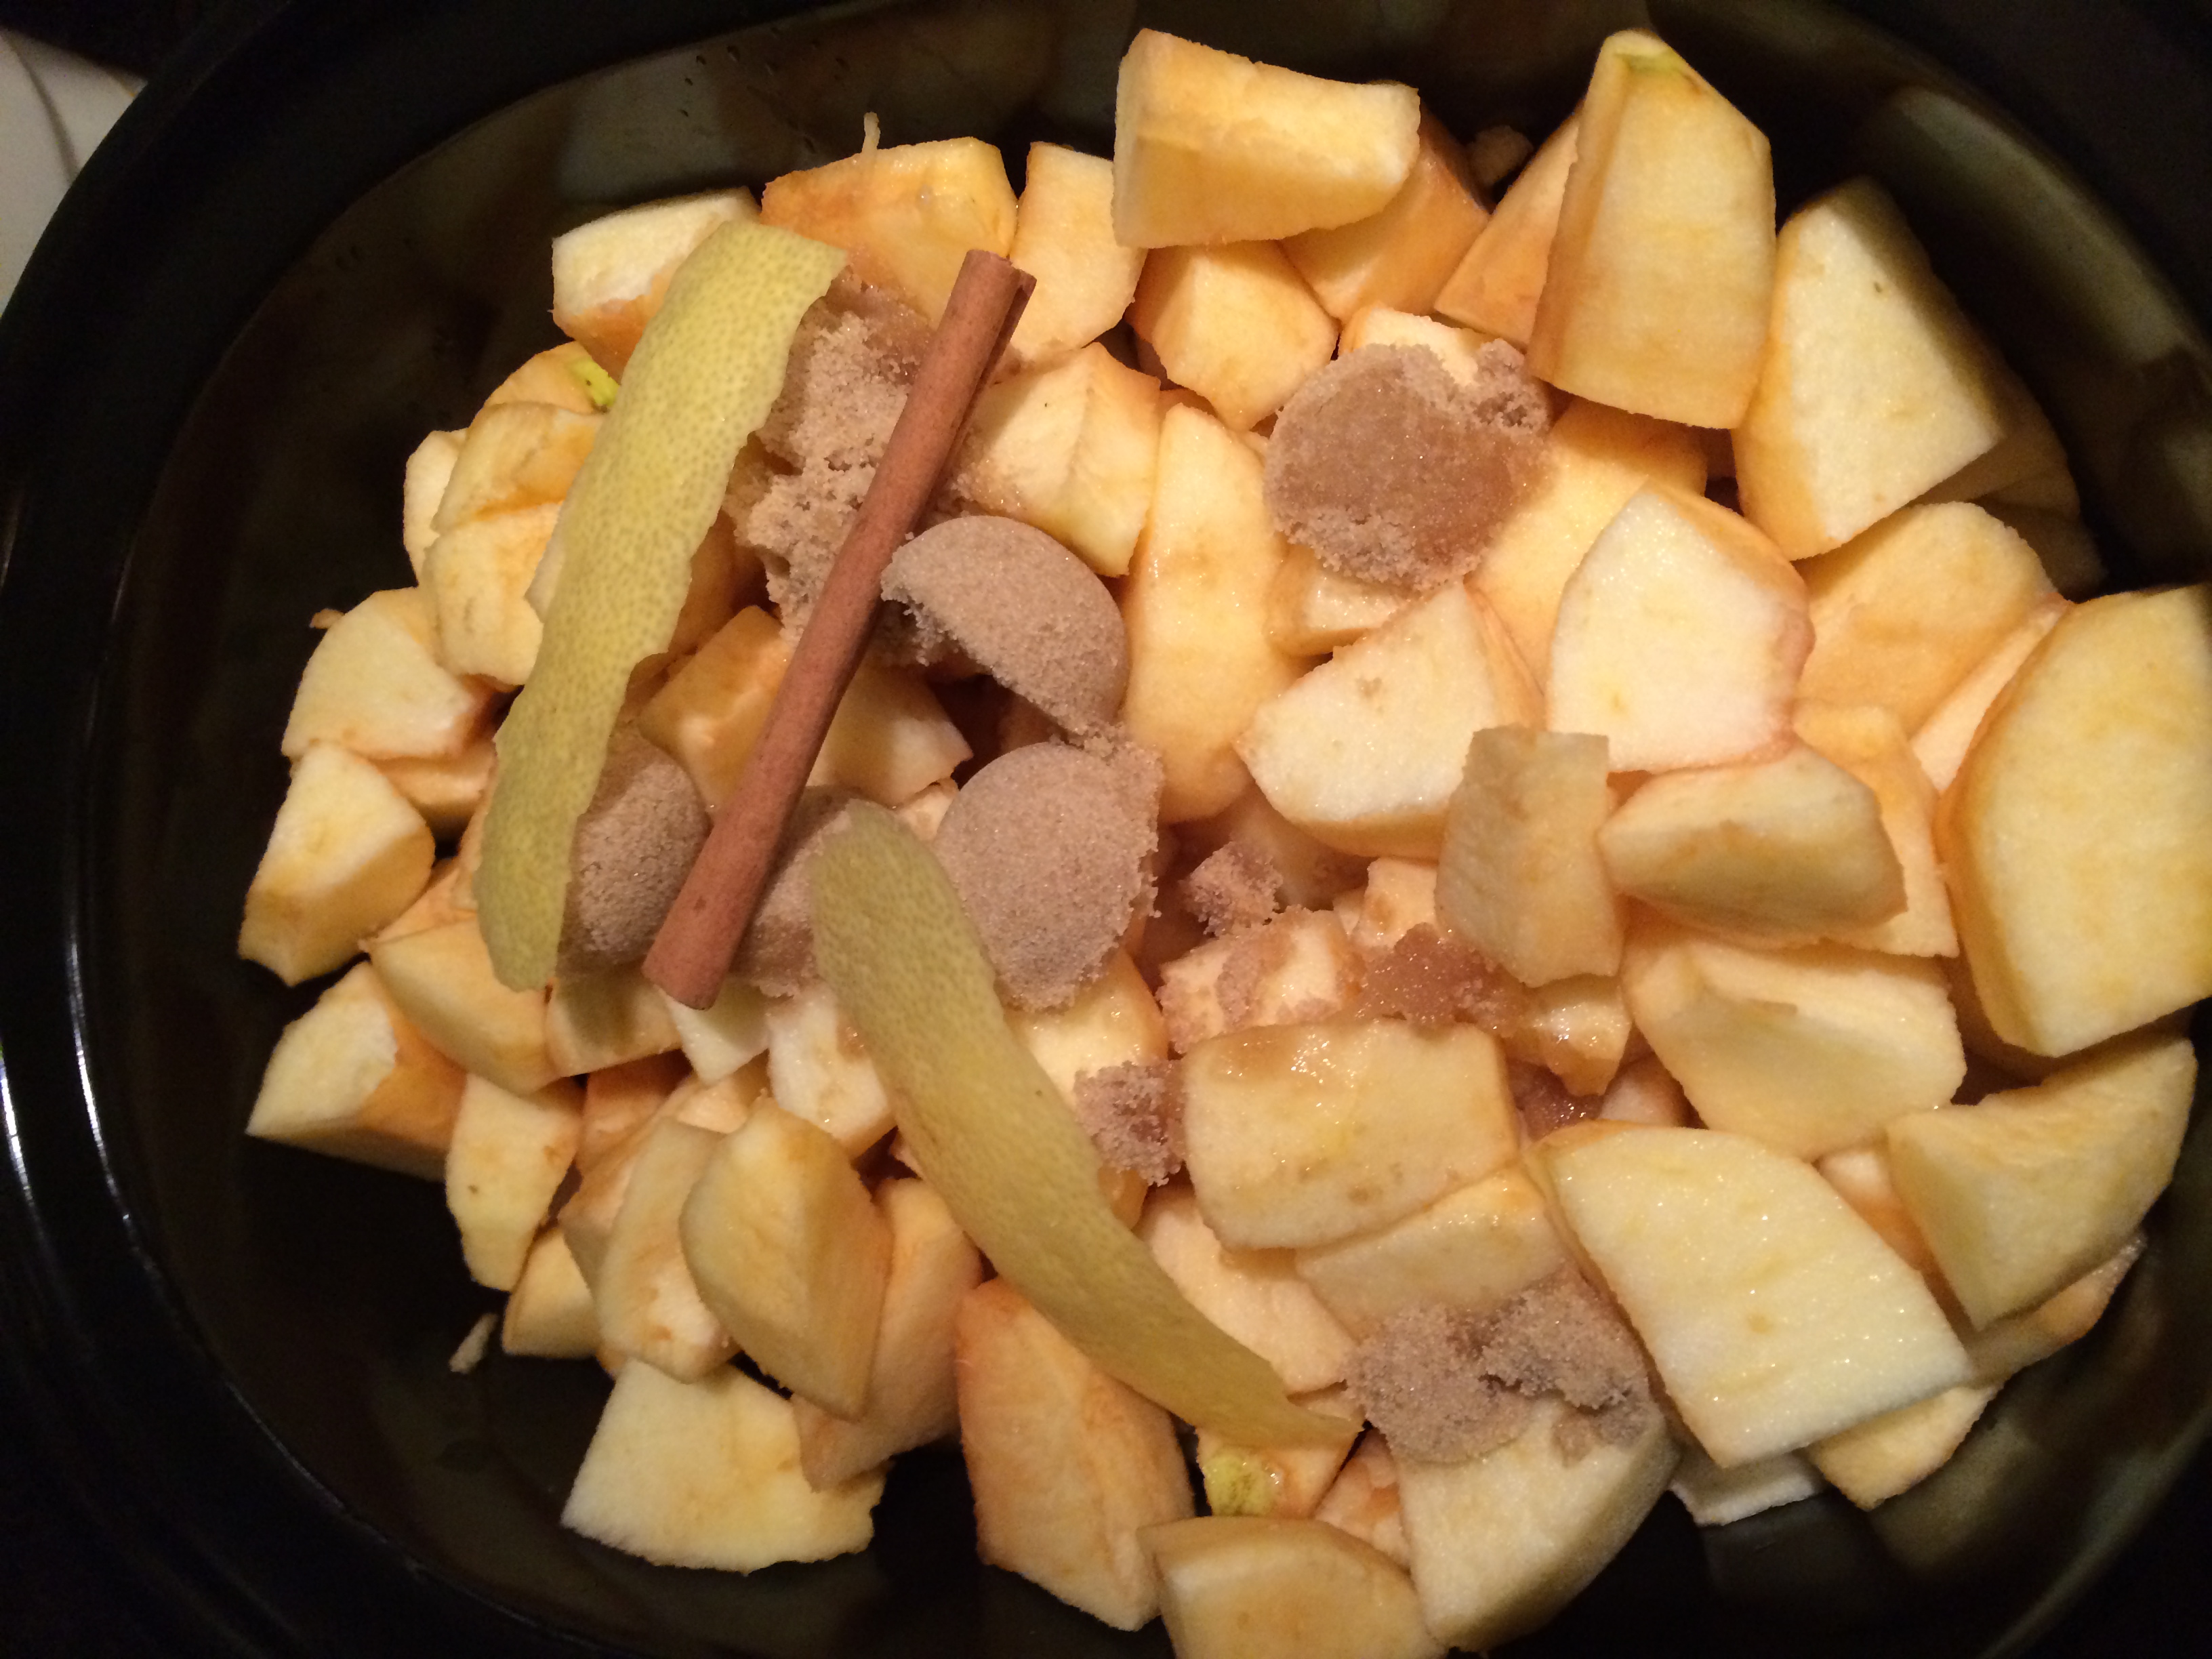
All the ingredients in the crock pot ready to go!
3. Stir all the ingredients together
4. Cook on low for 6 hours (I did this on a work day, and after the 6 hours my crockpot turned to warm and stayed on until I got home from work. The apples did not burn or start sticking to the sides which was a relief!)
5. Remove the cinnamon stick and lemon peel.
6. Mash or blend the apples to the consistency of your choice. I was able to use a potato masher to get a very smooth apple sauce, the apples fell apart perfectly.
7. Can and process as you would normally. I used a hot water bath, otherwise you could keep it in the fridge if you plan on eating it relatively quickly, or freeze it to enjoy later on.
The crockpot applesauce turned out great. The little bit of sugar was perfect to make it just a little bit sweeter, but still let the flavor of the apples come through. We were a little disappointed that we only got 3 pint sized cans though. We were both hoping for more! I’d absolutely make homemade applesauce in a crock pot again, it was nice to throw it all together and forget it! Now we see how long we can wait before we open the first can!
Nike Women’s Half-Marathon 2013
November 6, 2013
Two weekends ago my 15 weeks of half-marathon training finally paid off! I completed my second Nike Women’s Half-Marathon in San Francisco and I could not be happier with how it went.
This will always be one of my favorite races. Not only is it put on by Nike (I love their stuff), but it’s in San Francisco (one of my favorite cities) and it helps benefit the Leukemia and Lymphoma Society (LLS). I first heard about it a few years ago, and it was easy to motivate me to train and run 13.1 miles! At the finish line you are greeted by San Francisco’s finest firemen dressed sharply in tuxedos, and instead of handing you a finishers medal, they hand you a custom Tiffany & Co. sterling sliver necklace!
The race is so popular Nike actually limits the number of people that can participate. So, there are two ways you can sign up. 1) Join Team in Training and fundraise for LLS or 2) Enter the lottery and hope your name is picked to be one of the 30,000 people that are running. When I ran in 2011, I entered the lottery by myself and luckily got picked! My mom and I made a long weekend out of it and had a blast. After telling a few of my girlfriends and fellow runners about it, they got excited and were interesting in trying to get in for 2012. We signed up as a team, and sadly, did not get picked. So we decided to give it another try this year, signed up as a team again called the MinneSNOWta Sexy Striders, and anxiously waited for mid-June when Nike was conducting the lottery. The nice part about signing up as a team, if someone on the team is picked, the entire team gets in! We hoped that would help our chances. A few of us were texting back and forth the day of the lottery, checking to see if anyone had gotten the e-mail that said we were in. One of the girls got her email that morning and we all knew we were going to San Fran in October!
Nike put together a pretty neat app which included information about the race, the course map, and a training program depending on how you wanted to do (finish or Personal Record (PR.)) Since I ran it before, I decided I wanted to PR and beat my time from 2011 of 2:28. I’m not going to lie, those 15 weeks of training got tough. There were plenty of early Saturday or Sunday morning long training runs, waking up at 5am to get my run in for the day, and days my legs were dead tired. It was addicting in a way though, checking to see what my workout was for the next day, and seeing if my time improved over my last run. I actually started to get faster and I’m a believer in tempo runs now, they are not just pointless intervals like I used to think.
My mom was probably just as excited as I was about getting into the run, so we planned a girls weekend. My mom and sister both flew into San Fran and we met up at the airport a couple of days before the run. We checked out the expo to get my race packet, try out some free food and score some free samples from Paul Mitchell and Neutrogena. Nike also puts the names of all the runners on display at their San Fran store, so we had to stop and take a pic. The atmosphere was so energetic it was contagious. Everyone was excited to be there and ready for the race.
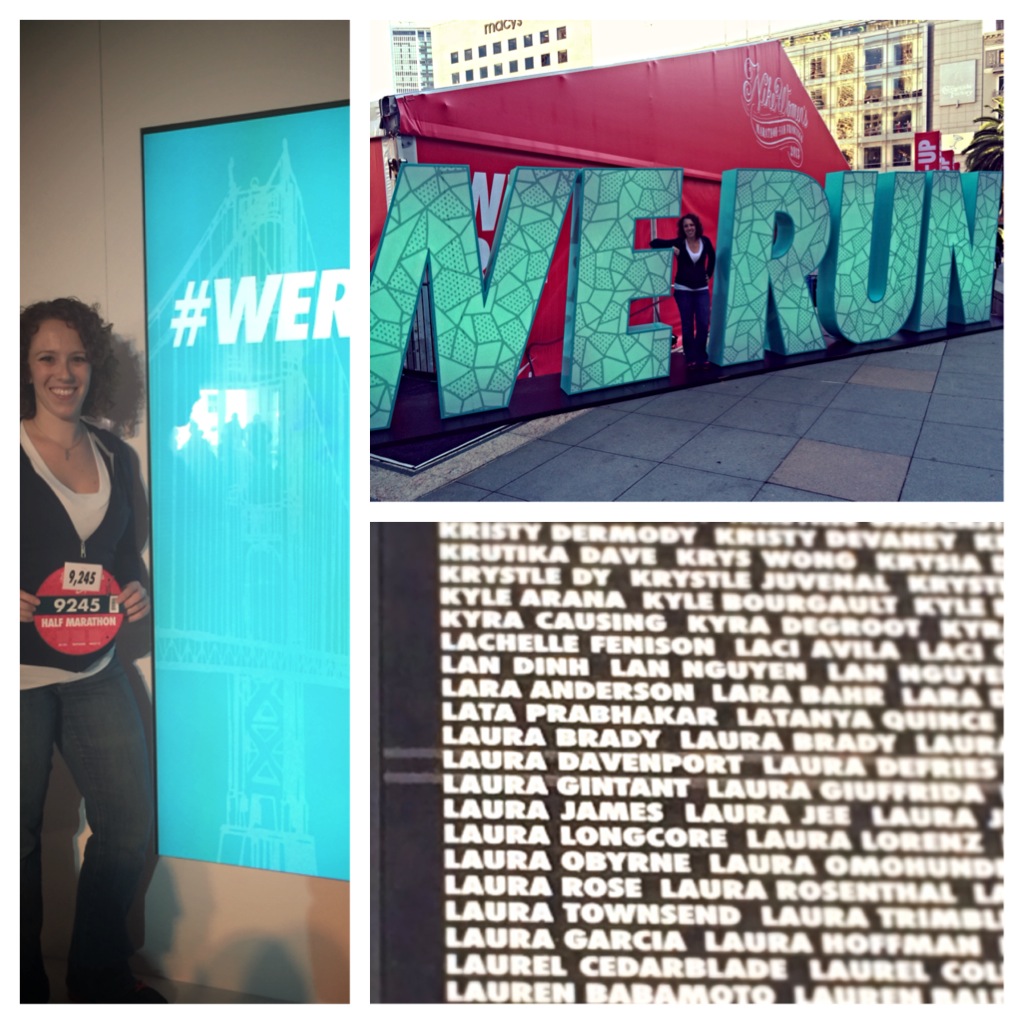
At the NWM Expo 2013
Since the race was on Sunday, we spent Saturday doing a little sightseeing. Not too much walking was my only rule. So we checked out the farmer’s market at the Ferry Building, did a little shopping and met up with the rest of the team who flew in for dinner that night.
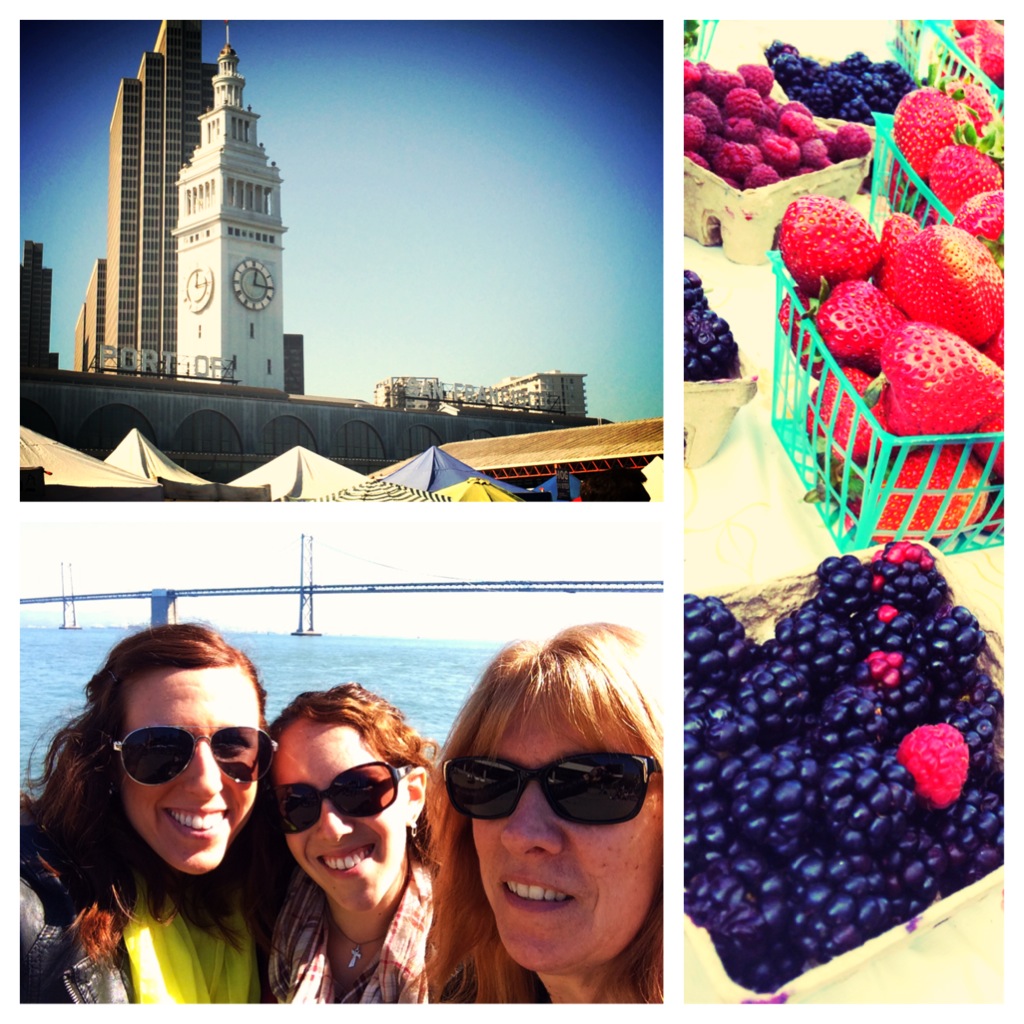
Spending time at the Ferry Building and Farmer’s Market
Sunday, race day! Of course I was nervous, I get nervous before every race! A few of us met up at the start line and actually stuck together for most of the race. Let me tell you, running with people you know and chatting makes it go by so much quicker and is much more fun! I used to think I would rather run alone, just me and my thoughts, but chatting and encouraging each other throughout the course made it much easier! Now I know everyone thinks if you’re running in San Francisco you’re running up the steep hills. Not true! The first 5 miles or so is flat, you run through downtown and along the Embarcadero. These miles went by quickly and at mile 5 we thought that we could totally take on a full marathon some day. Miles 6-10 you’re up in the Presidio, so yeah it’s hilly in there, but mile 10 makes it all worth it when you hang a left and see the beach and ocean just open up in front of you. We kept joking about how the hills were nothing compared to the hills on the trails we ran at home. Miles 11-13 you run through Golden Gate Park and take in all the scenery. I kind of hit my wall around mile 11 thinking that I still had 2 more miles to go and how tired I was getting. But, a few of the girls were nearby and actually picked up the pace a little. They helped me get over the wall and find the energy to kick it into the finish. I love the entire route because you get to see San Francisco, the Golden Gate Bridge, and be right by the ocean. It’s challenging, but definitely worth it.
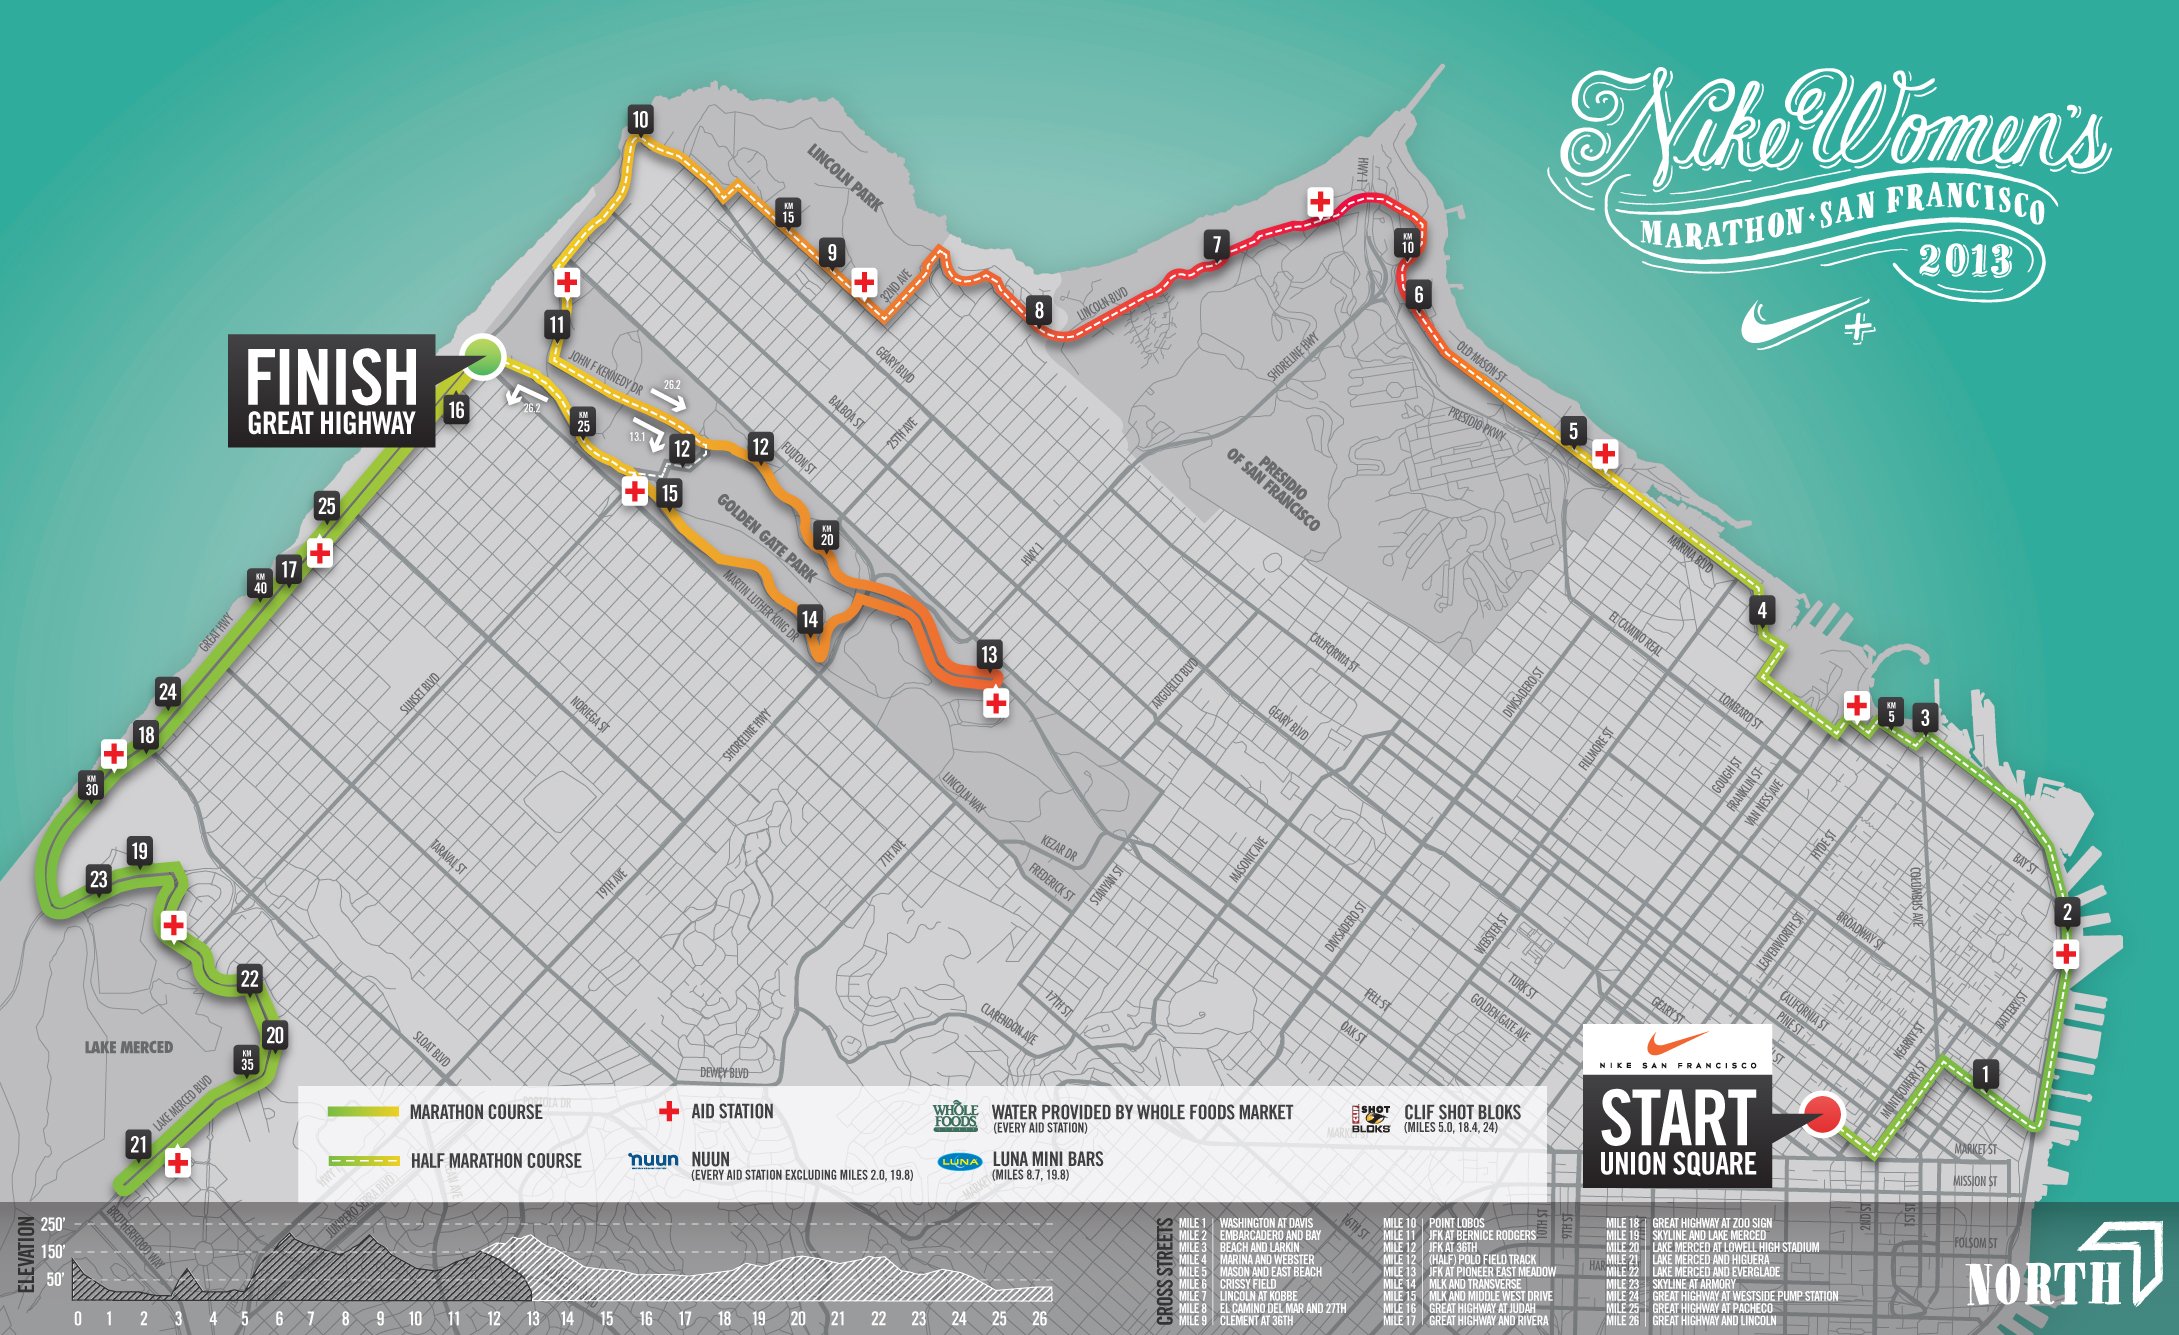
2013 NWM Course Map
I finished in 2:17, 11 minutes faster than my previous time and that is now my new PR! I was so happy with my time and felt great! My legs were tired, and I was thirsty but I earned that finisher’s t-shirt and necklace! Of course we had to take a picture with the handsome fireman too.

Finishers!
My mom and my sister were a fantastic cheering section! They made their own t-shirts to wear and signs to hold up on the course. We saw them around mile 4 and again at the finish line. I was so glad they were both able to come out and cheer me on! It was a fun girls weekend. After the race and a hot shower, I wanted one thing, a gigantic Ghirardelli ice cream sundae!
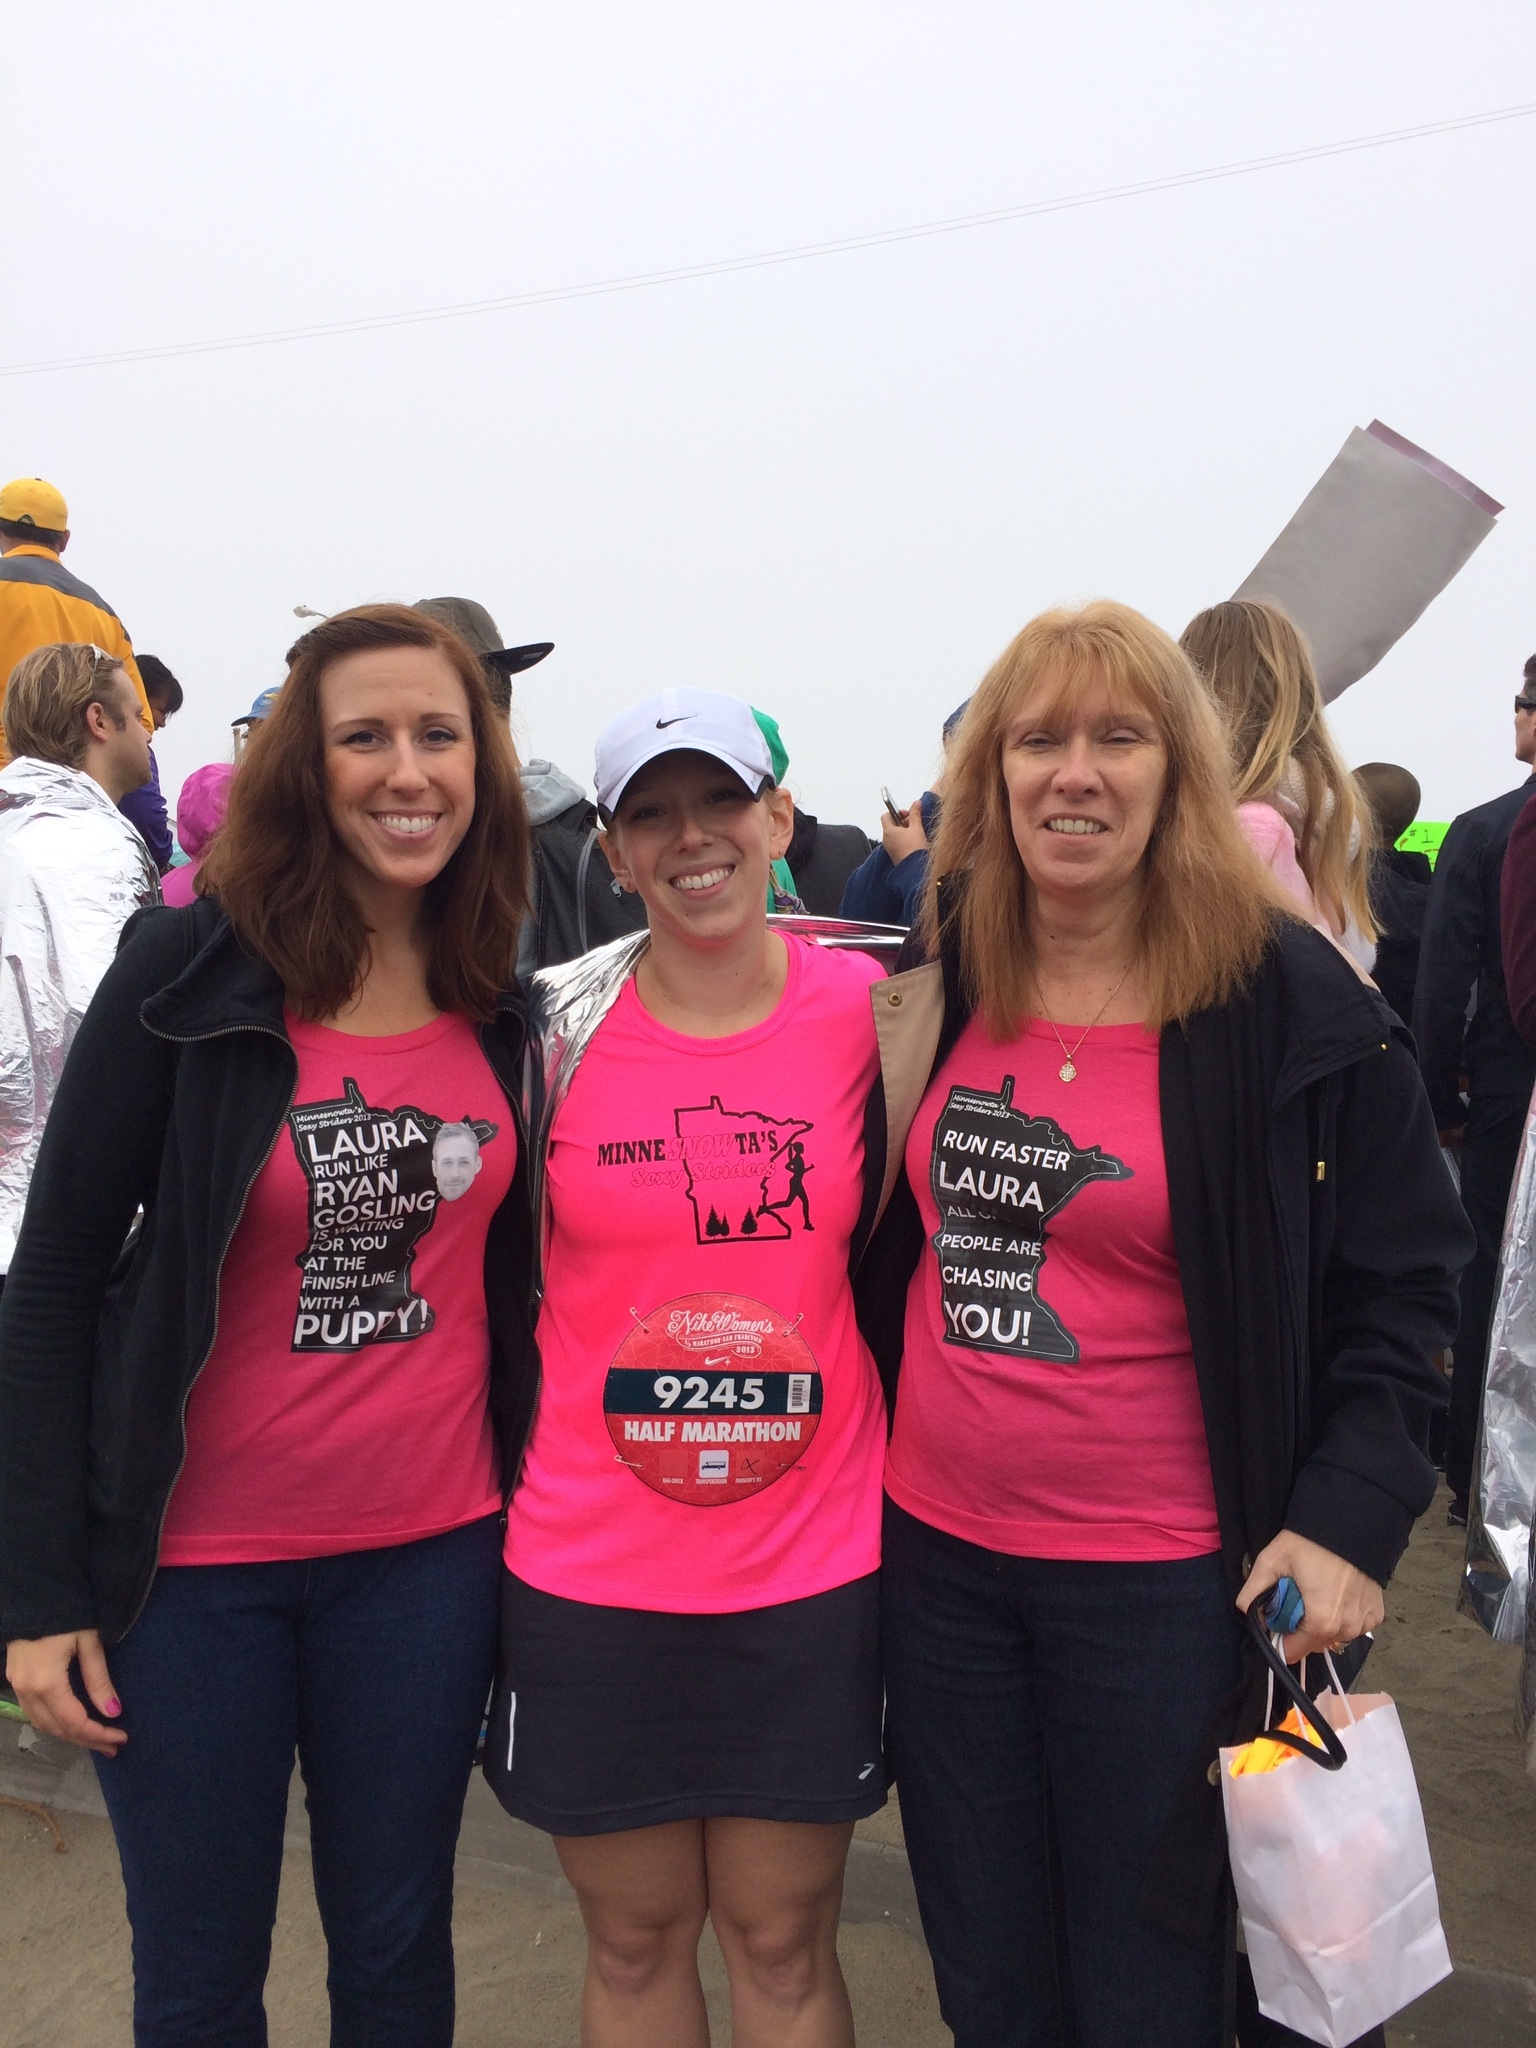
At the finish line with my awesome cheering section!
We all flew back home on Monday, and my mom was already asking where my next destination race will be. So I’m taking suggestions! Let me know if you’ve done a destination race that you really enjoyed. So far the Disney Princess Half-Marathon, the Honolulu Marathon and Athens Marathon are on the list!
Crockpot Chicken Pot Pie
October 14, 2013
Crockpot season is officially upon us! As soon as the weather starts to turn colder and grey, I love to pull out the crockpot (or slowcooker depending on where you’re from), throw everything in the night before, have it cook all day and have dinner ready when we get home from work the next day. (Yes I know you can use them year round, but something feels wrong about using the crock pot in the middle of the summer to me.) It’s so easy and really nice to not always have to cook every night! I do feel bad for Maggie sometimes though since she has to smell the food cooking all day long, then never gets to have any.
We both love chicken pot pie, it just feels like a comfort food to me. I remember eating Marie Callender’s mini pot pies when I was growing up on cold fall and winter days, so it brings back memories of growing up in upstate New York and all the snow we got. After searching for the perfect crock pot chicken pot pie recipe, we ended up combining elements of a few different ones. Instead of pouring the filling into a pie, we decided to make some refrigerated biscuits and serve the pot pie filling over the biscuits. I’m sure it would have been just as easy to make the pie but the biscuits were a fun twist.
Now, I get skeptical with any crock pot chicken recipe. I have a horrible track record with the chicken turning out dry, so naturally I was nervous, but it turned out great! The chicken was not dry at all and it was the perfect warm and hearty dinner for a grey and rainy day.
Crock Pot Chicken Pot Pie
3-4 chicken breasts, chopped into bite size pieces
4-5 red potatoes, chopped into bite size pieces
1/2 onion, chopped
2 cups frozen veggies (I used 1 c of corn and 1 c of peas)
1 large (family size) can cream of chicken soup
salt and pepper to taste
2 cans refrigerated biscuits
1. Chop and dice the chicken, potatoes and onion. Place into the crock pot.
2. Add in the frozen veggies, cream of chicken soup and salt and pepper. Stir all the ingredients together so the soup evenly coats all the ingredients.

The chicken pot pie mixture, all stirred up and ready to go!
3. Cook on low 6-8 hours, until chicken and potatoes are cooked. We cooked it on low for 8 hours and everything was done when we got home from work.
My mom bought me this crock pot as a Christmas gift last year…I have never been more excited to get kitchen gadgets as a present! It has a fantastic feature that allows you to set your cook time, and after the cook time is up, it automatically switches the heat to warm so you dish doesn’t get cold, or keep cooking.
4. When it’s time to eat, bake the biscuits according to the package directions.
5. When the biscuits are done, open them up and serve the pot pie mixture over the biscuits.

Chicken Pot Pie over Biscuits
It tasted delicious! I loved having the flavor from the onion in there, plus the heartiness of the potatoes. The chicken was not dry at all, and it fell apart easily. There was enough pot pie filling for us to have dinner that night, plus leftovers for at least 2 more meals. The one thing I would do different though is season the chicken before putting it into the crock pot. We thought the flavor was good but it could have used a little more pepper. Seasoning the chicken as well as the entire mixture might help kick up the flavor just a little bit. This recipe is definitely being saved and made again sometime this winter! Anyone have any variations on chicken pot pie that they have tried before?
Pasta with Basil Pesto and Roasted Tomatoes
October 11, 2013
The weather is slowly turning to fall, which means our garden is just about done for the year. I really enjoyed all the fresh herbs, cucumbers and tomatoes all summer long. For some reason though, our basil and cherry tomato plants are still growing! I was pulling plants the other day and I think I picked at least 2 cups worth of cherry tomatoes! I needed to figure out something to do with all the tomatoes and basil, quickly before they spoiled sitting around our house. It was perfect timing too, we ran the Twin Cities 10k last Saturday as our race for October and I was still searching for a good pre-race meal. Well with all the basil and tomatoes, what better than homemade pesto with oven roasted tomatoes and chicken over pasta!
Pesto
I’ve always loved Giada’s peso recipe. It’s fairly easy to make and really hard to mess up.
1 garlic clove
2 cups fresh basil leaves
1/4 cup pine nuts
Salt and black pepper
1/2 cup – 3/4 cup extra-virgin olive oil
1/2 cup grated Parmesan
1. Add garlic, basil, pine nuts, salt and pepper into a food processor. Pulse until everything is finely chopped.
2. While the blender is still running, slowly pour in 1/2 c of the olive oil. You want the pesto to have a thick but smooth consistency. You can always add more oil if necessary.
3. Add the Parmesan and blend until the cheese is mixed in.
I know pine nuts are expensive, so I’ve substituted walnuts and even almonds in a pinch. I couldn’t really tell any difference in taste between pesto with pine nuts and pesto with walnuts. I know the recipe calls for toasting or roasting the pine nuts, but I always forget this step! I’m sure the flavors would be different, so someday I’ll have to remember to roast whatever nuts I’m using.
Roasted Tomatoes
This could not have been easier to do, and you could use any seasoning you feel like.
As many tomatoes as you want
Olive Oil
Balsalmic Vinear
Salt and Pepper or other seasoning to taste
1. Preheat oven to 400°F
2. Chop all the tomatoes in half or bite size pieces depending on what type of tomatoes you are using. I also cut up some of the extra roma tomatoes we had sitting around.
2. Place into a large mixing bowl. Toss with olive oil, vinegar and seasonings.
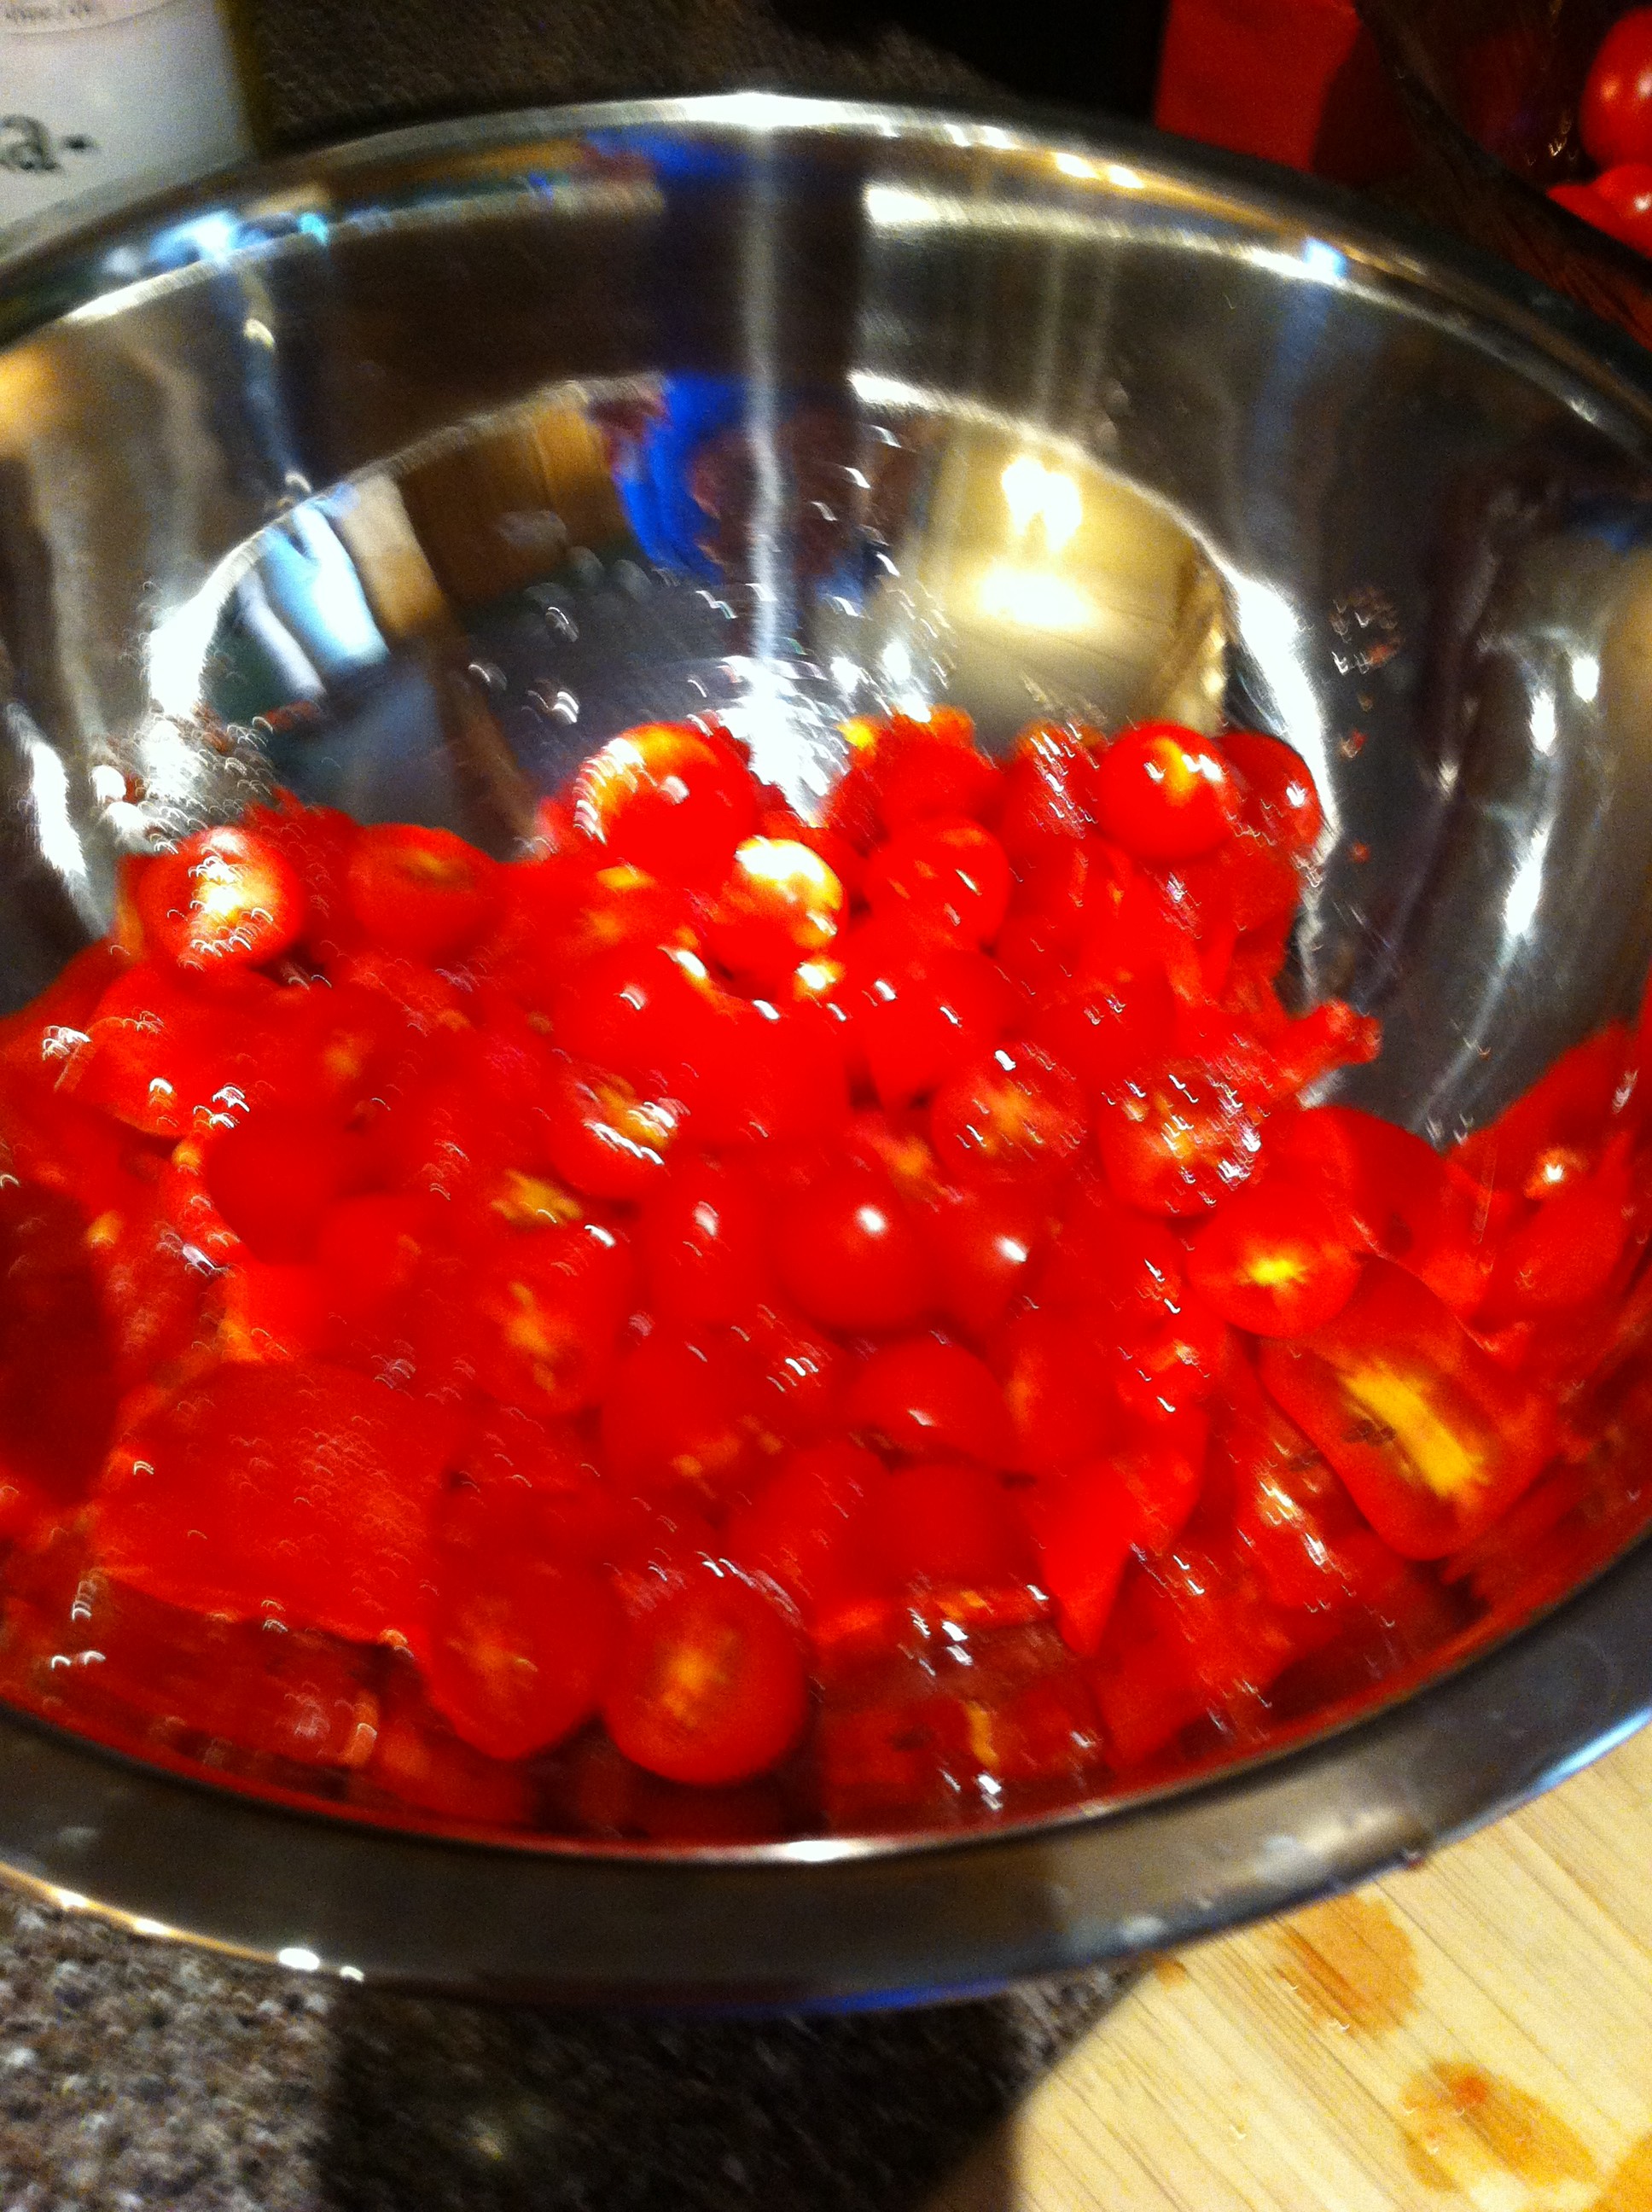
Seasoning the yummy tomatoes from the garden
3. Lay out onto a greased roasting pan or cookie sheet. Roast in oven for 8-12 minutes, or until the skins on the tomatoes begin to shrivel and brown.
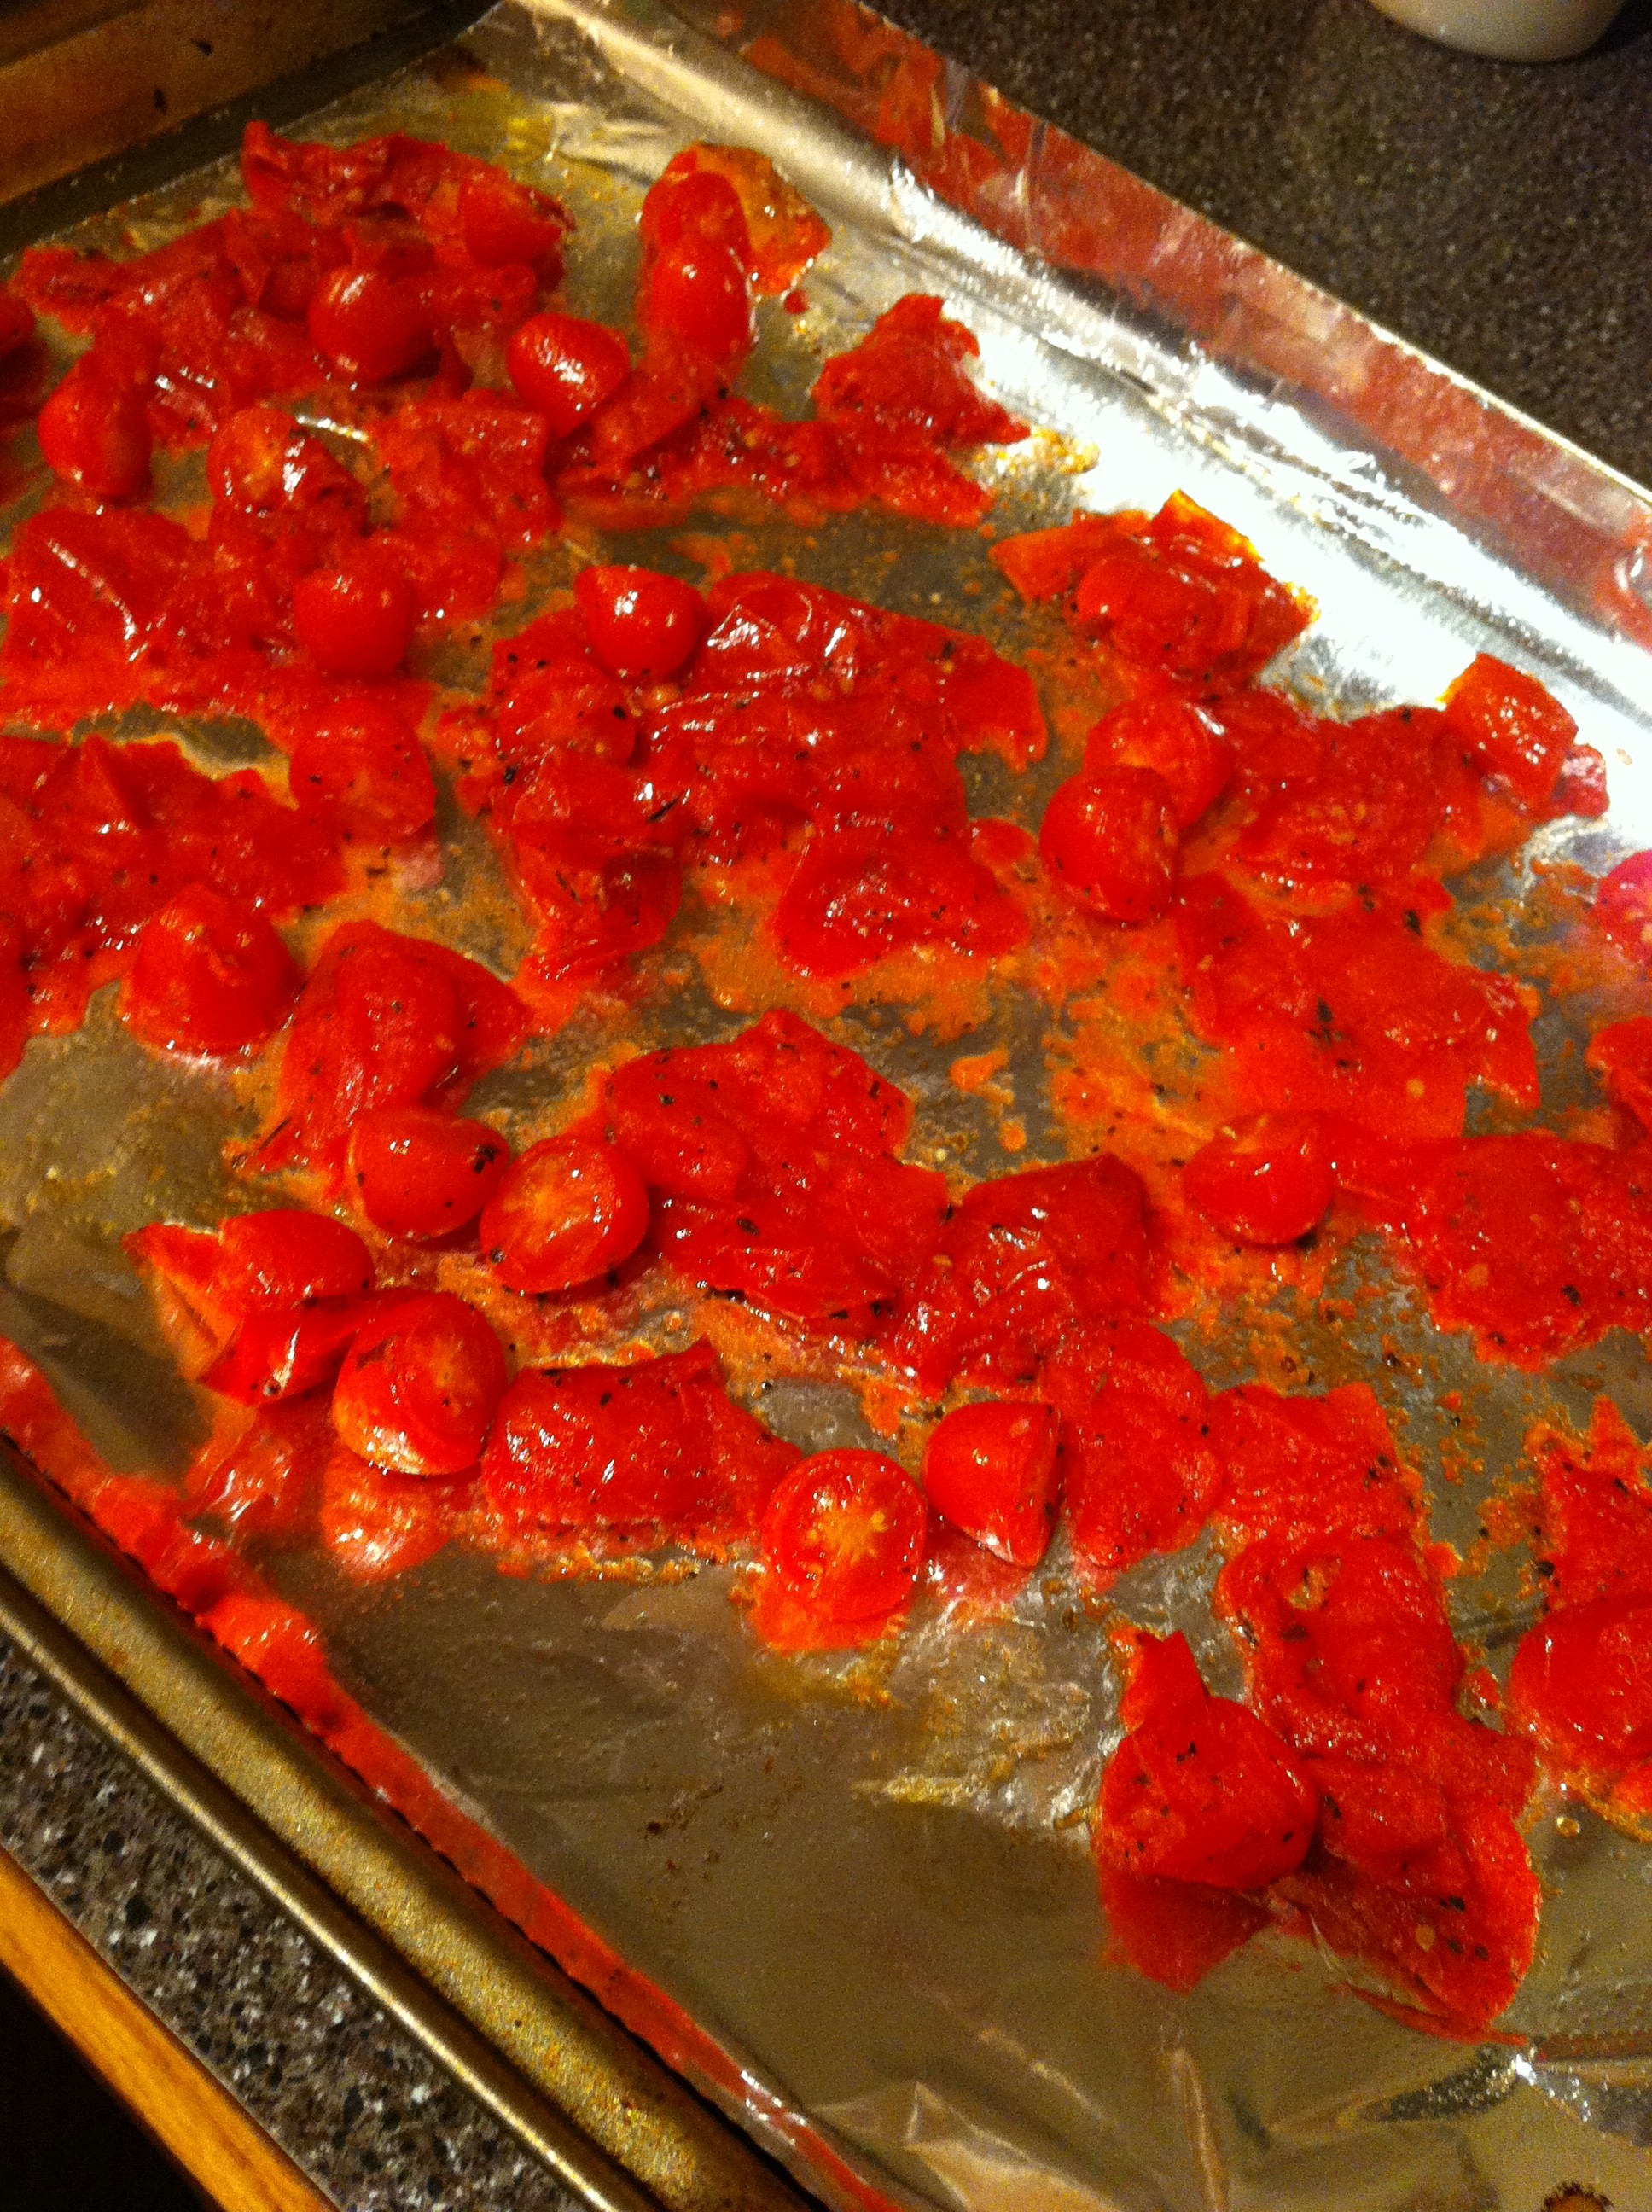
Finished tomatoes
While I was roasting the tomatoes and making the pesto, I boiled half a box of rotini (it was all we had left in the house for pasta choices) seasoned some chicken breast with Italian seasoning and baked it in the oven. When the pasta was done, I mixed in the pesto and topped it with the roasted tomatoes, chicken and some more parmesan cheese.
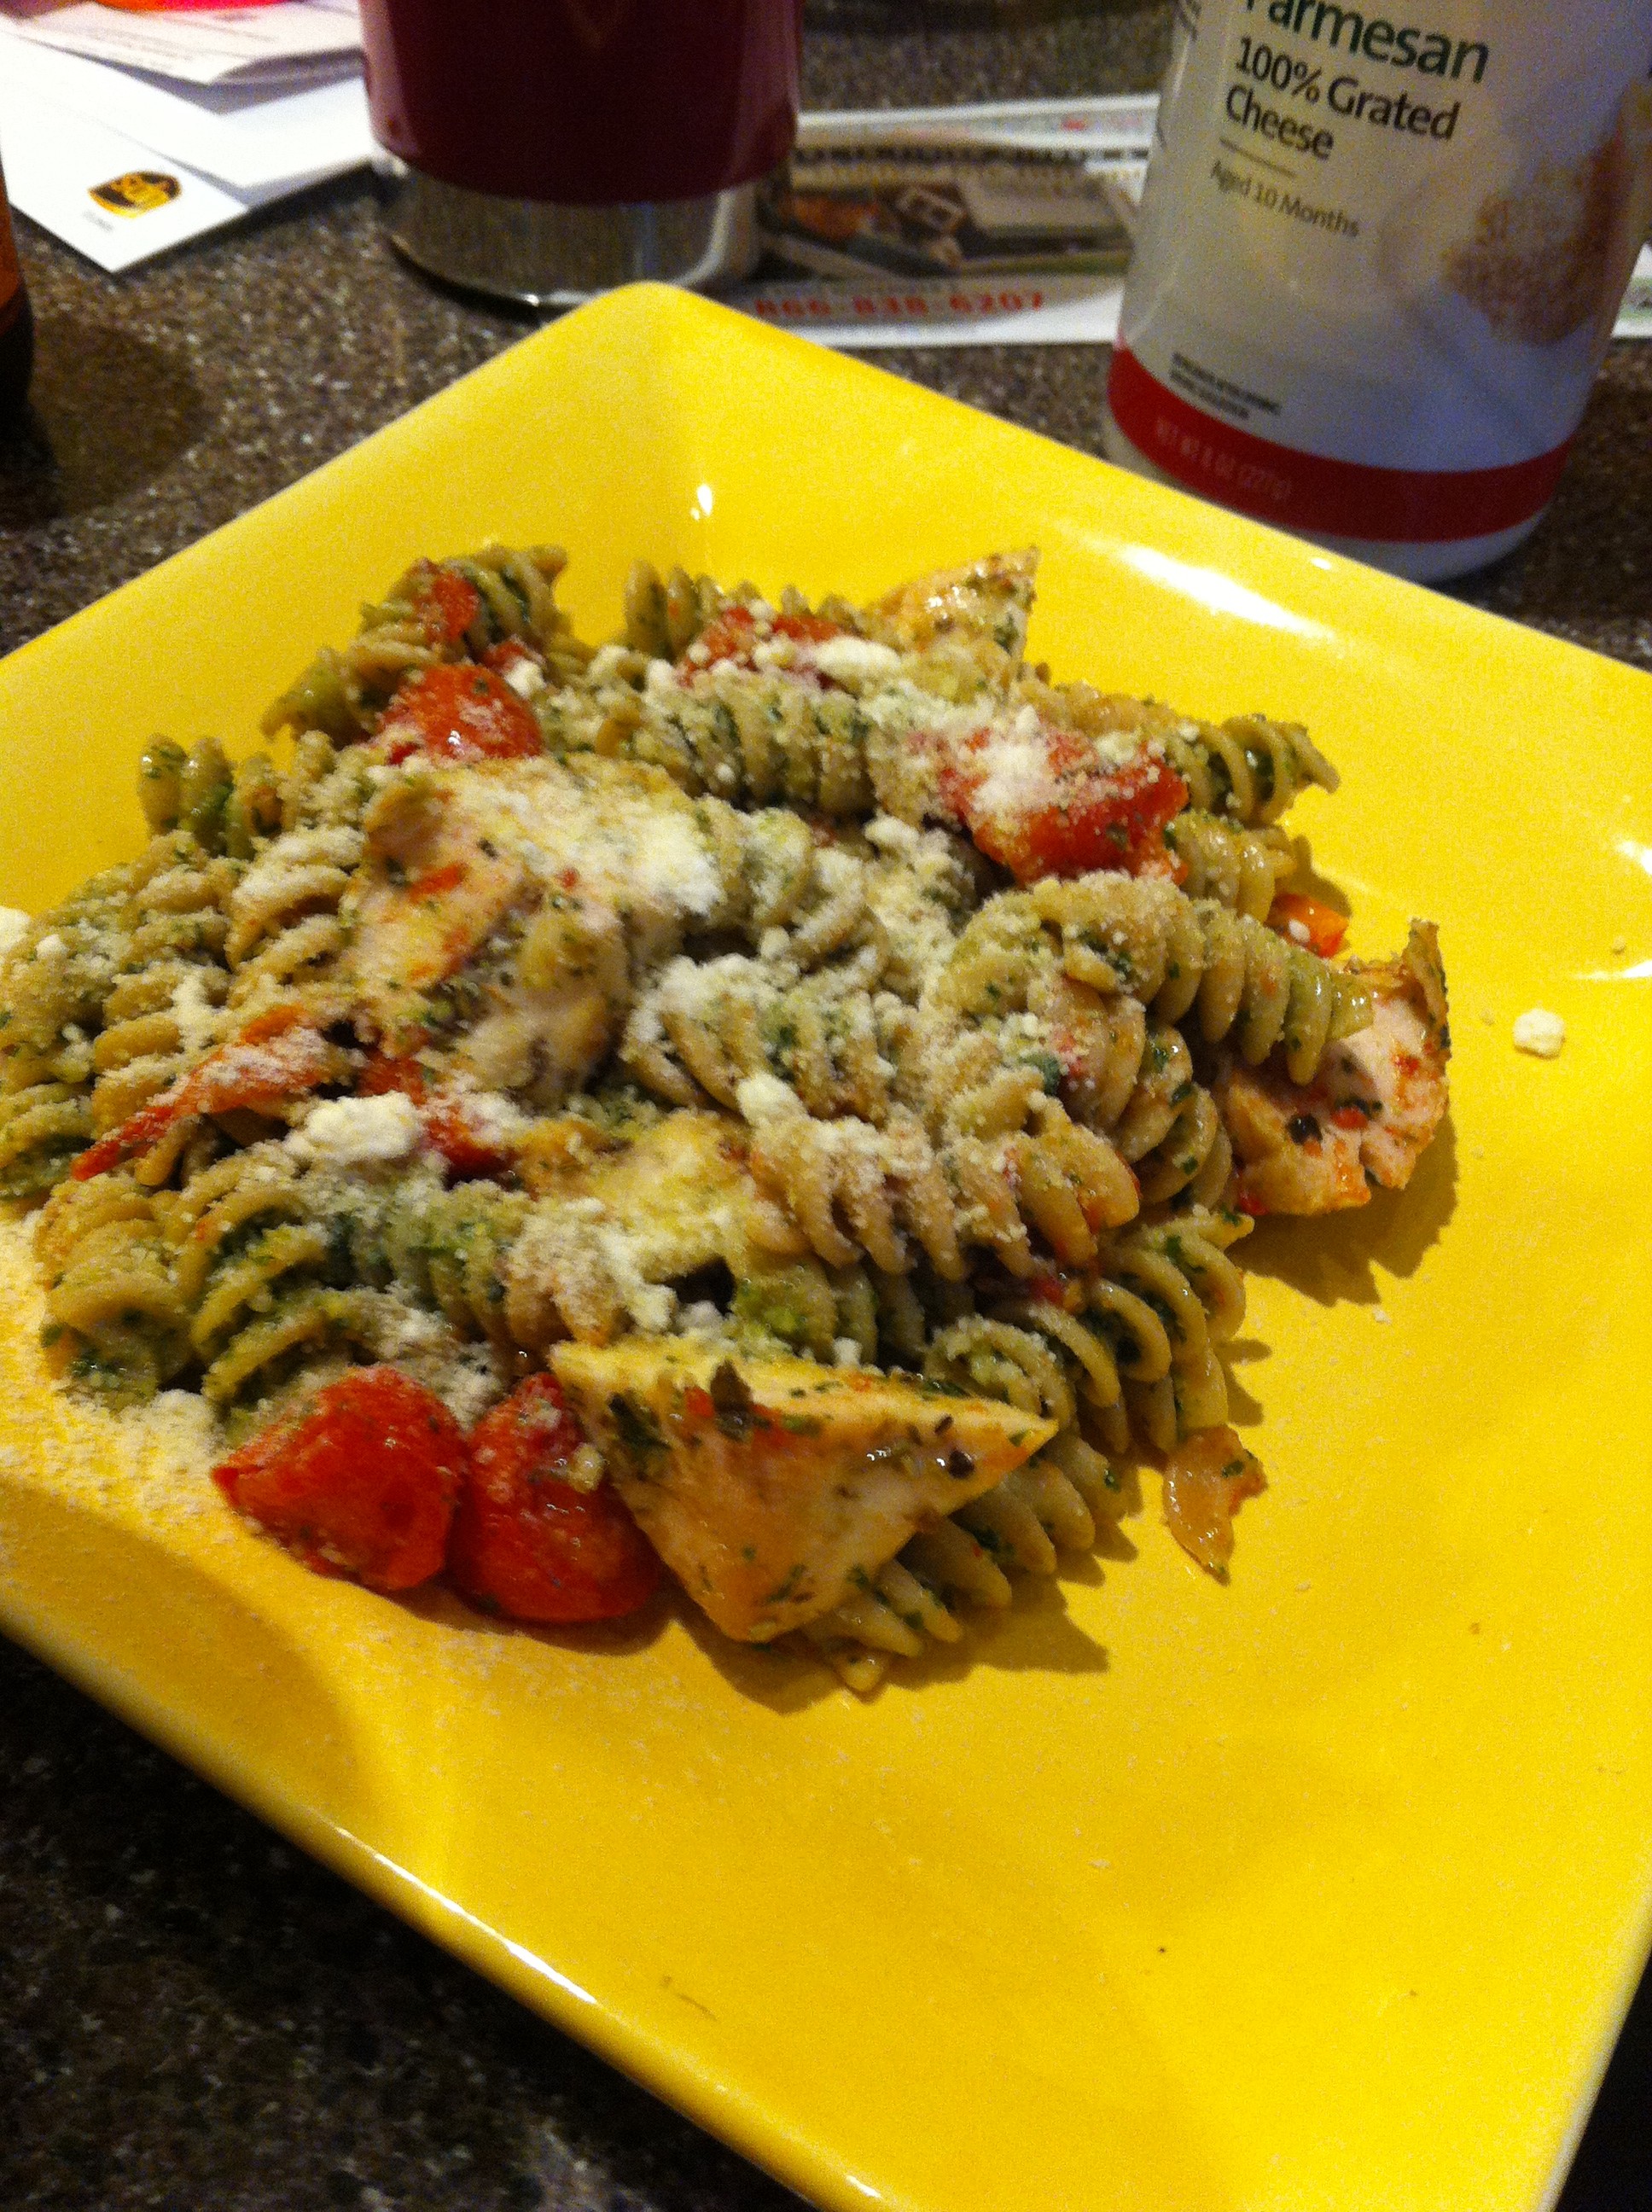
Finished dish
The pasta tasted amazing. All the flavors came together really well with the fresh basil, tomatoes, rosemary and oregano in the Italian seasoning. The flavors were pretty light but it was a filling dish! The whole combination must have been perfect pre-race fuel too. Both Jason and I beat our goal times and set new PRs for a 10k! It was a beautiful course, starting by the capitol building in St. Paul, past the Cathedral, down Summit Ave with all the old houses and back. The best part was finishing on a downhill, running toward the capitol building, what a beautiful view. It might have been the course that helped us PR, but the dinner couldn’t have hurt either! I think we’ll be making this again the night before a race.
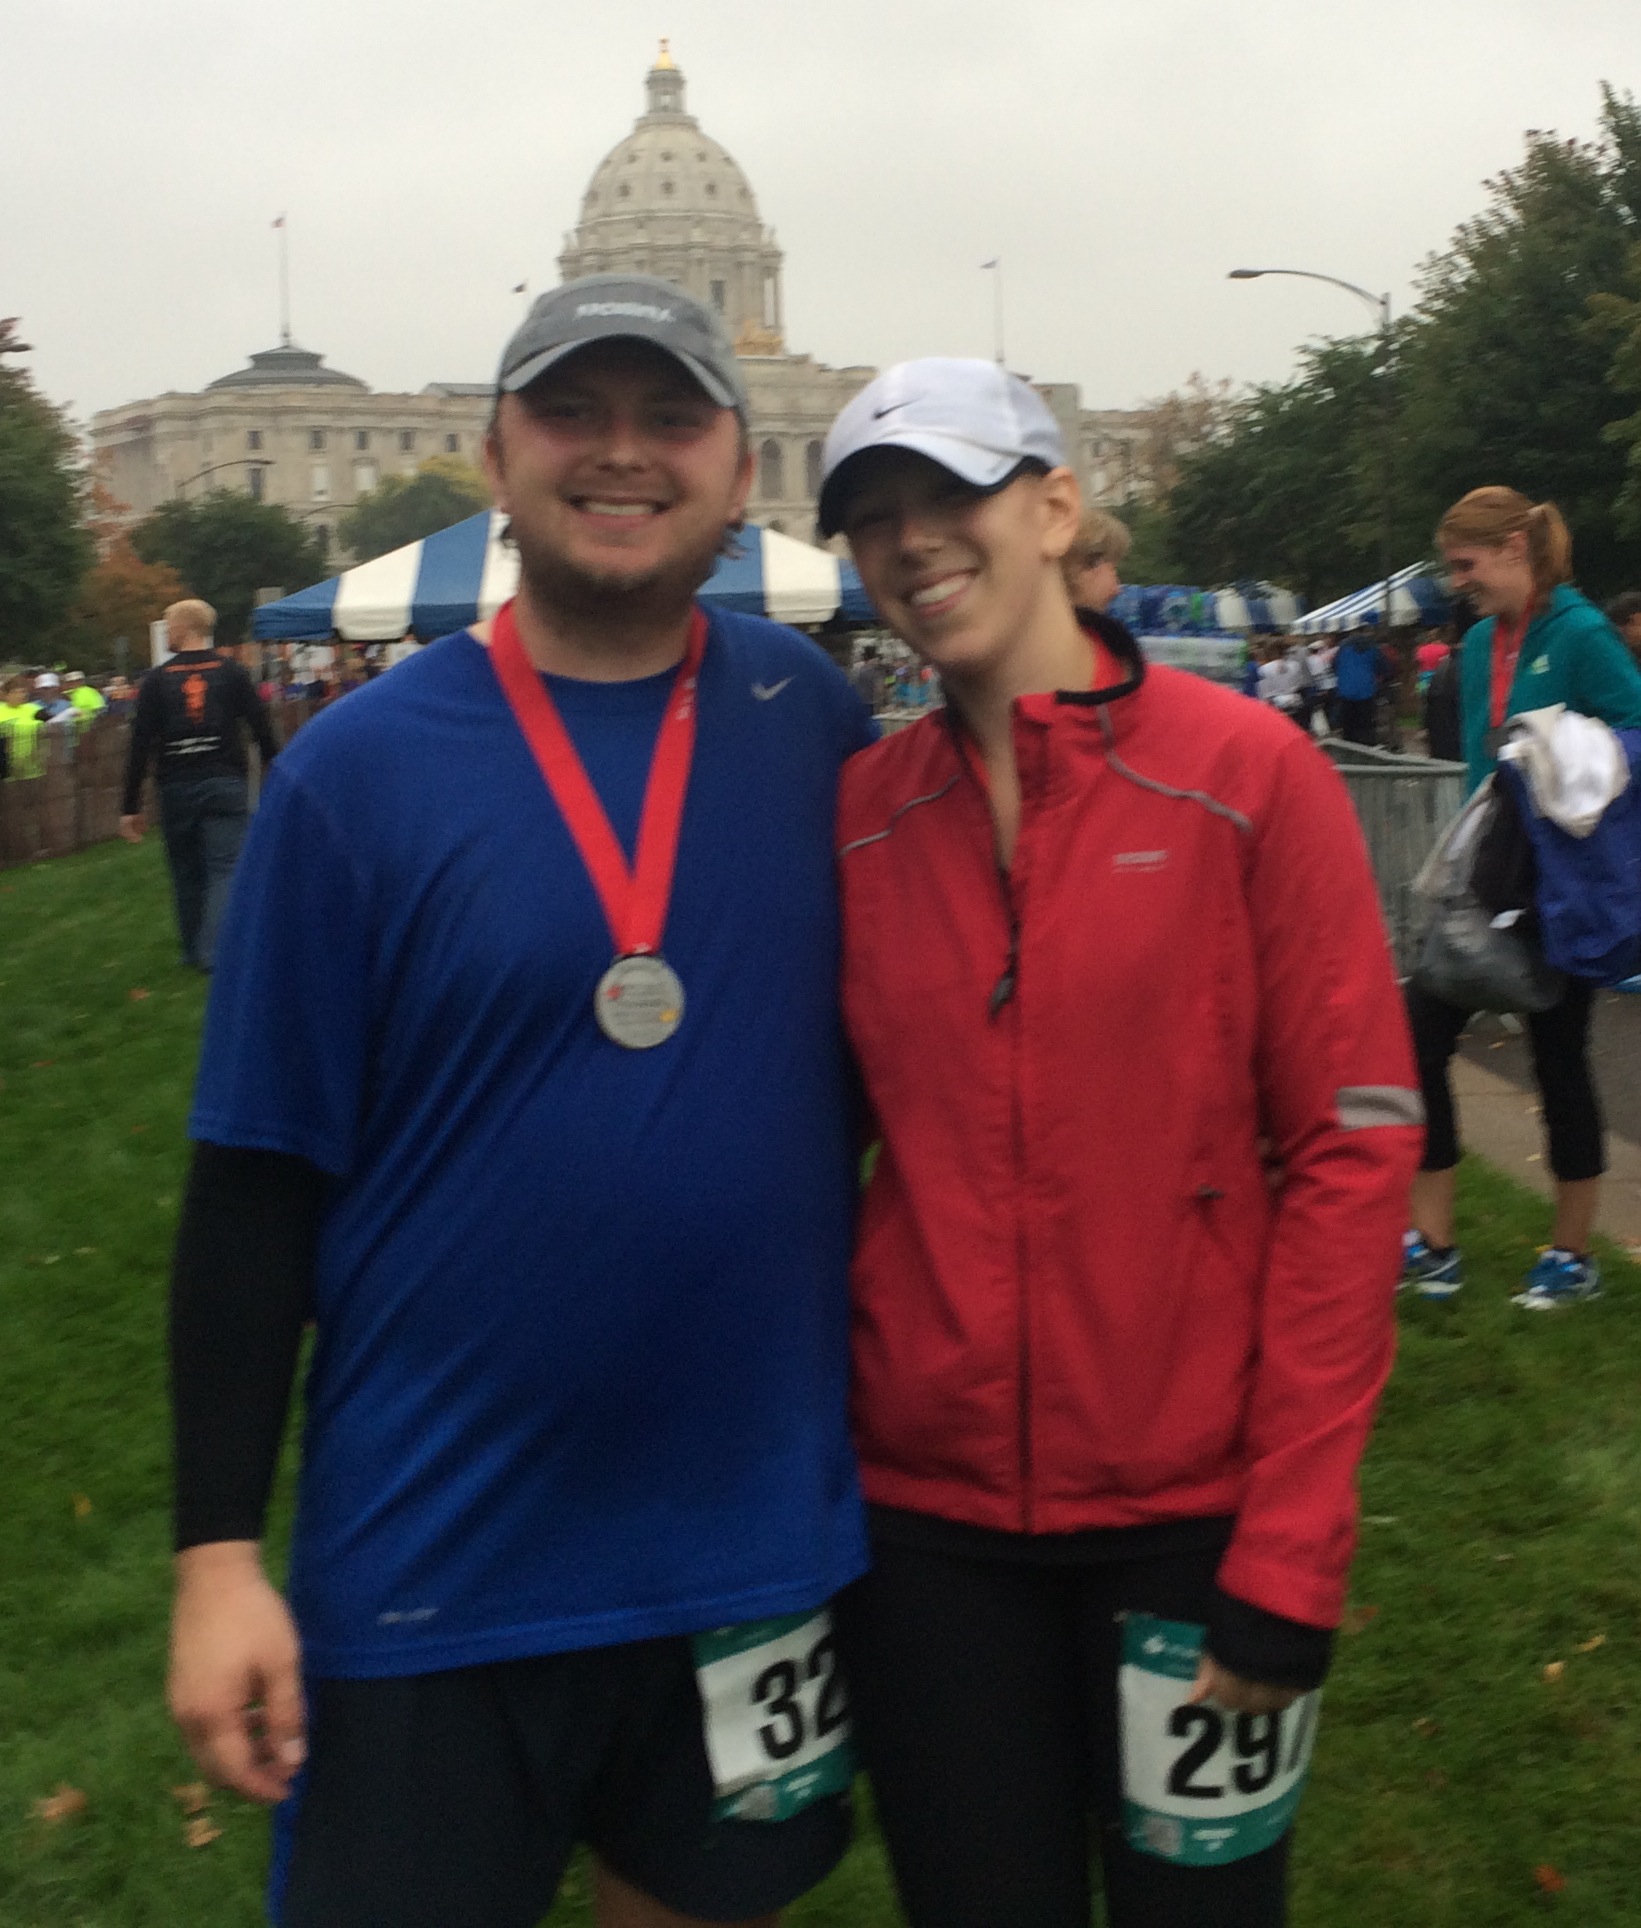
After the race with our medals and the capitol building
No-Bake S’mores
September 19, 2013
We went camping a couple of weekends ago at Mille Lacs State Park to check camping off my list of “Things to Do in Summer 2013.” It wasn’t my first time camping, but my first time really using my new backpack. We had a 3/4 mile hike out to our campsite on a small lake, beautiful, quiet and not too far for my first time backpacking. I loved it! Packing everything in the pack was a struggle for me trying to fit everything, (note to self, I need a better sleeping bag! One that is meant for backpacking.) but we planned ahead with clothes and meals so we had the right amount of food and all our supplies fit just perfectly. Maggie came along too and got to experience her first weekend camping. Being a beagle, she LOVED all the new smells and that we went on lots of long “walks.”

Big smile from Maggie on our hike
I insisted that we bring stuff to make s’mores, even though we were trying to save room in our packs. I love roasting marshmallows over the campfire, trying to get them perfectly toasted. I end up burning the marshmallow most of the time though. Plus, s’mores have chocolate so they’re an automatic delicious treat in my book!
Since we don’t have a fire pit to roast s’mores at home, Jason found a recipe to satisfy my s’mores craving…no bake s’mores! Making these were so easy and quick; it took about 30 minutes total, including the time the s’mores spent in the freezer. Here’s what you’ll need:
Graham crackers
Marshmallow fluff/creme
Chocolate to melt
Sprinkles or chopped nuts to add as a topping (optional)
1. Take the graham crackers and break them into quarters.
2. Using a knife or spatula, spread about a tablespoon of the marshmallow fluff/creme onto one graham cracker. Set aside on a cookie sheet lined with wax paper.
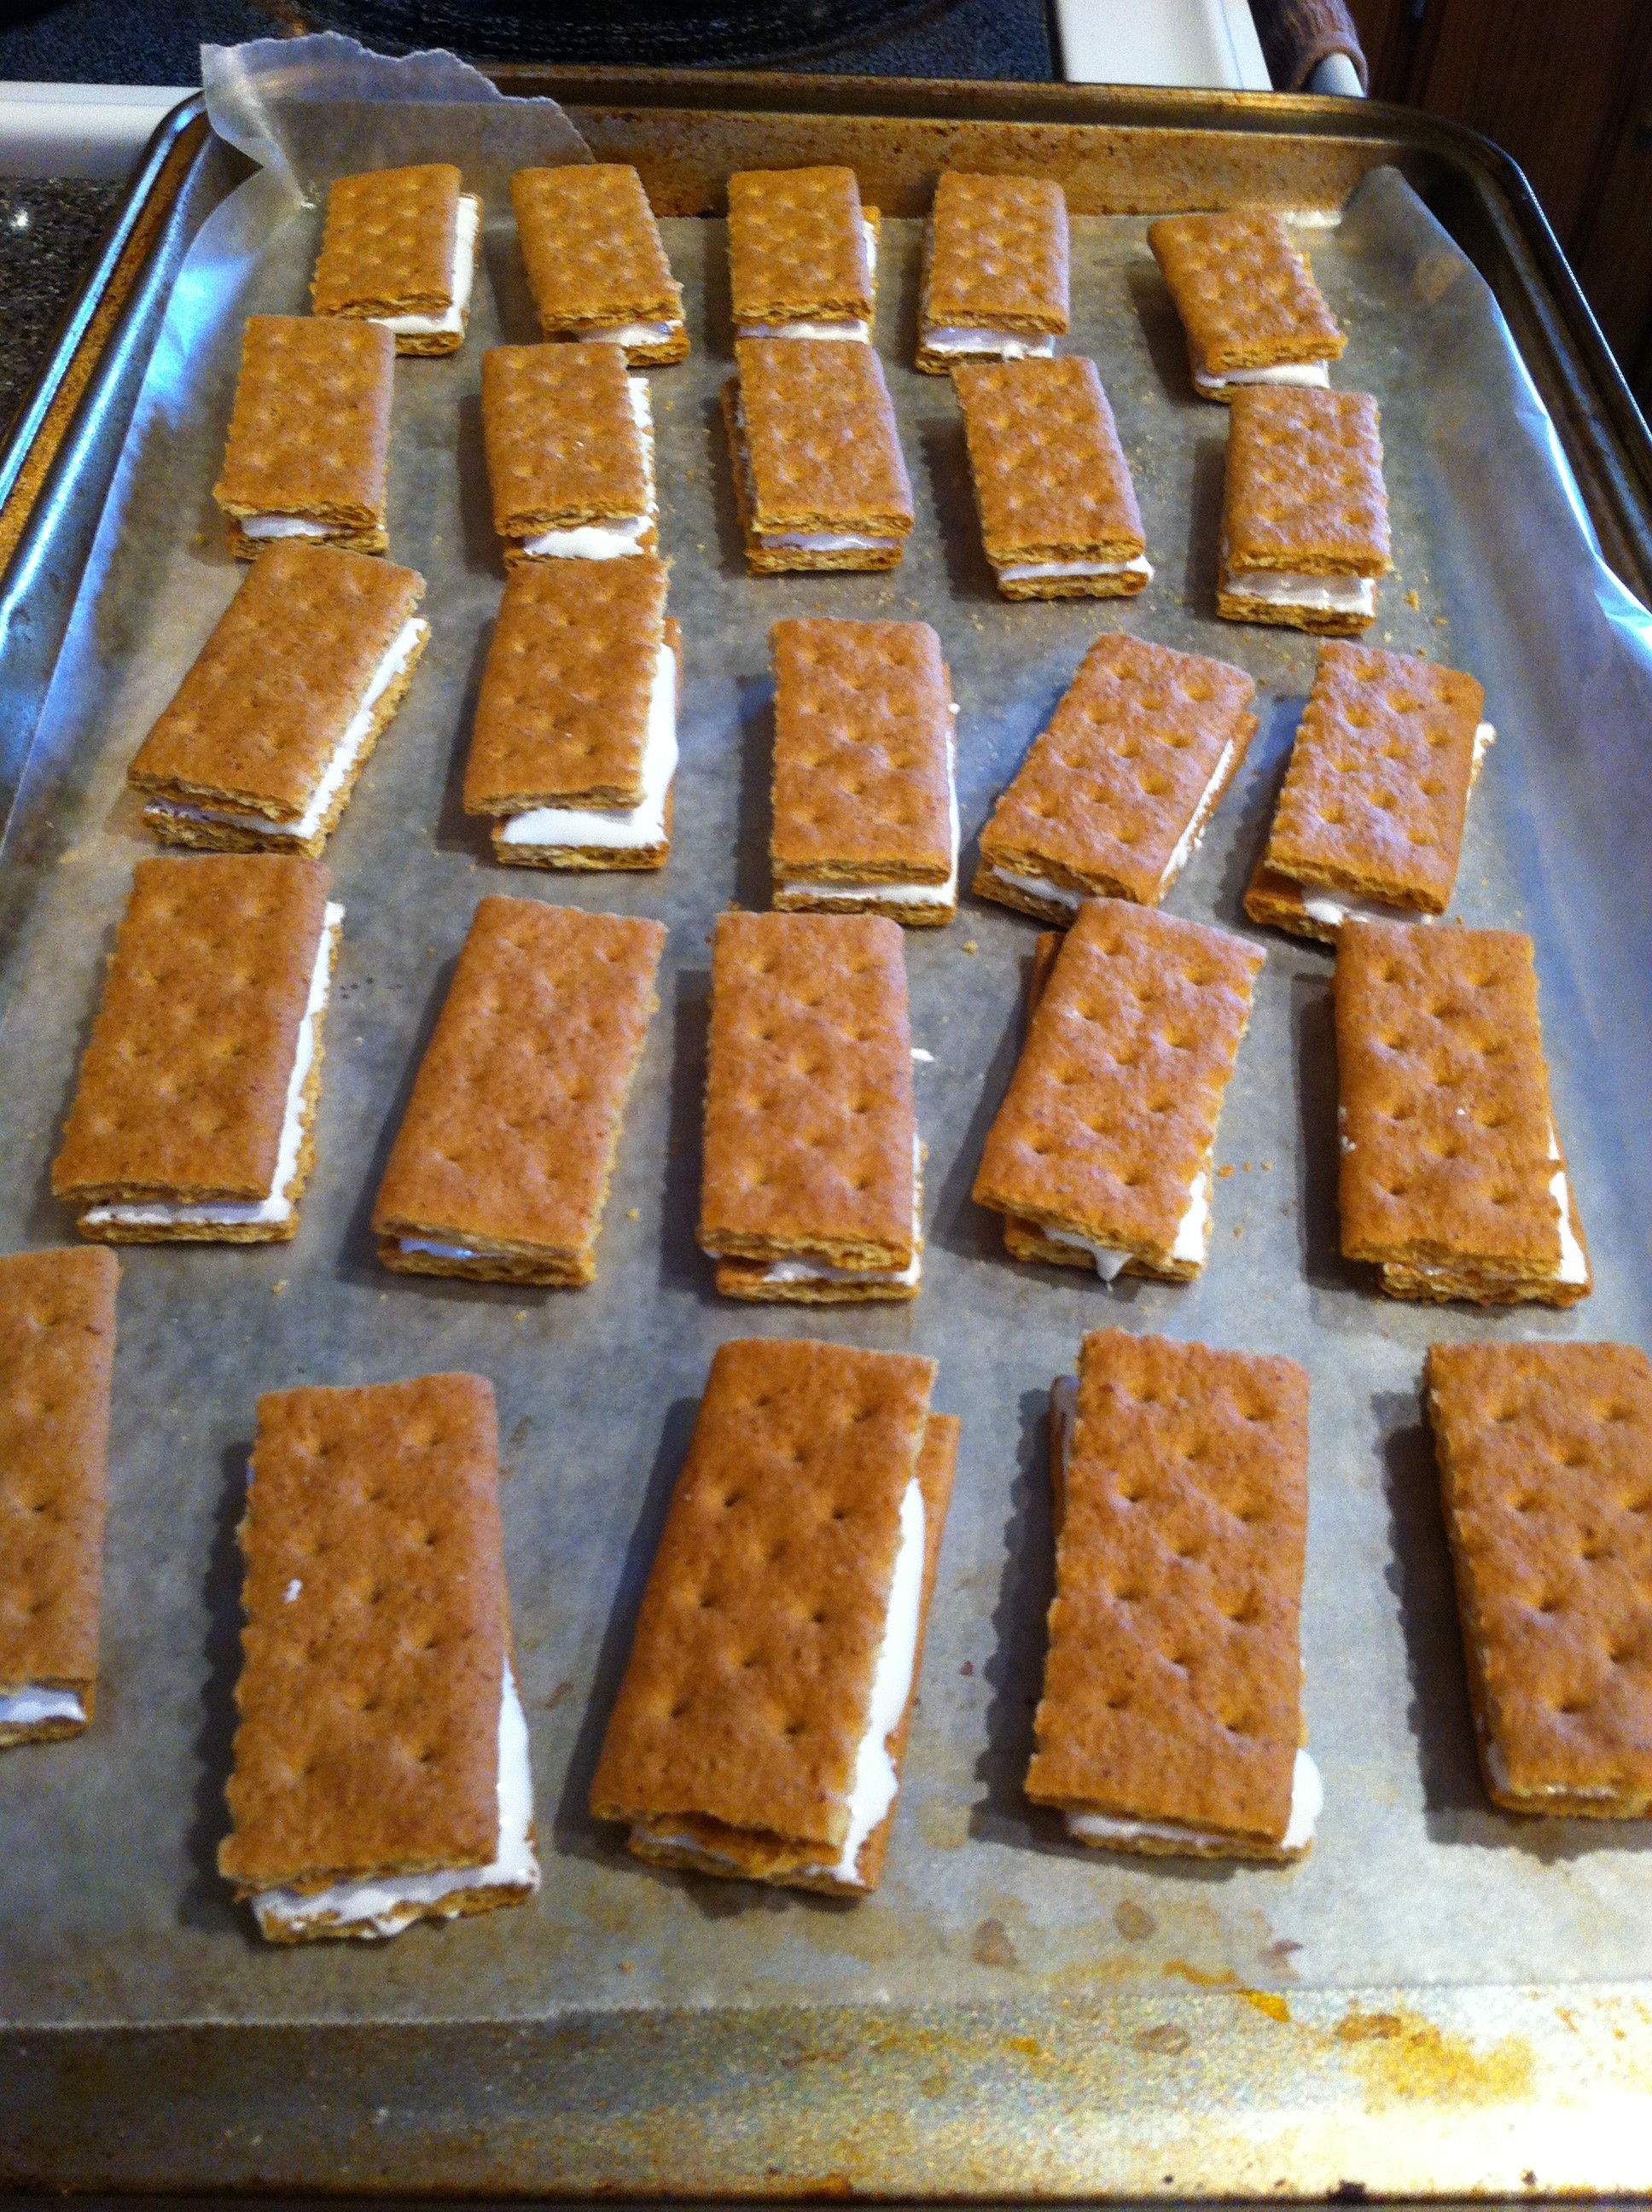
Graham Crackers and Marshmallow Fluff
3. Top with another graham cracker quarter. The fluff was a little runny, so we put them in the freezer for about 10 minutes.
4. Melt your chocolate. We used about 3/4 of a bag of Toll House’s milk chocolate chocolate chips. They melted fairly quickly, and were ready when we pulled the graham crackers out of the freezer, but you could use whatever chocolate you prefer. We used our “double boiler” set up, a metal mixing bowl over a pot of boiling water.
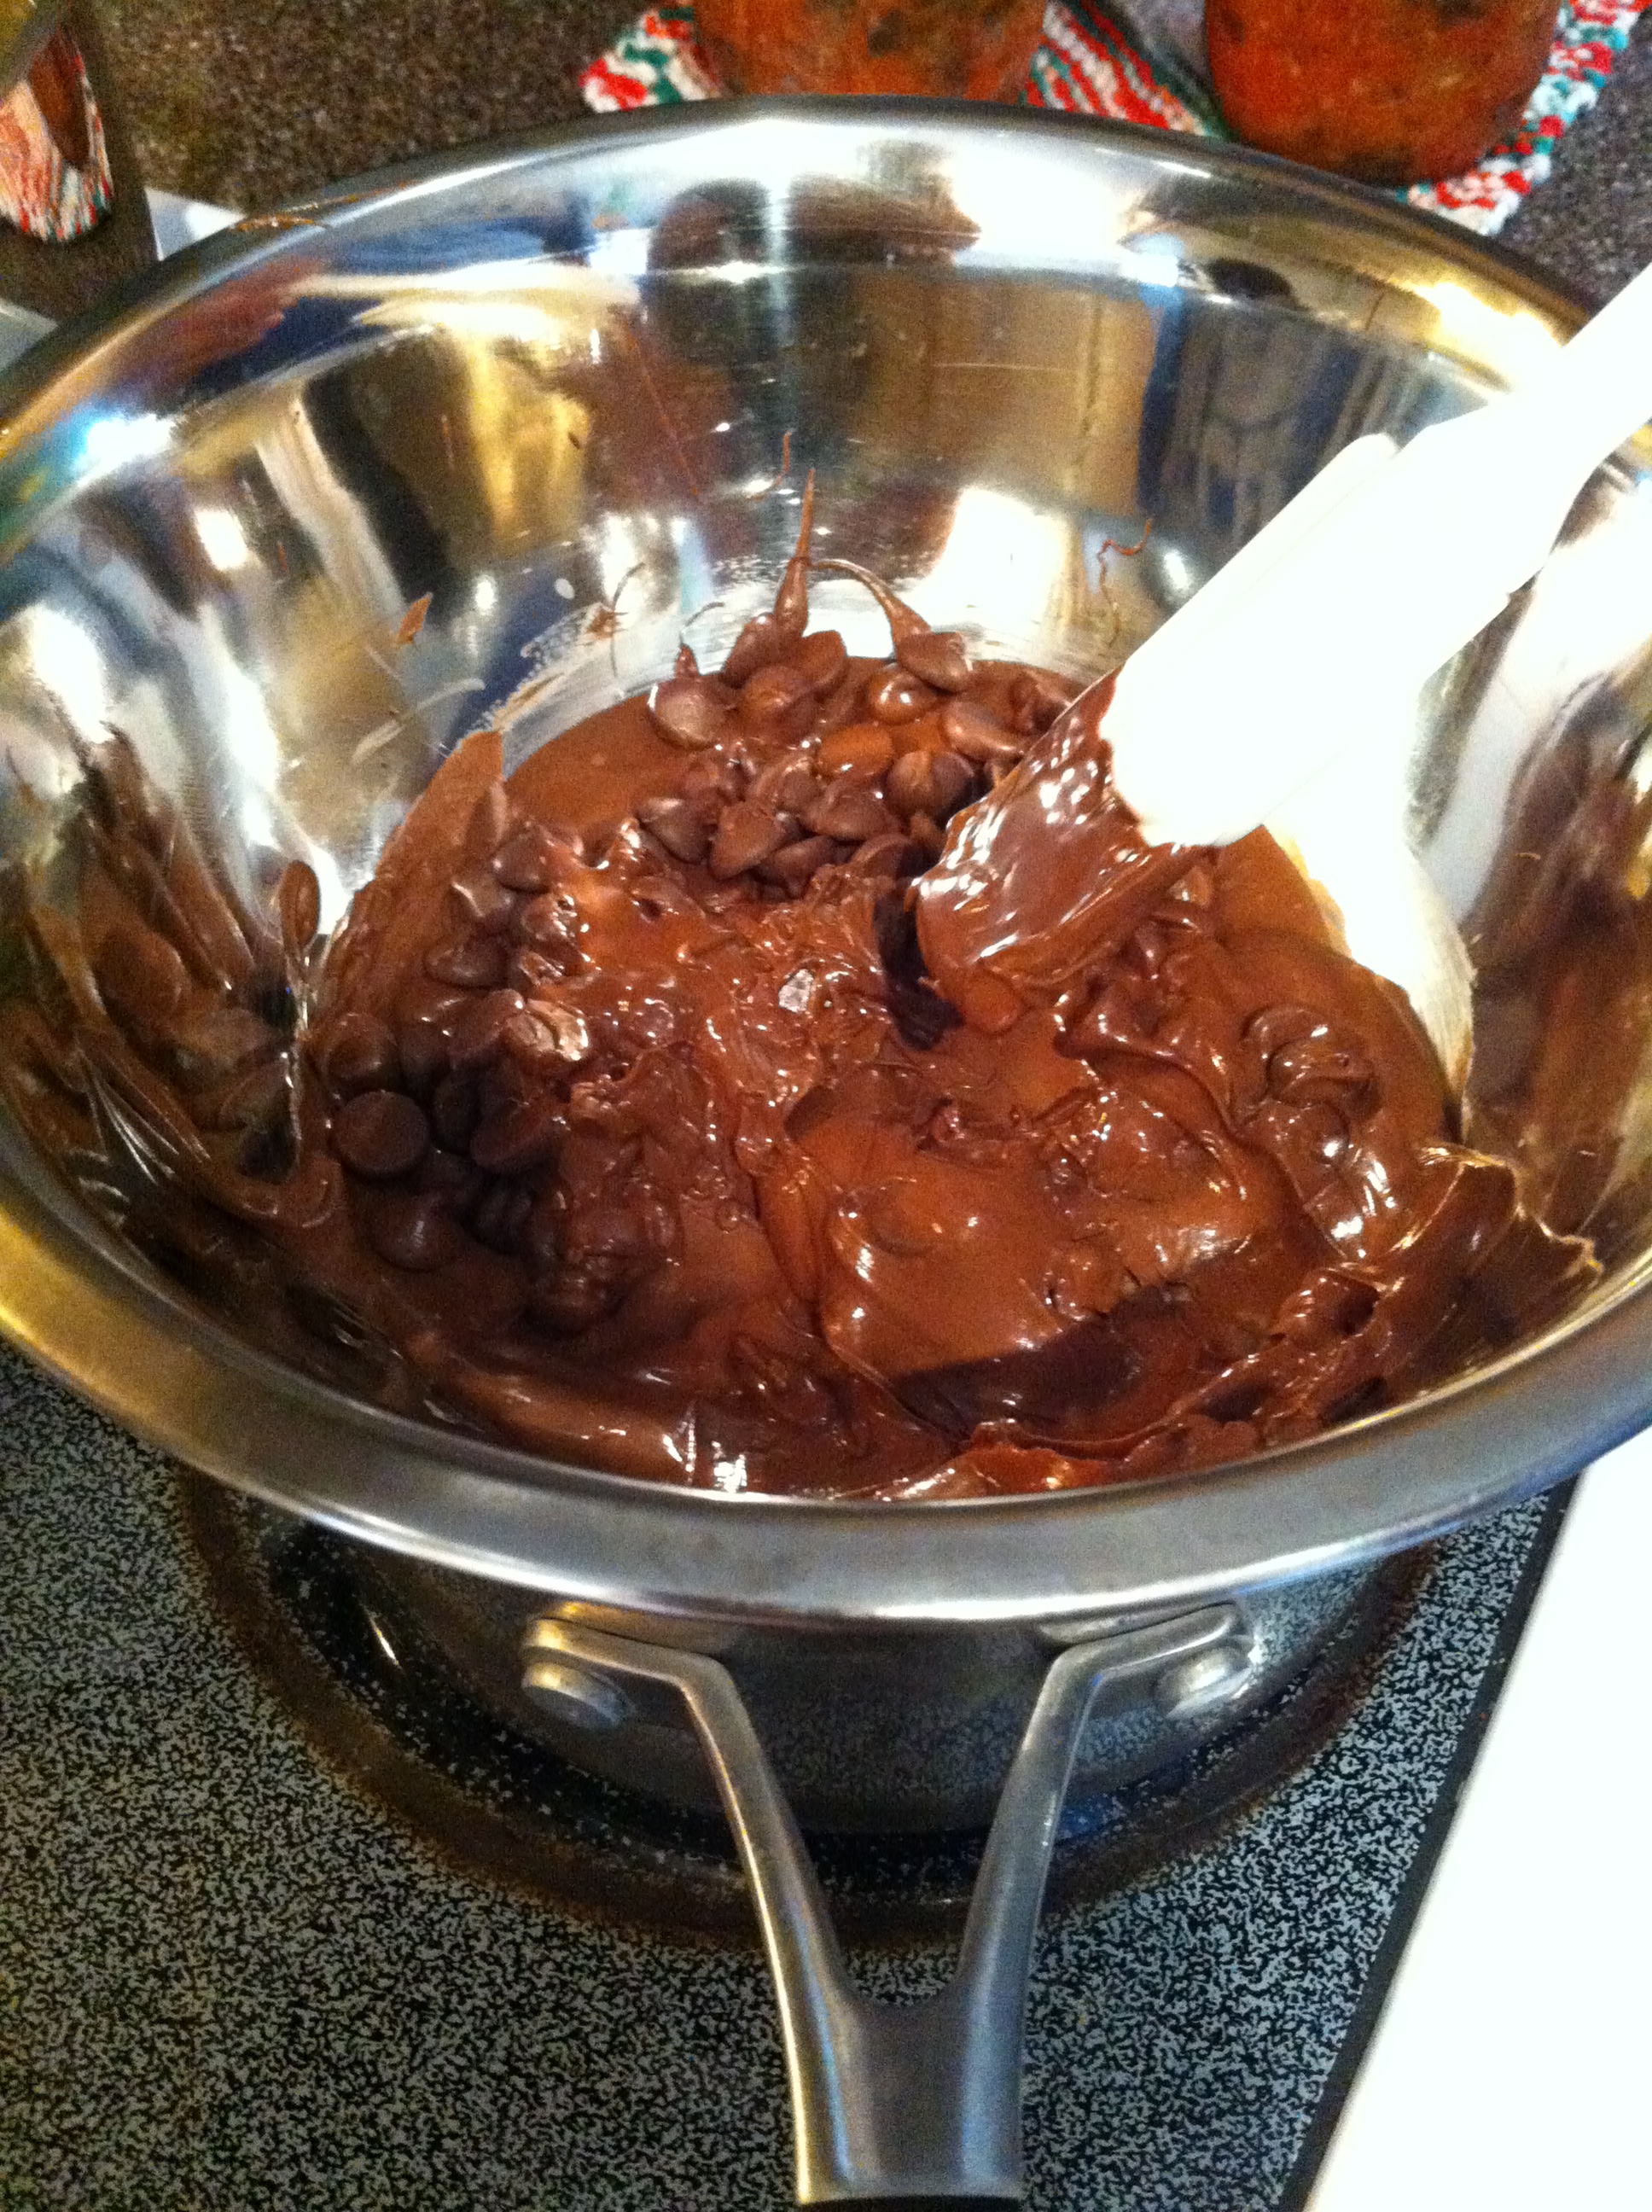
Melting the Chocolate
5. Dip half to 3/4 of the graham crackers in the melted chocolate. Leave some plain graham cracker so it’s easier for people to pick them up and eat! The bowl was deep enough that it worked out easily for us to just dip the s’more and put it right back on the cookie sheet. The trick to this step is to dip as quickly as possible. The heat from the chocolate will start to soften the marshmallow fluff, and we didn’t want it dripping into the chocolate.
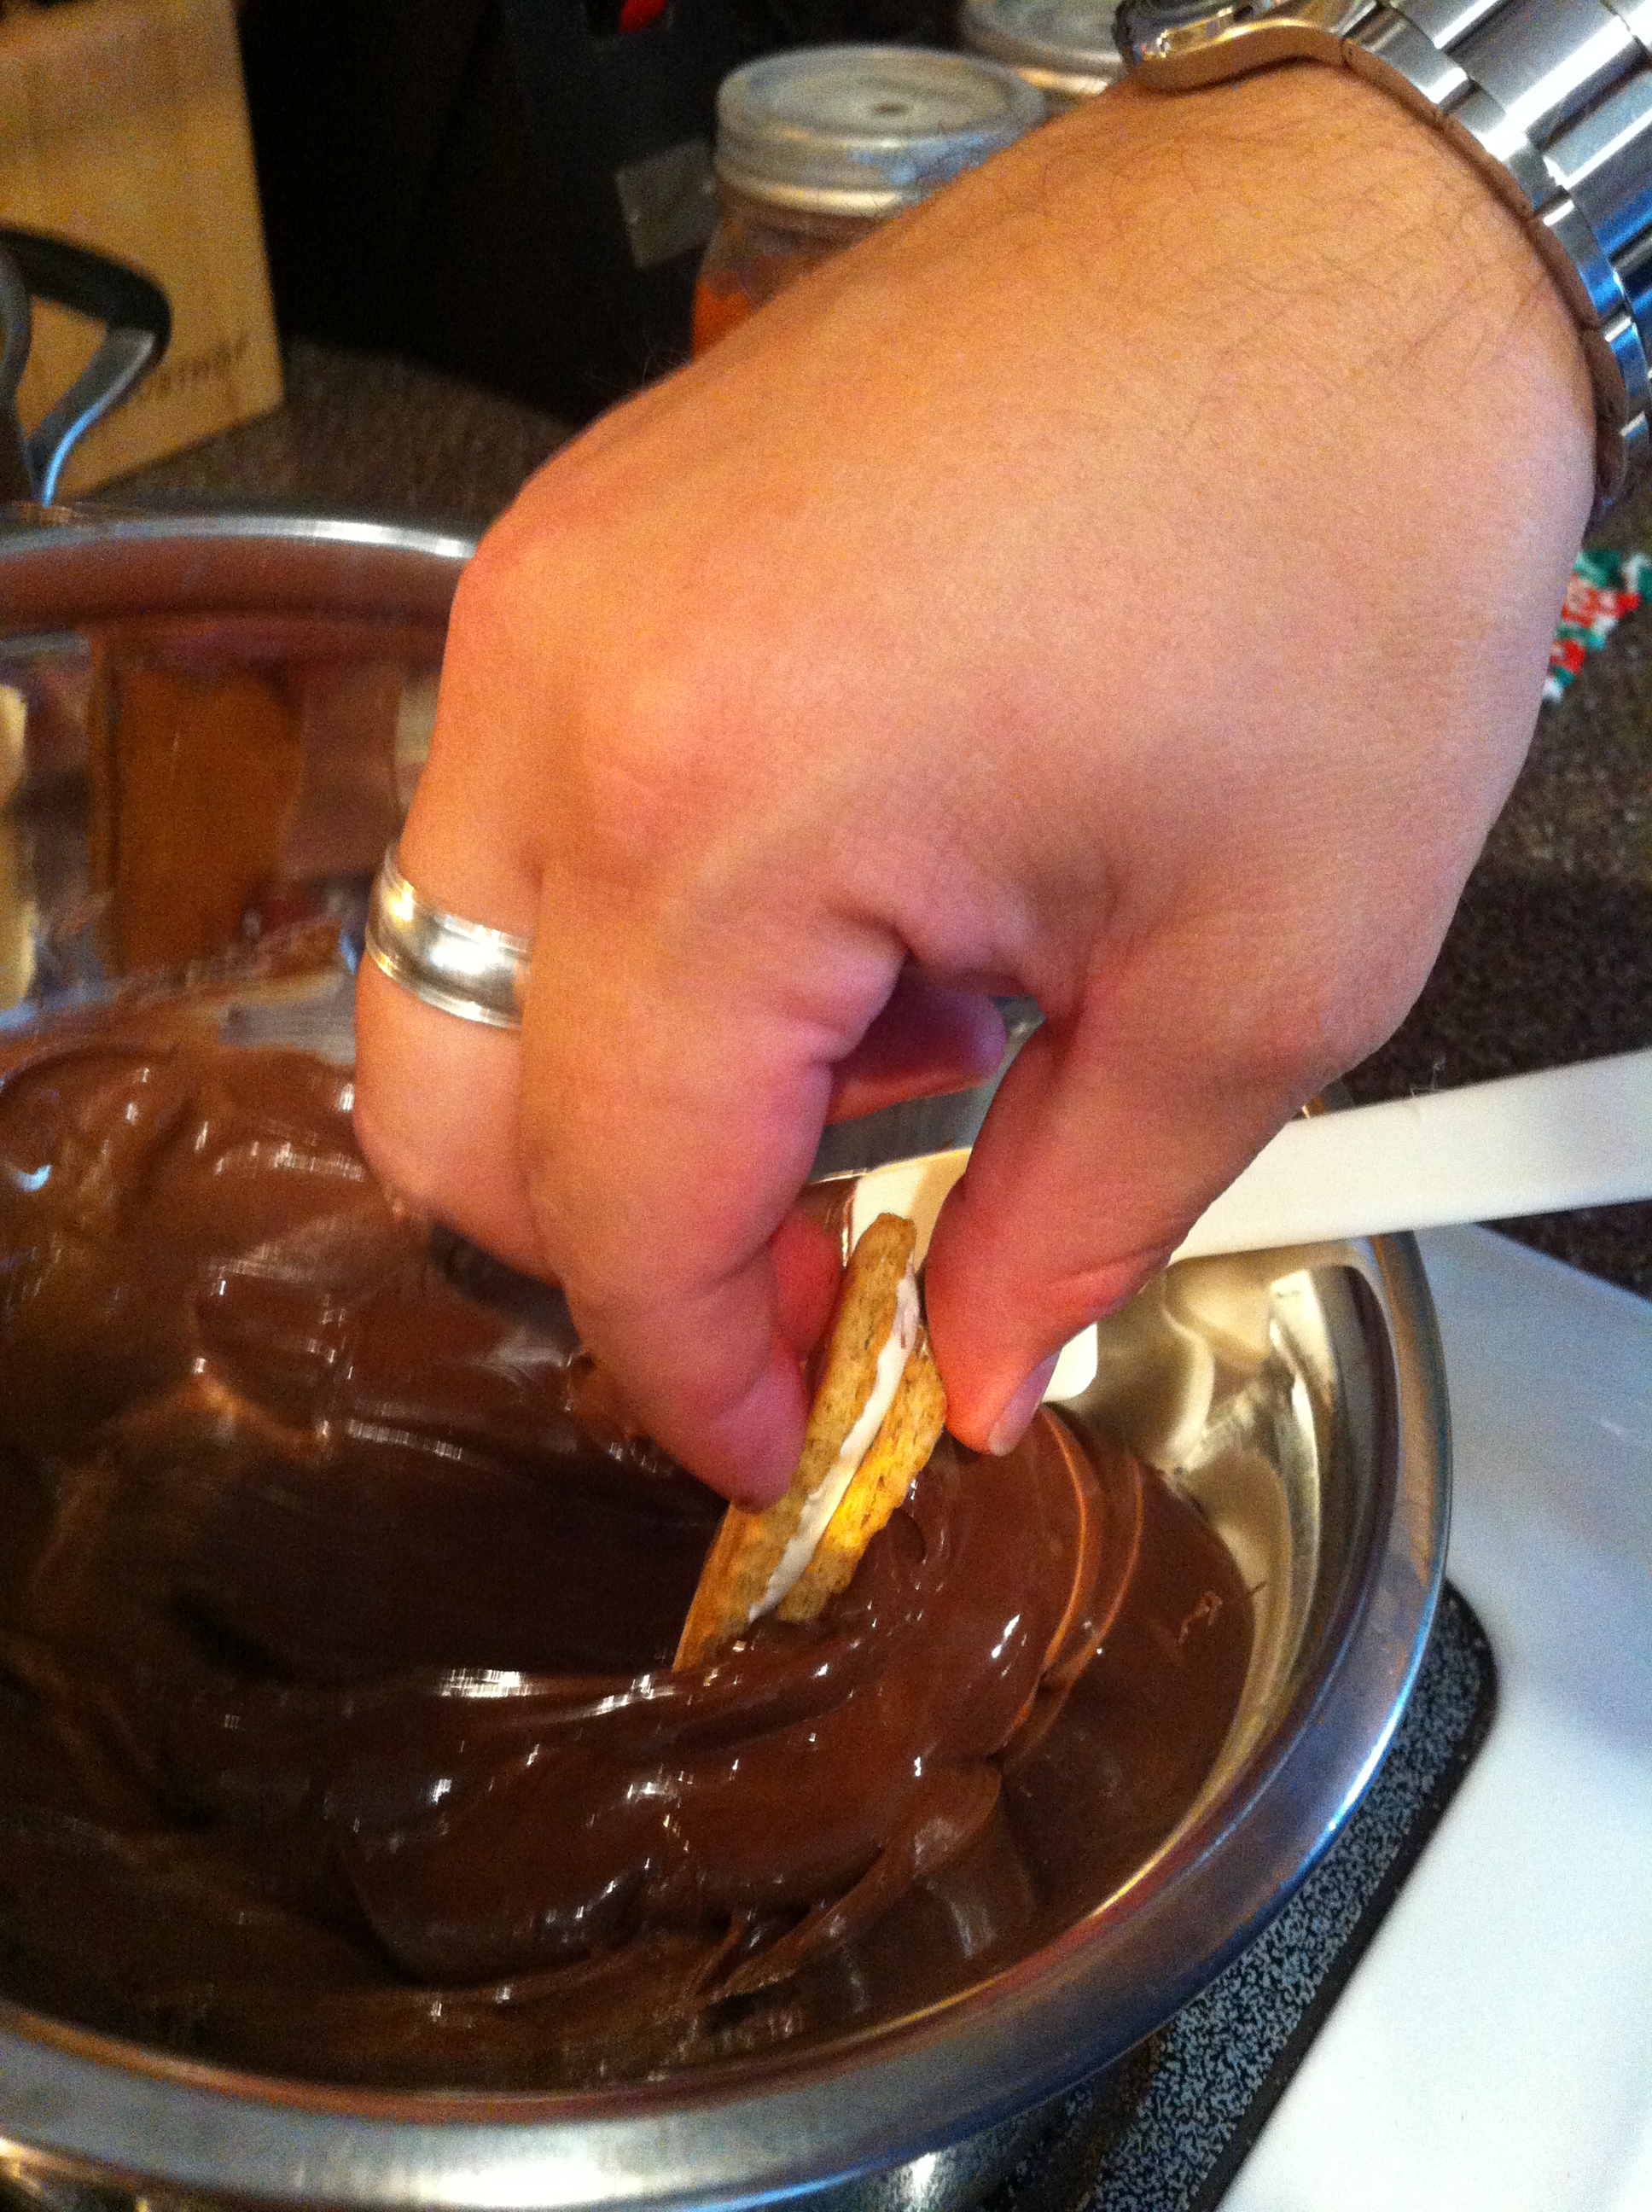
Dipping the s’more!
6. Sprinkle your desired topping onto the chocolate. (Totally optional!) We were hosting a game night and wanted to be festive. Do this while the chocolate is still soft so the topping sticks.
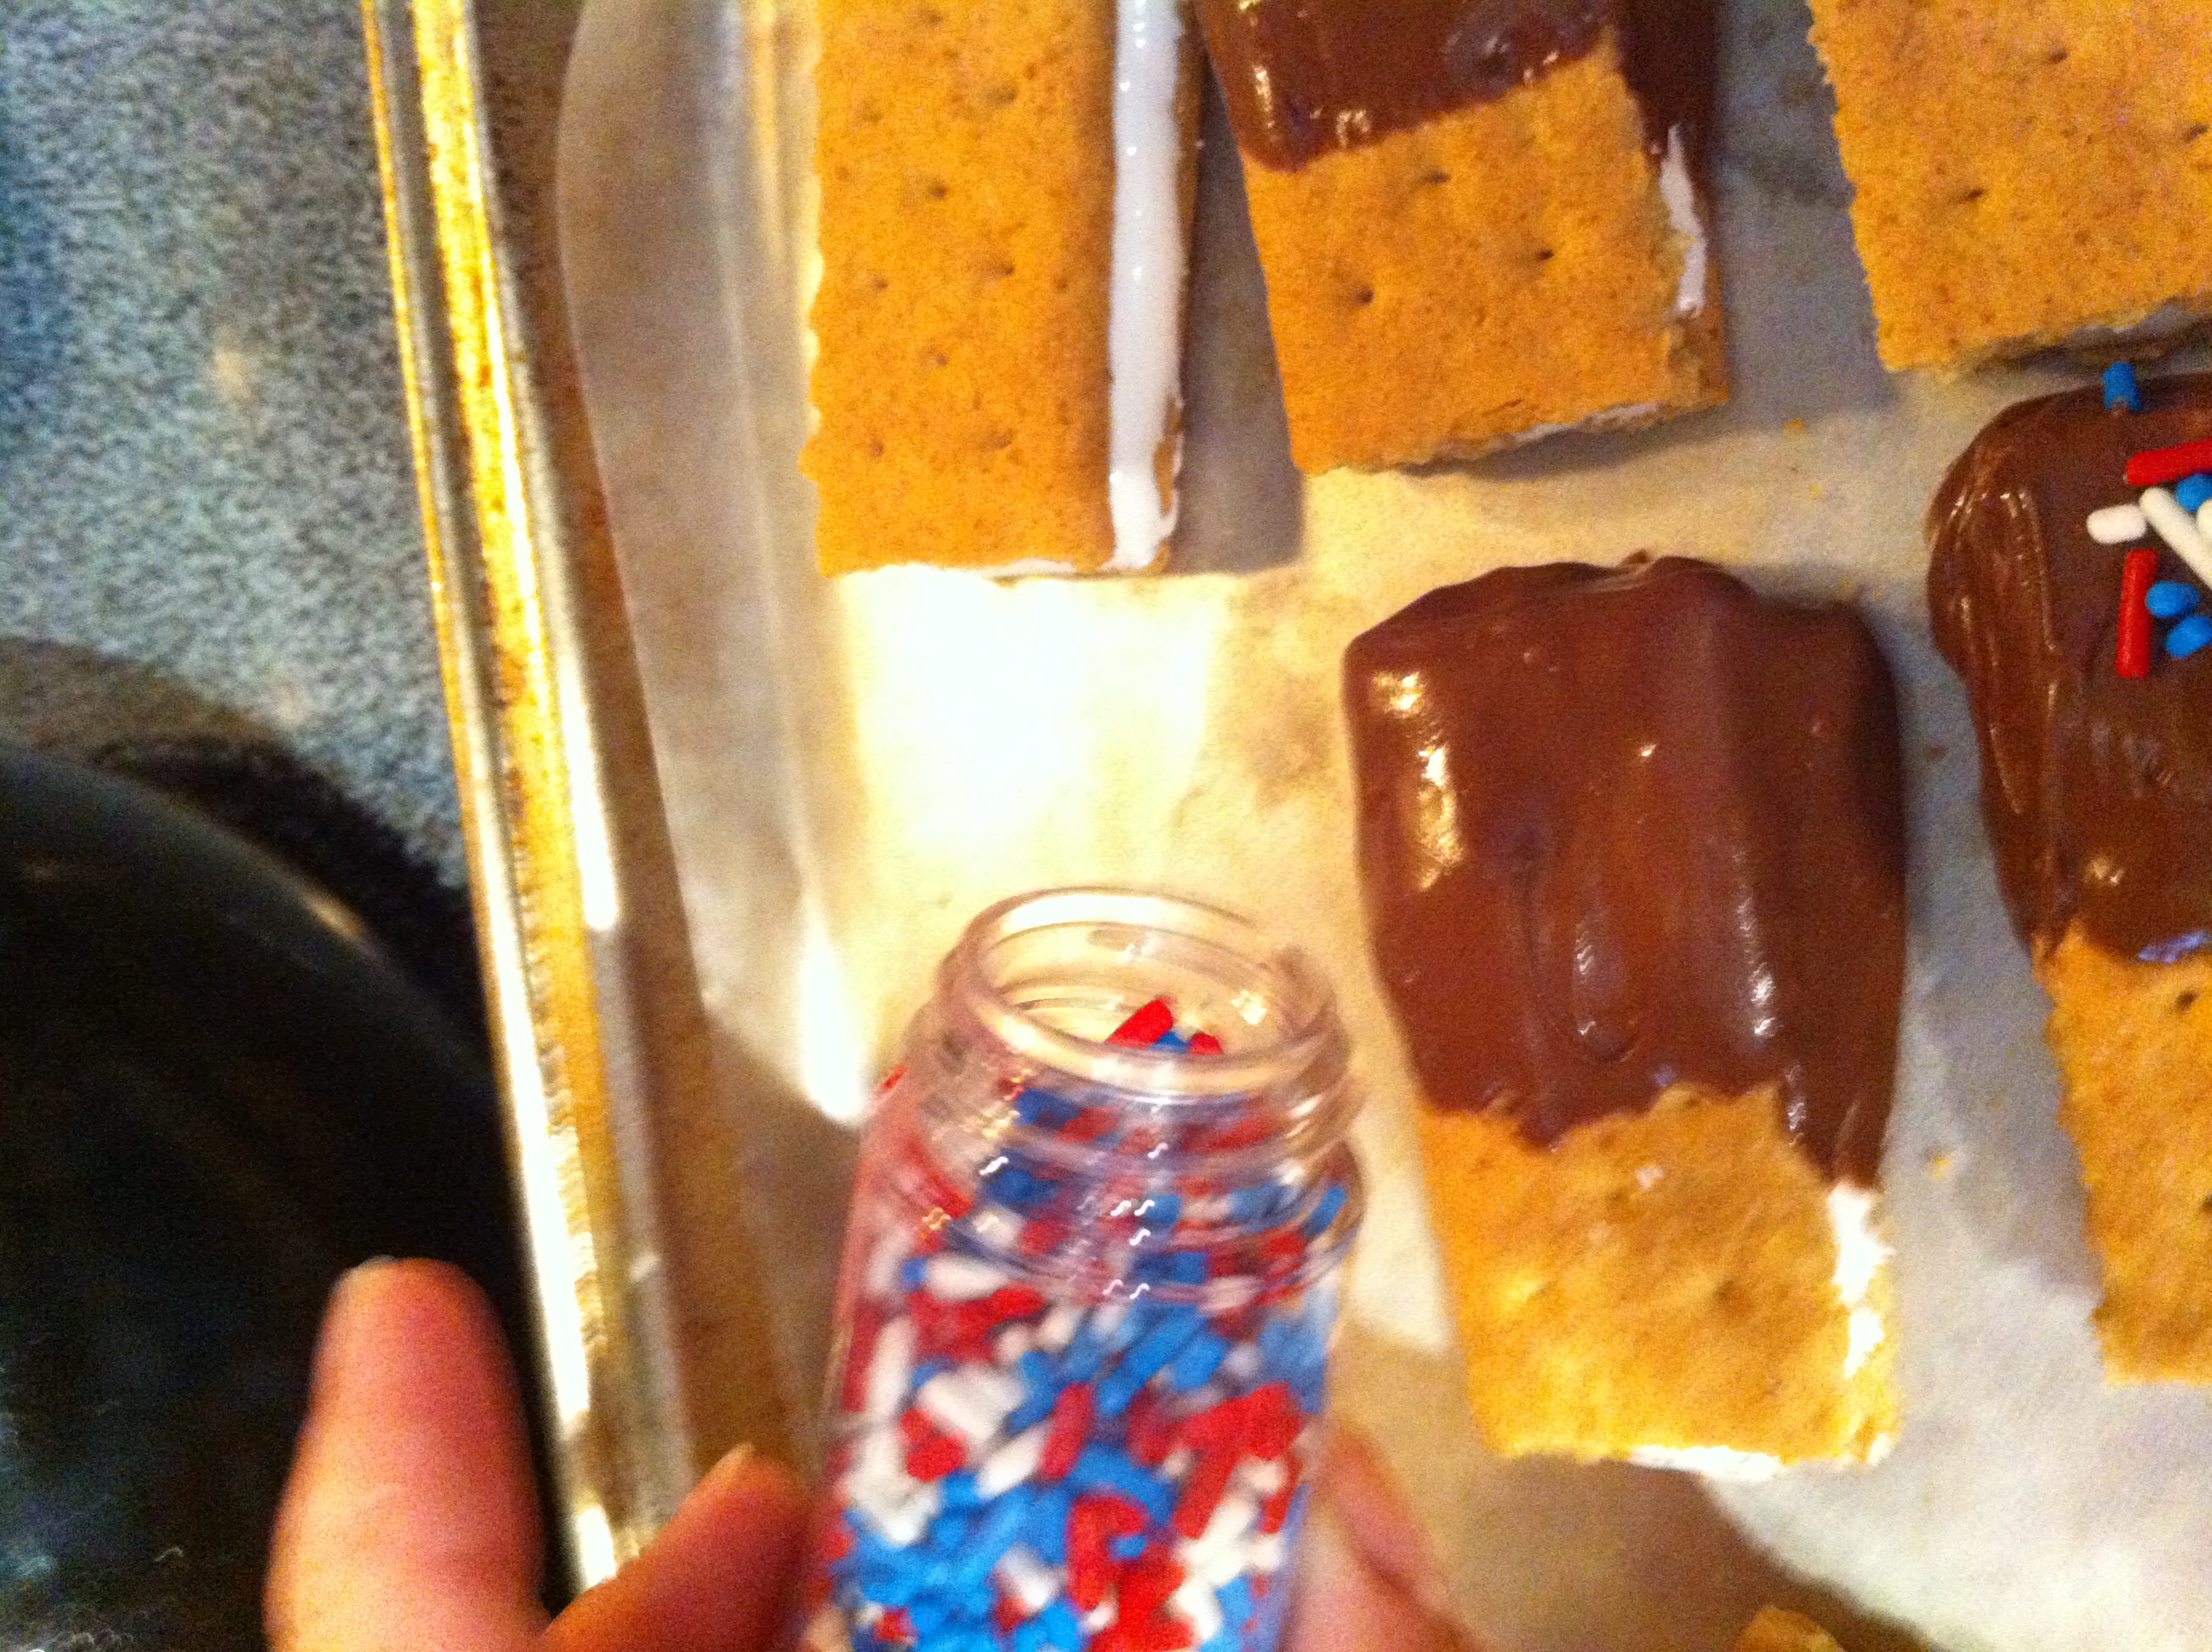
Adding the sprinkles to the s’mores
7. Put the cookie sheet back into the freezer for about 10 minutes. This will help the chocolate harden and the marshmallow re-harden if it started to melt.
8. Enjoy! Everyone at game night LOVED them and by the end of the evening they were all gone. If you do have any leftovers, I would suggest storing them in the fridge, the marshmallow fluff started to run again as they sat out during the evening.
I might have to make some more of these soon to re-live our camping weekend!
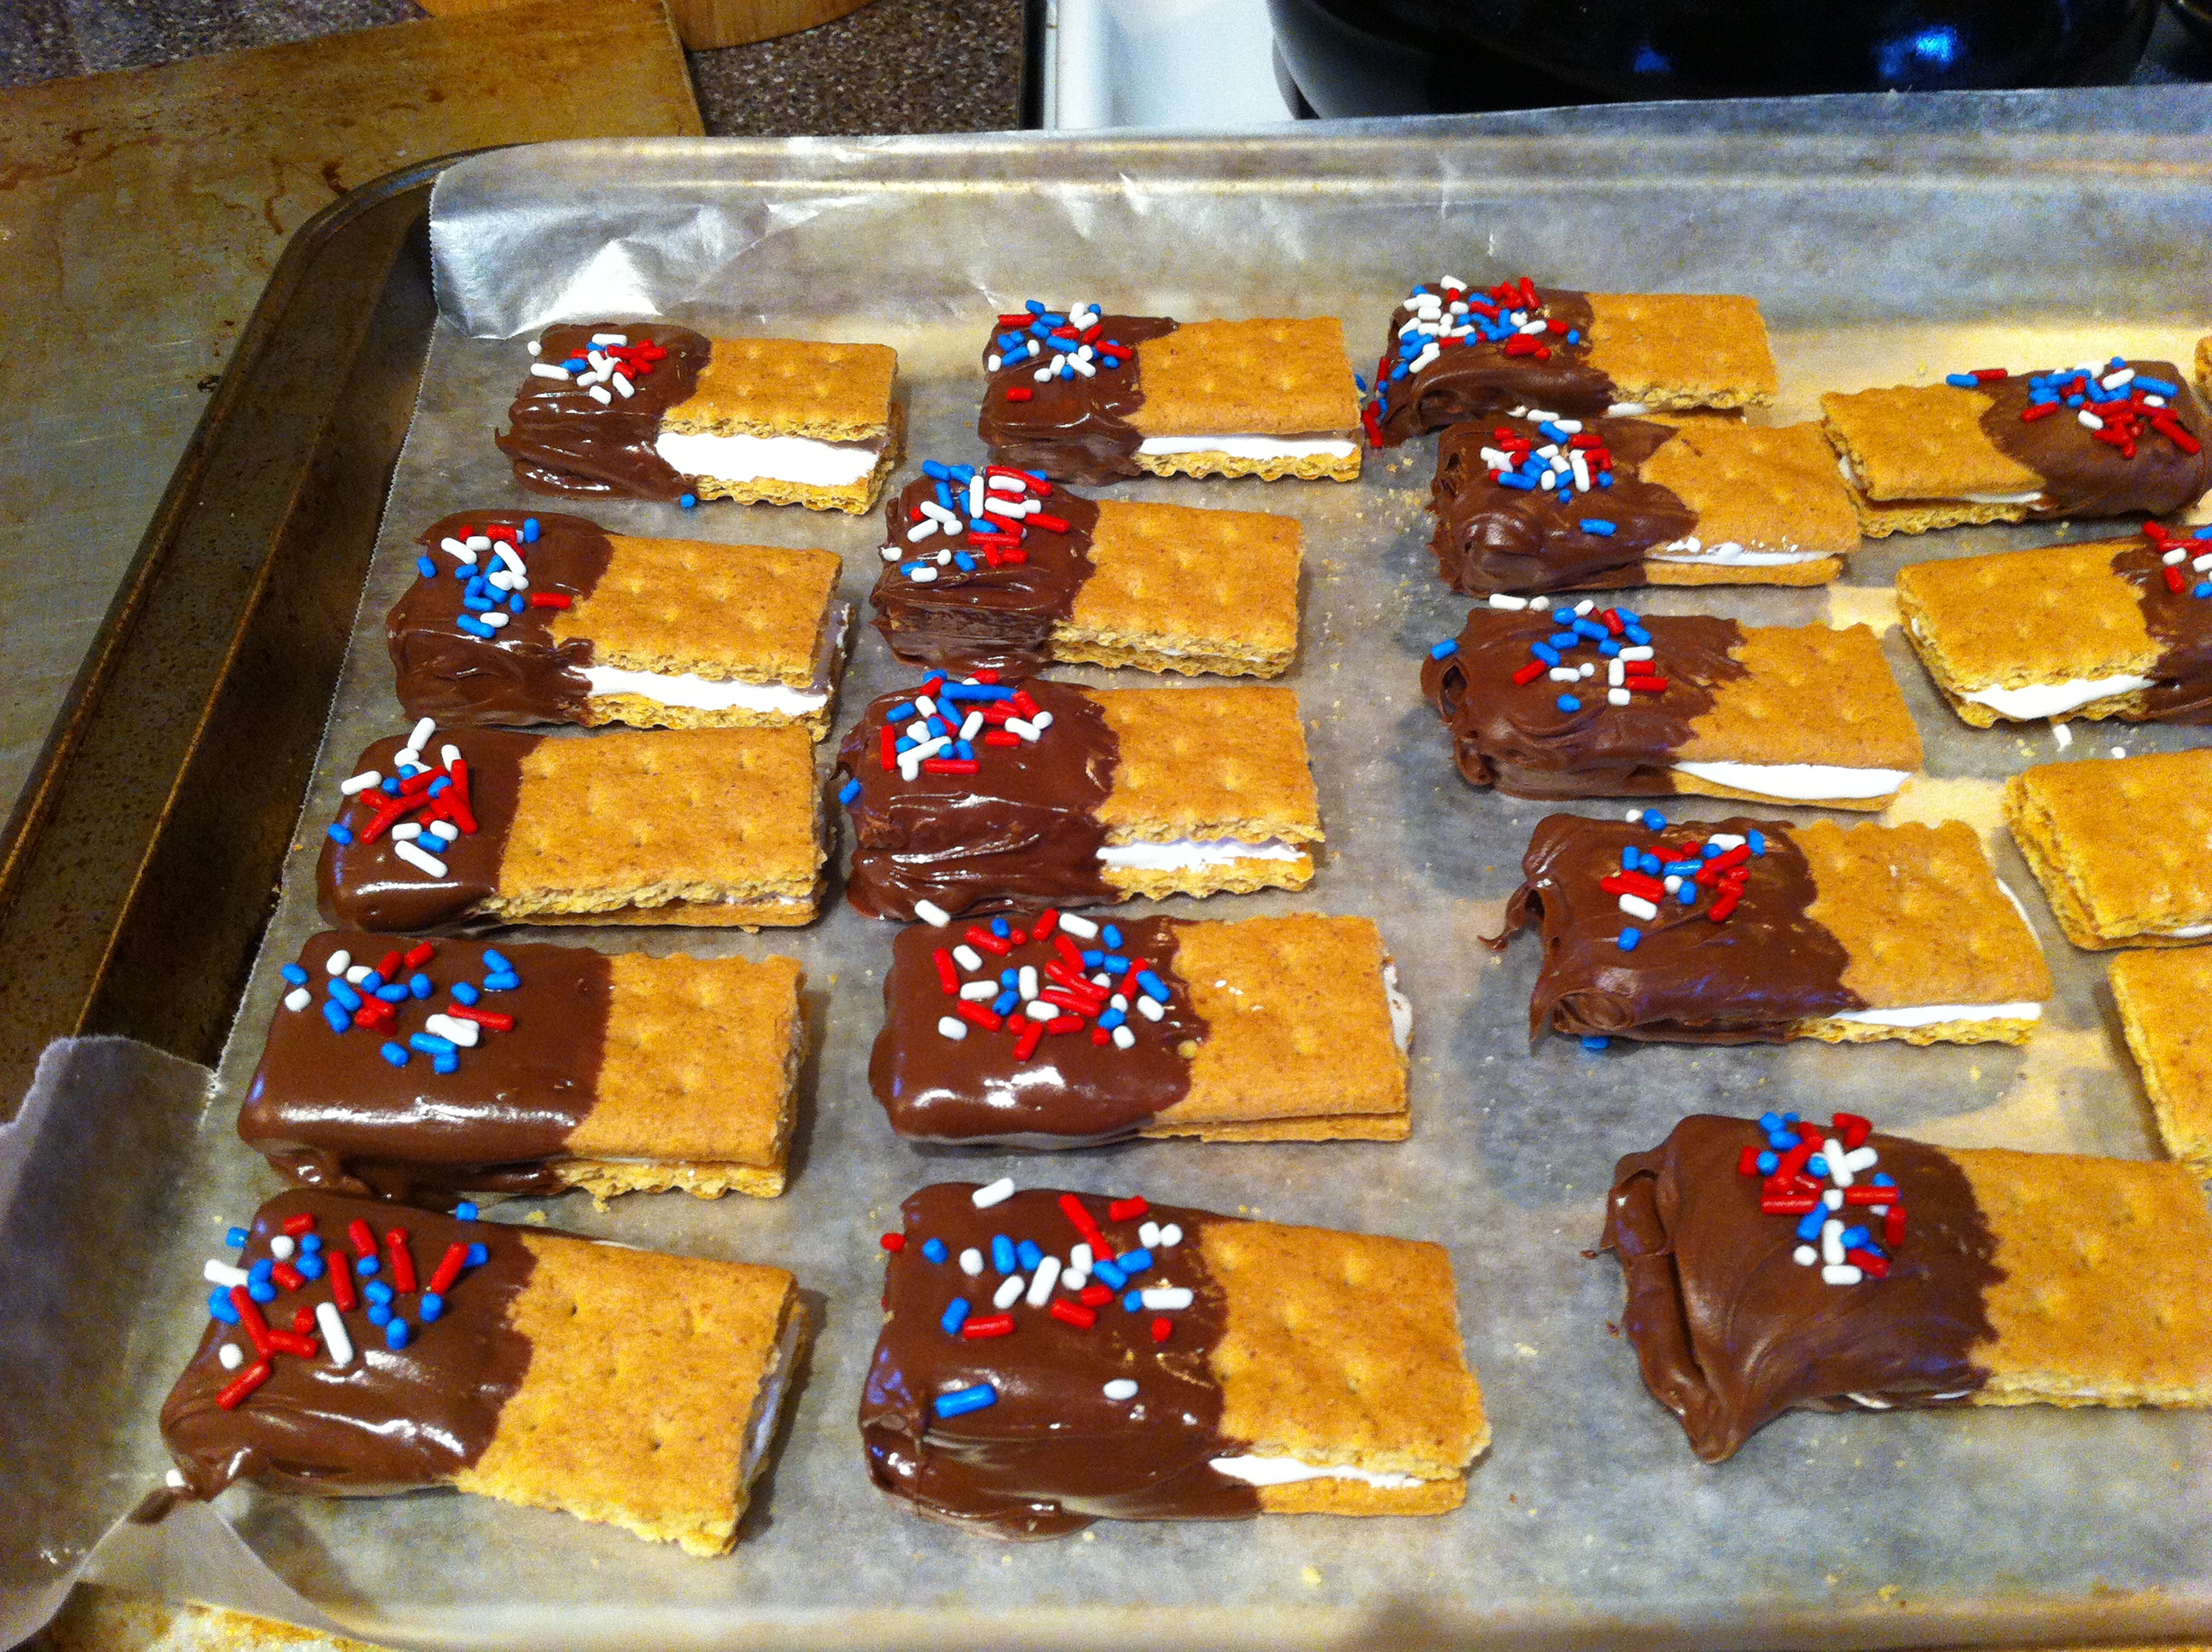
Finished S’mores