Vacation Memory Box
August 22, 2013
I love to travel. I think my parents gave me the “travel bug” when they started driving my younger sister and I to our grandparent’s house every summer. Eventually our trips turned into road trips to different places in the US, then flying to Mexico or the Caribbean. I’ve even been able to join my parents on a few trips to Europe! So far my favorite city is London and after being in Italy, I eventually want to buy an apartment in Riomaggiore. I’ve also learned to appreciate just walking around cities looking at the architecture and visiting little shops.
After the trip to London I decided I was going to try my hand at scrap-booking. I was so excited to put it all together with pictures, notes and stickers! I was pretty impressed at my first attempt, so I said would make a scrapbook of every trip over seas. Well, let’s just say I’m still working on my scrapbook from Zurich… and we went in December 2011. I didn’t realize how much time and work it took to put together a scrapbook!
Earlier this year I got invited to join Jason’s family on their trip to Aruba (no complaints here!) Since I love to take pictures, I of course took over 200 of our week-long trip. I wanted to find a way to display some of the pics but knowing I was still working on a scrapbook from 2011, I did not want to embark on starting another one! I had seen some cute ideas on Pinterest, where you basically create a shadow box with mementos from the trip, and cut out letters to spell the name of your destination using photos that you took. This sounded much easier to put together and easier to display! (My London scrapbook is sitting in a cabinet, I honestly can’t remember the last time I pulled it out.)
A quick trip to Target to print the pictures I wanted, and Michael’s for the supplies, I was ready and armed with an x-acto knife (I think that scared Jason a little, I can be a little klutzy.) Editor(Jason)’s note: A lot klutzy…
Supply List
Shadow box
Scrapbook paper to use as a mat
Photos
Alphabet Stencil
X-acto knife
Cute vacation stickers
Mementos we saved from the trip (boarding pass stubs, postcards, brochures)
Double sided photo tape
Super Glue
Glue Stick
I started by gluing the scrapbook paper to the back of the cardboard “mat” that came with the shadow box to help give it a little more strength. Jason and I went through some of the photos we printed and picked out different ones we thought would look good as letters. We ended up picking all scenery shots, something about having a part of a person in a letter just didn’t seem right to me. From there it was all trial and error. I just held up the stencil to different parts of the picture to see what I thought looked good. Then I flipped the picture over, turned the stencil backwards, and traced the stencil to the back of the photo. Somehow my mind knew to trace the letters backwards, which I was very grateful for! Knowing how spacey I can be, I’m surprised that I didn’t do this step wrong! The X-acto knife was perfect for cutting out the letters too. I went slowly so I had straight lines, and this way I didn’t slip and cut myself. (I’m happy to report, no injuries occurred in the making of this shadow box!)

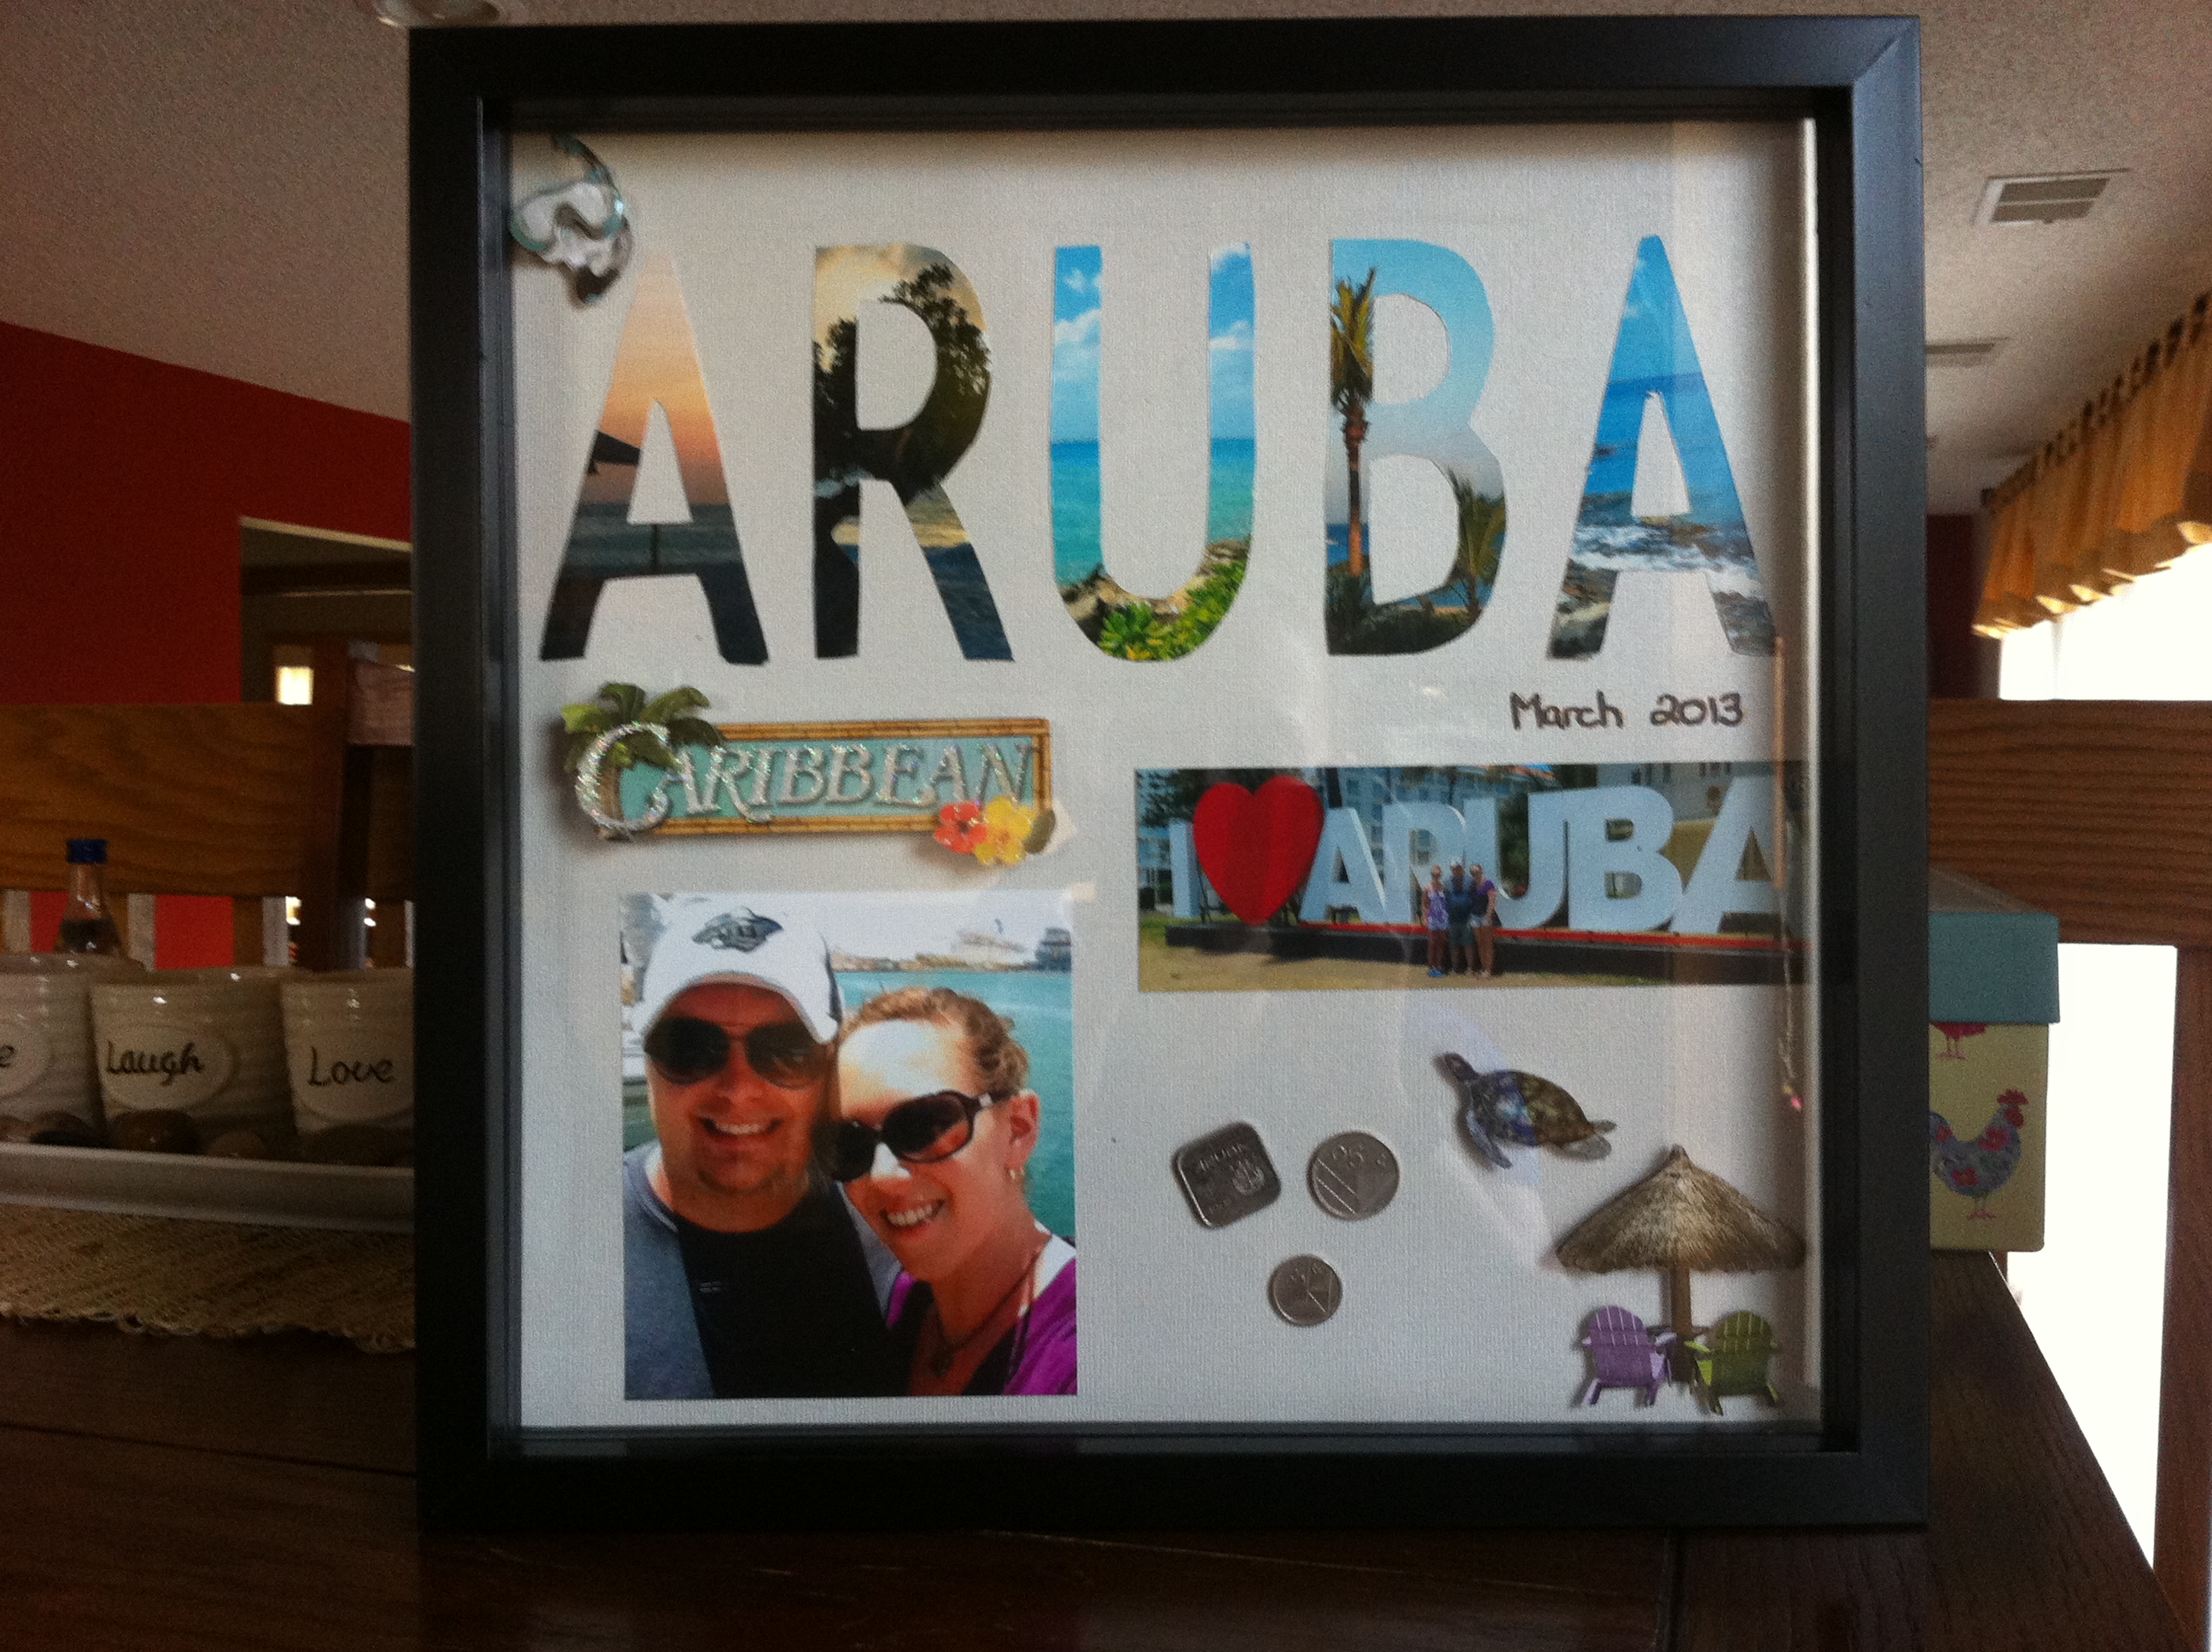
The next step was the layout. After I placed the letters, I arranged some other photos, stickers and coins we had saved, and just kept moving stuff around until I liked how it looked. I probably annoyed Jason with the number of times I asked him to come look at the layout, but he did say he does stuff like this for a living so I wanted an “expert opinion.” The letters got glued down using the glue stick (it was too hard to try and get the photo tape on every part of the letter so I gave up), the other photos got placed using the photo tape, and I had to bust out the heavy duty super glue to glue the coins down.
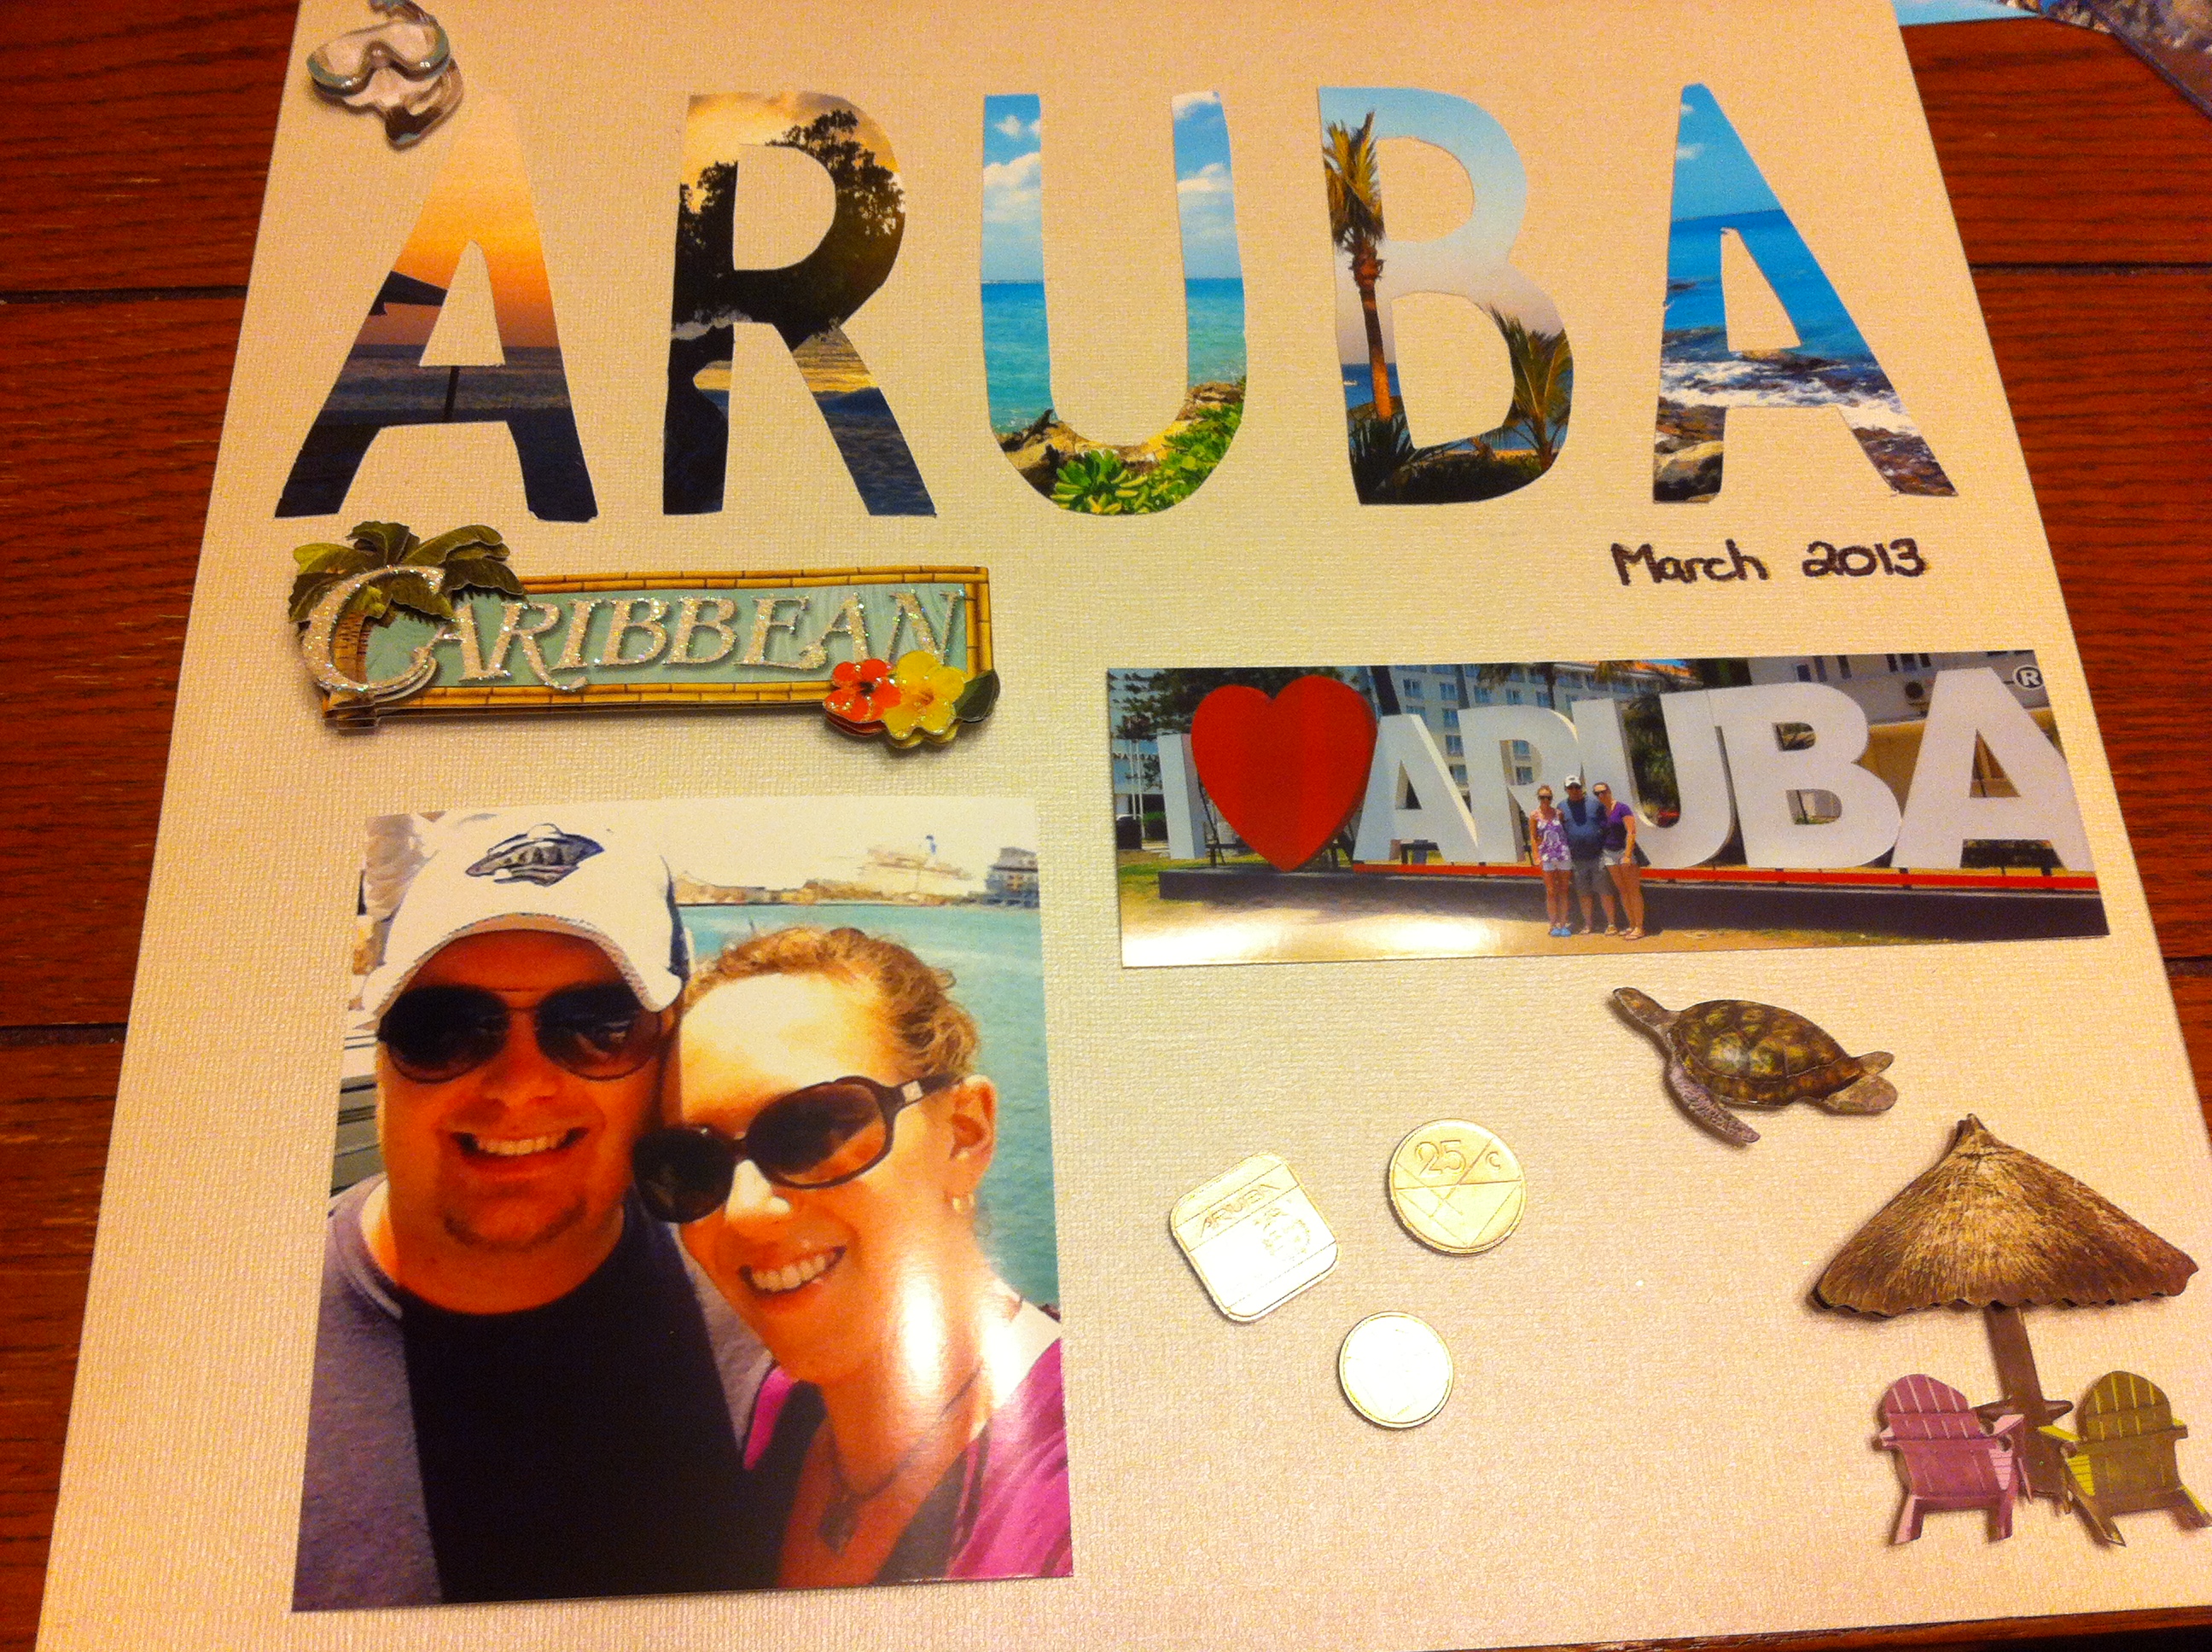
It took about an hour to do all of that actually, I was pretty happy with how quickly it went! The most time consuming part was tracing and cutting out the letters. I left it out overnight to dry and let the super glue set. I had to put it in the frame the next morning, I was too curious to see how it turned out that I didn’t want to wait until after work. I’m really happy with how it turned out! All the stickers represent some part of our trip, and the coins were fun shapes with cool printing so we had to include them.
Now I just have to get Jason to hang it up! I still haven’t done anything with all my mementos from my Barcelona trip last November…I think I’ll be making another one of these soon! I’d love to fill the wall on the way upstairs with a bunch of these from all the trips we’ll go on, this way we can remember all the fun times we had whenever we walk by!