Crock Pot Chicken Wild Rice Soup
January 30, 2014
It has been yet another busy week; some later nights at work, things that have to get done at home, and lots of volleyball in the evenings for me (I can’t complain about that though!) We try every week to plan out dinner for each night and try even harder to stick with it. But, these busy weeks make it easier to say “let’s get takeout” instead of putting the effort into cooking a healthy meal. I do love using the crock-pot when I can, especially since dinner is all done by the time we get home! I often swap recipes with a friend of mine, and he sent me a lower calorie version of chicken wild rice soup, with milk instead of cream. We thought this week would be the perfect week to test out the recipe. You would never have know it was made without the cream! The soup turned out very hearty and creamy.
Crock Pot Chicken and Wild Rice Soup
2 Tbs butter
1/2 small onion, chopped
2 celery stalks, chopped
2 small carrots, chopped
salt & pepper to taste
2 garlic cloves, minced
1/2 tsp dried thyme
8 c chicken broth (we used low sodium)
1 rotisserie chicken, shredded (you could also use 2 chicken breasts, shredded)
3/4 c wild rice blend
1 c milk
1/4 c flour
1. Melt the butter in a large frying pan over medium heat. Add onion, celery and carrots, season with salt and pepper, and saute until tender (about 10 minutes.)
2. Add garlic and thyme and saute for another minute. Add finished veggies to the crock pot.
3. Shred the meat from the rotisserie chicken, add to the crock pot.
4. Add the chicken broth and wild rice blend to the crock pot. Stir well to mix everything together. (Don’t worry if you think 8 cups is a lot of chicken broth, the rice will absorb a lot and it will cook down)
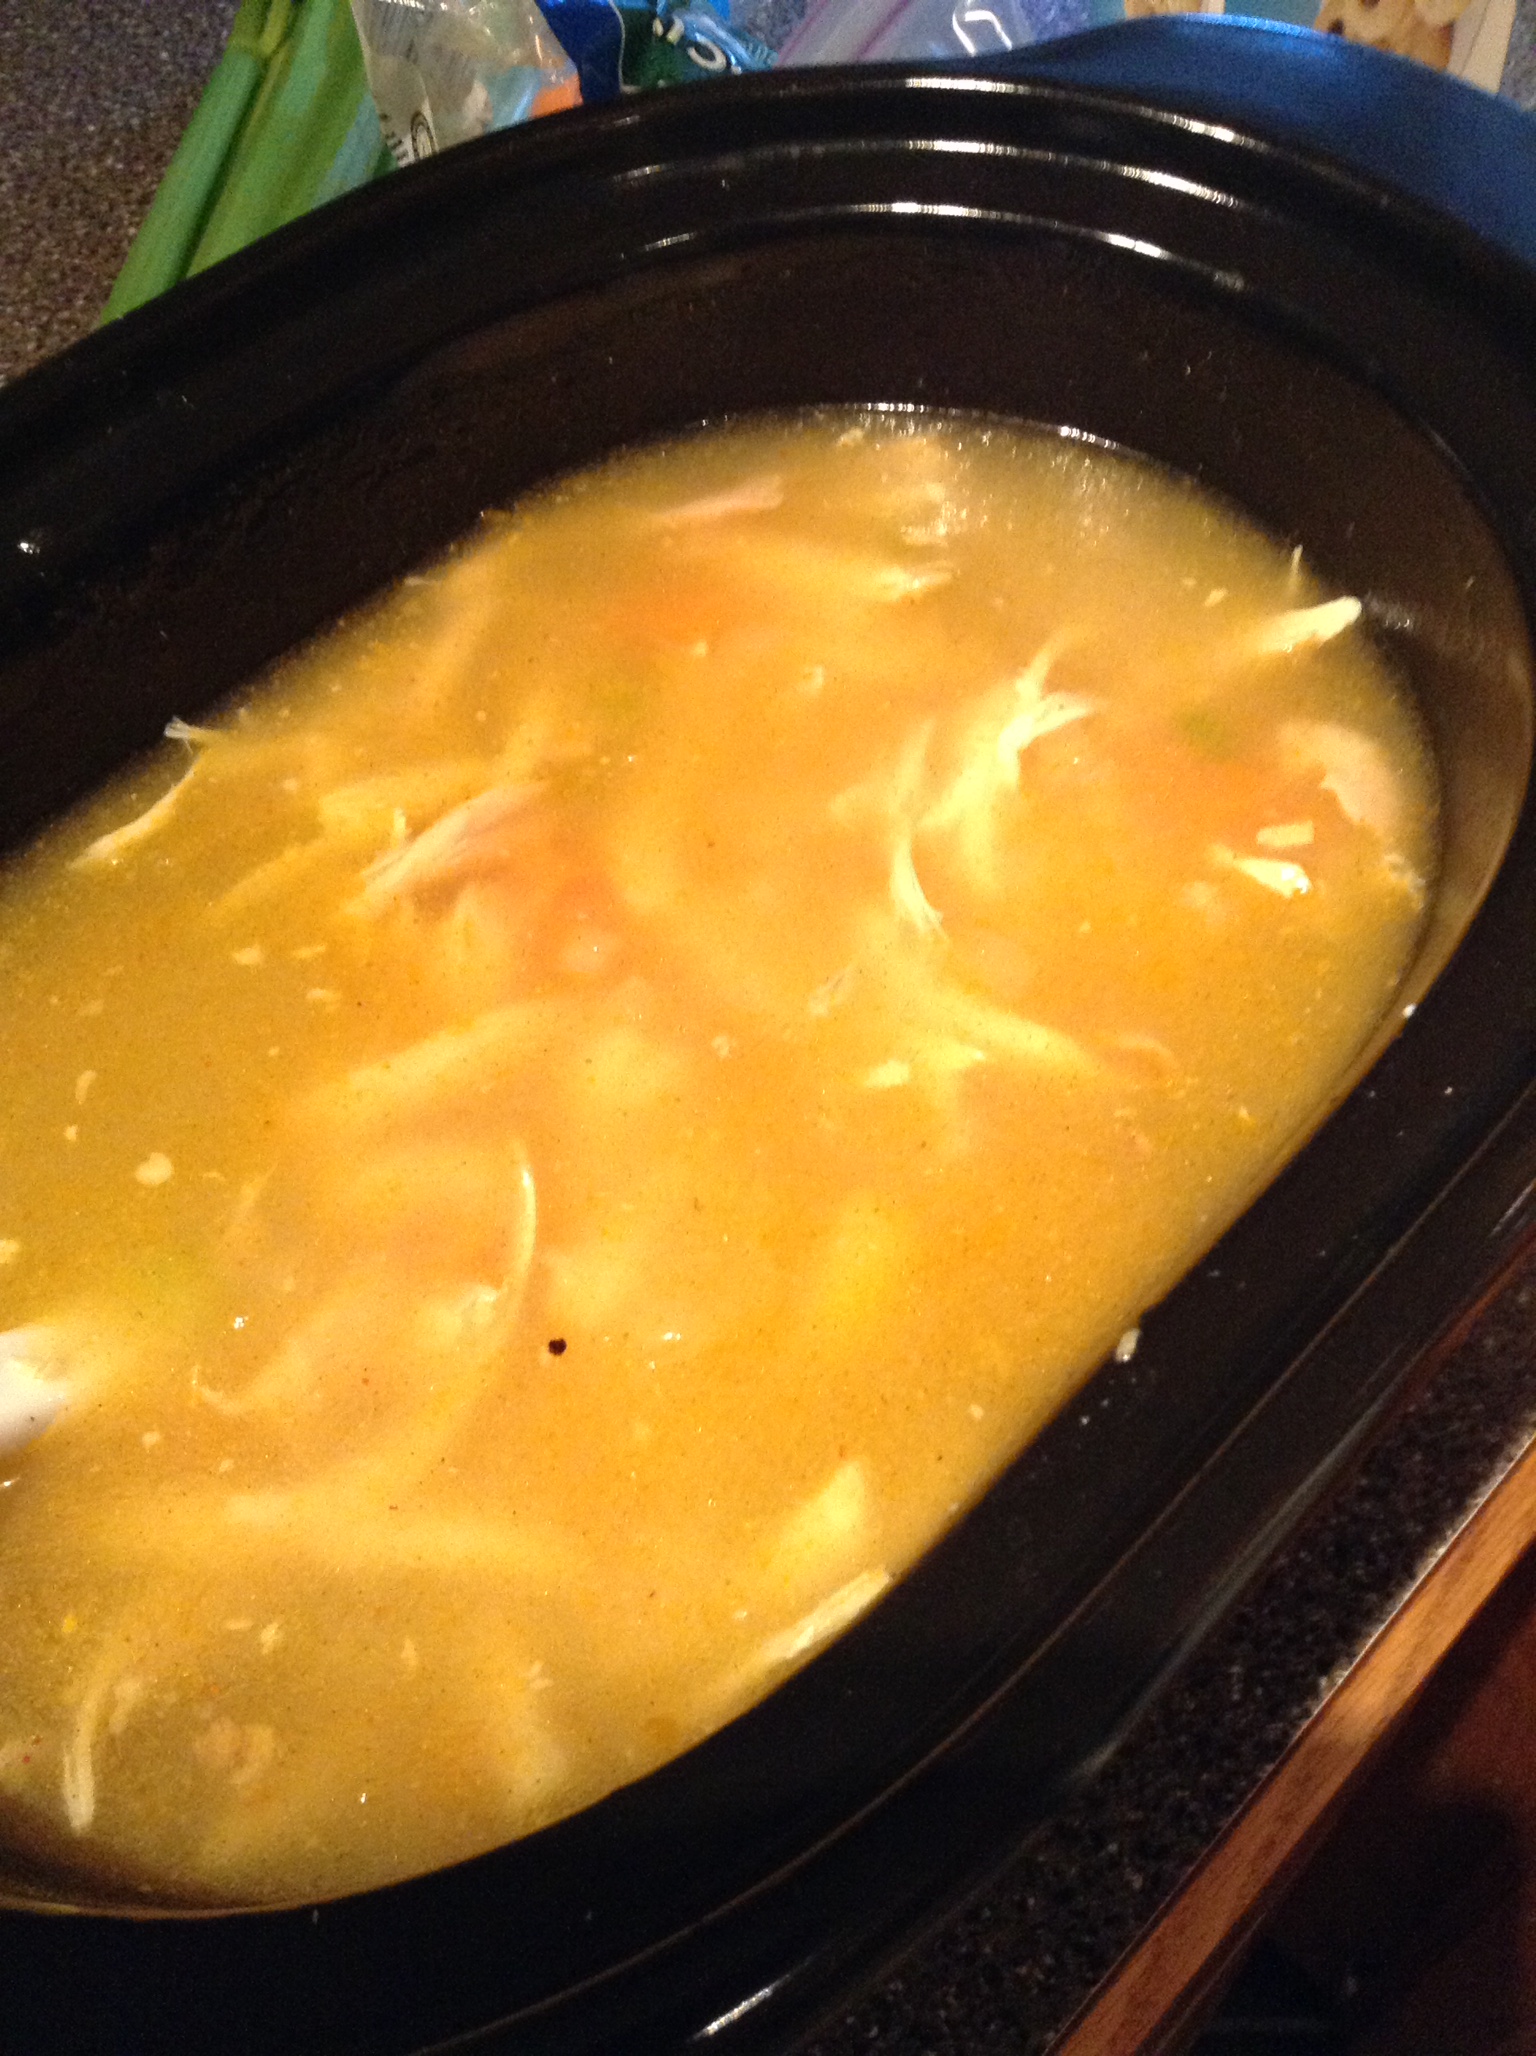
Everything mixed in the crock pot!
5. Cook on low for 8 hours.
6. In a small bowl, whisk together 1/4 c of milk with the flour until smooth. Add remaining milk. Slowly stir into the crock pot. Turn the crock pot to high for 10 more minutes, stirring occasionally.
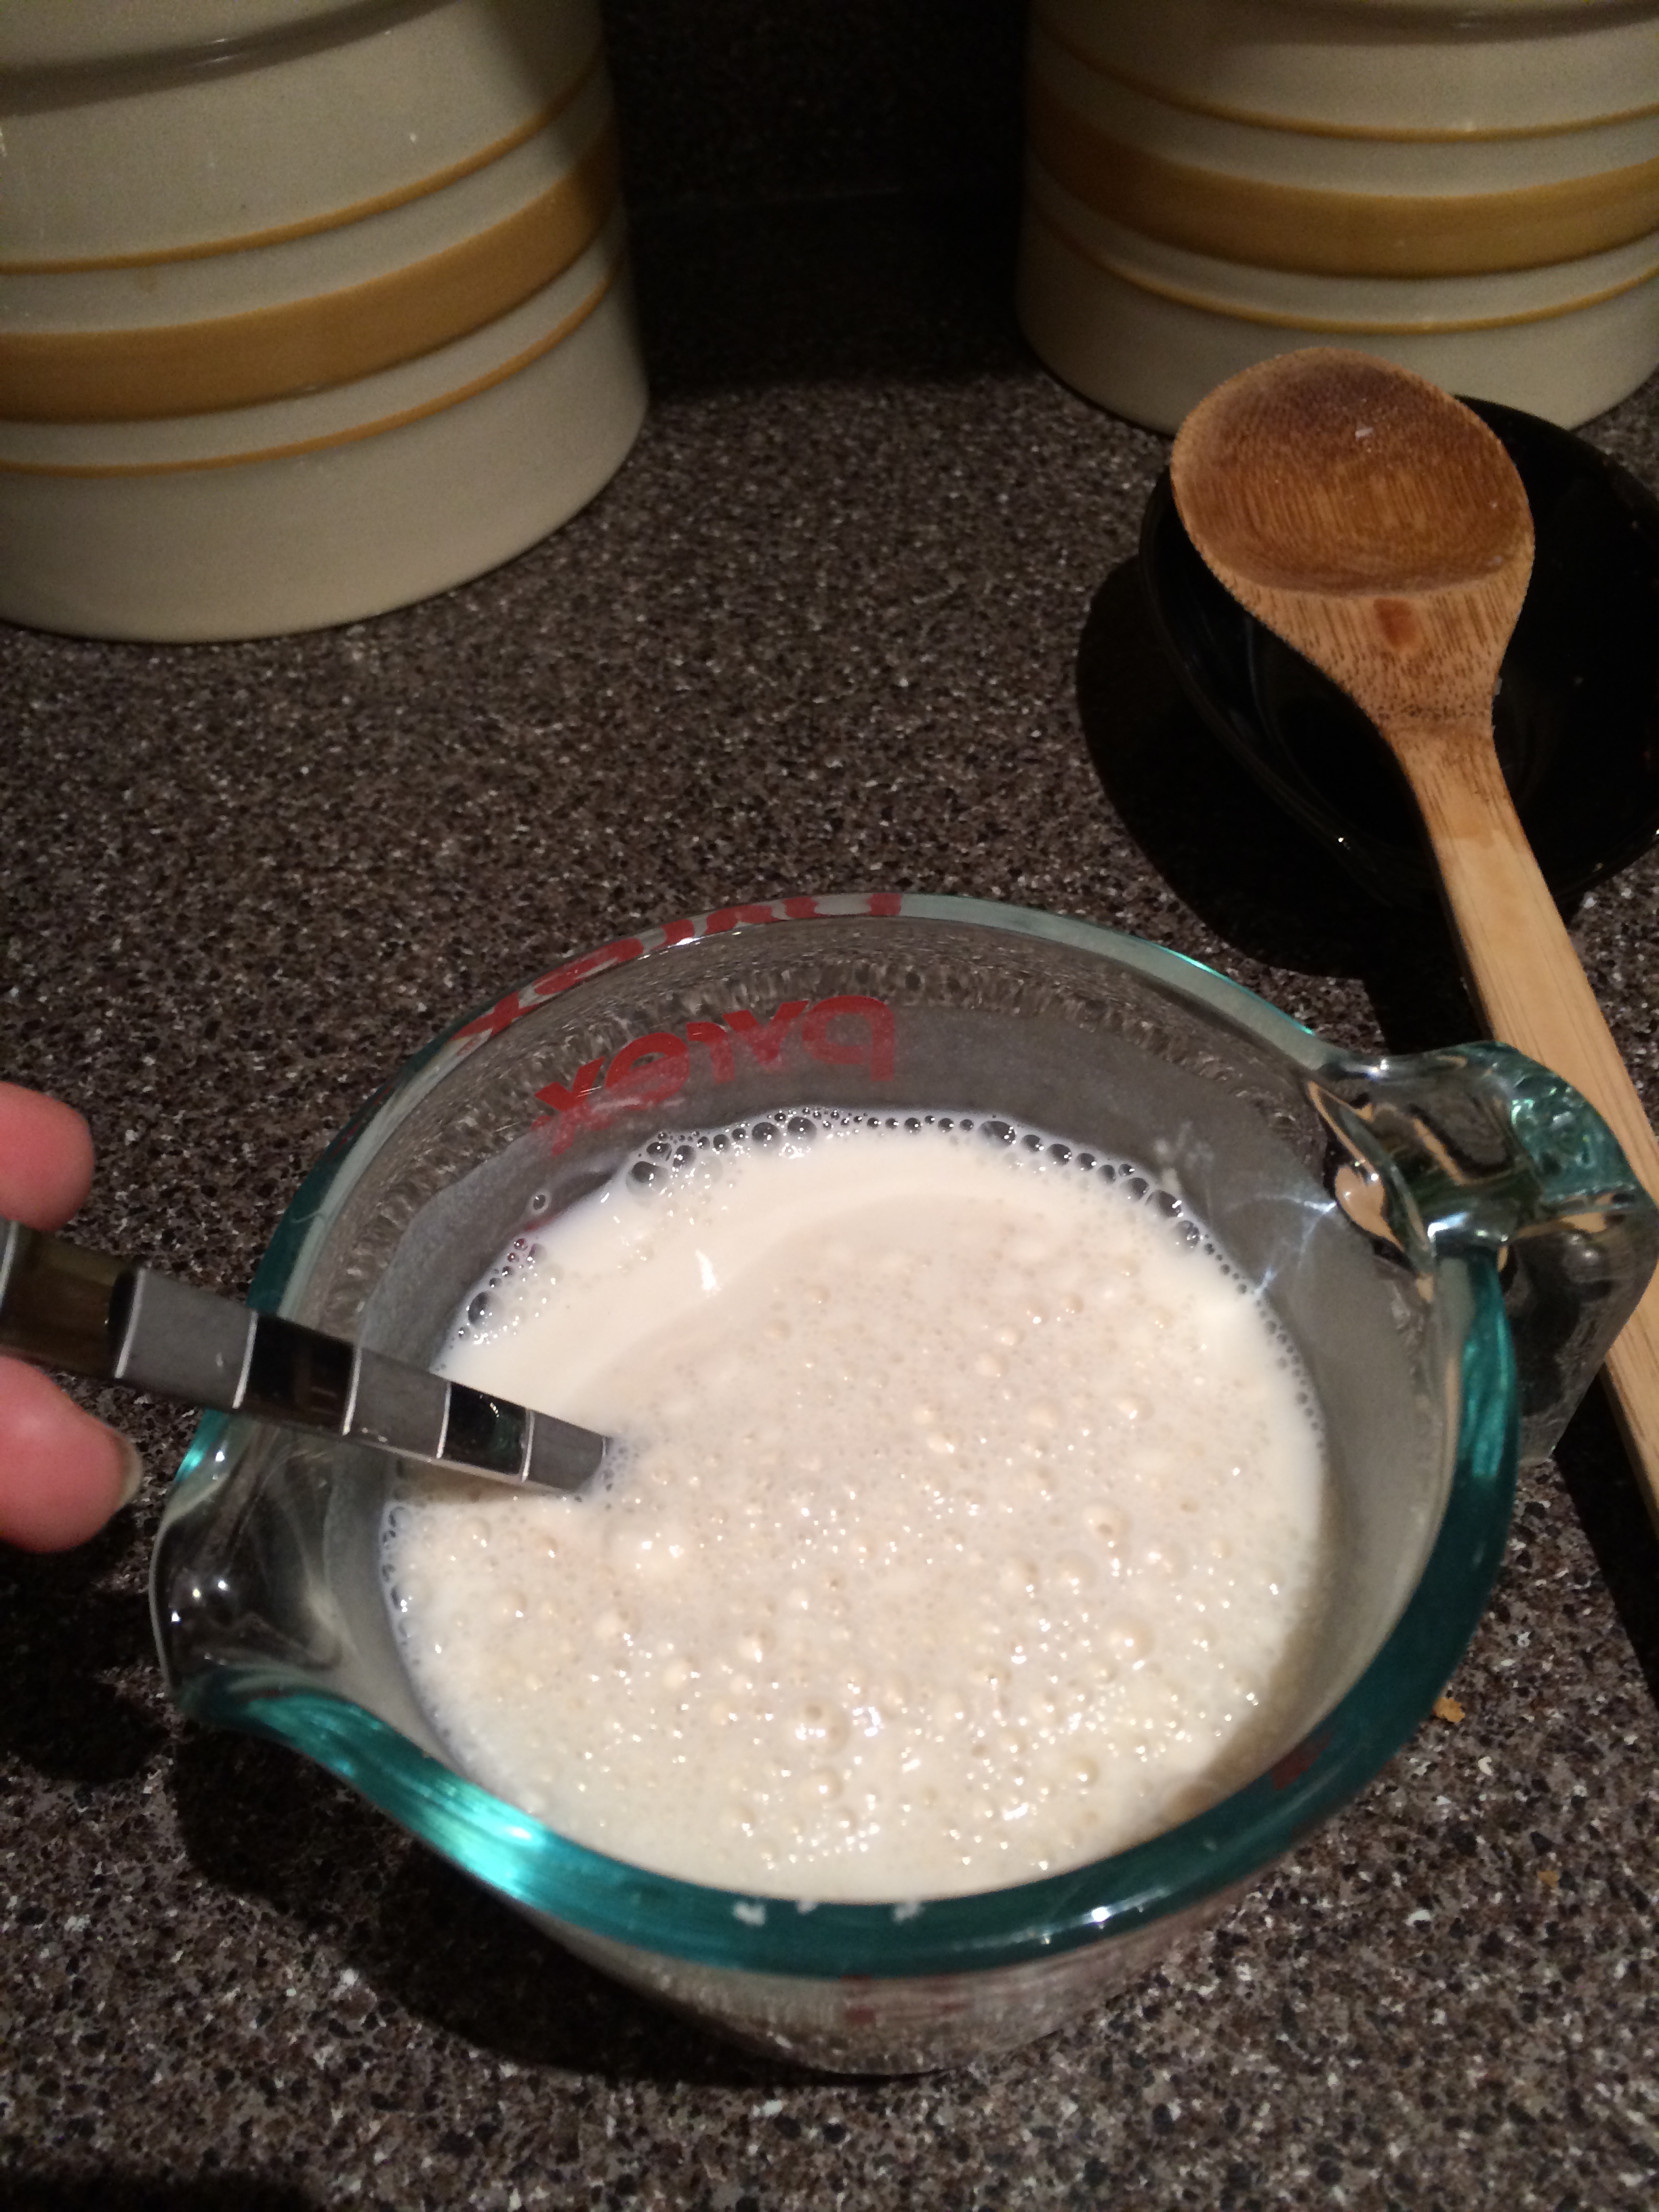
Slowly mixing together the milk and the flour
7. Serve and enjoy!
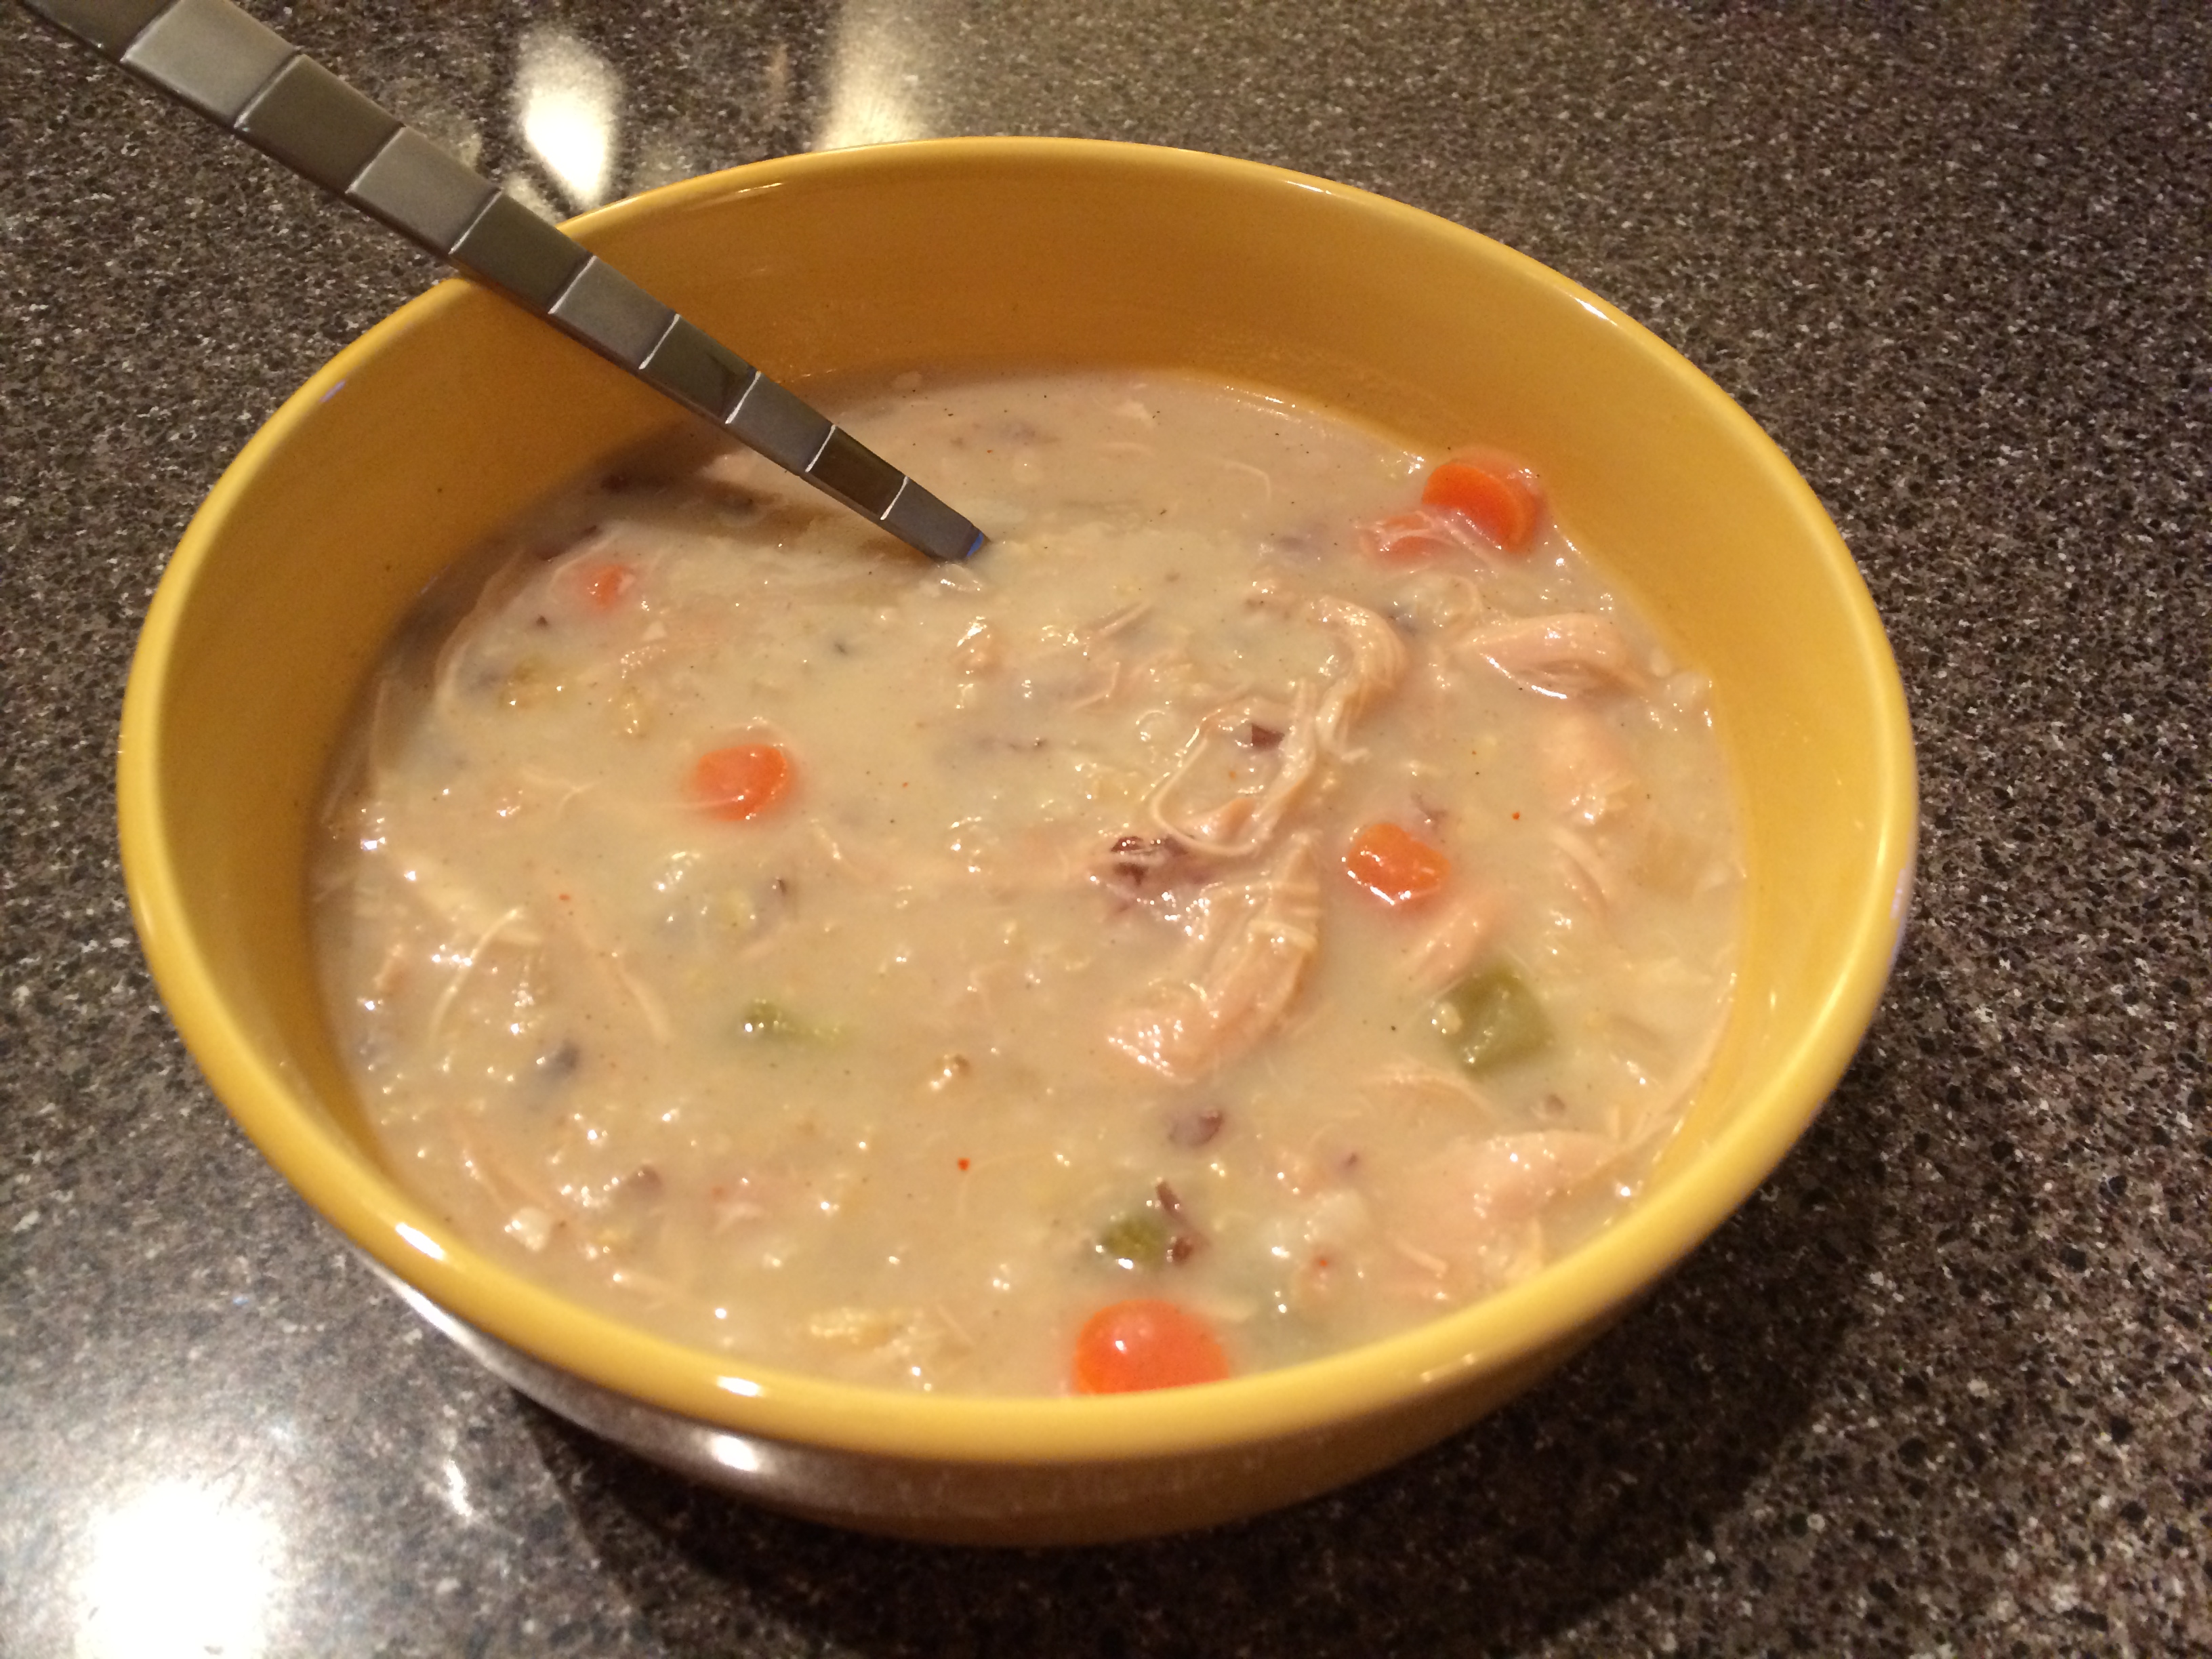
Chicken Wild Rice Soup!
I sauteed the veggies and mixed everything together (minus the flour/milk) the night before we were planning on cooking the soup. The next day we let the crock pot do all the work and mixed the flour/milk in right before we were ready for dinner, so prep time was not bad at all! I think it took us about 20-30 minutes the night before, with all the chopping, sauteing and shredding.
Now I compare all chicken wild rice soup to a restaurant called Grandma’s up in Duluth, MN. In my opinion they make the BEST version of this soup I have ever had. But since Duluth is a little too far away, we’ve been trying to find a recipe that we could make at home that was close to Grandma’s. We both loved the way this recipe turned out. It was creamy, hearty, tasted delicious and the best part, it was lower in calories! I’m excited for the leftovers too, especially since we are in for another visit from the Polar Vortex! What are your go-to crock-pot soup recipes?
-LG
Sweet Potato Gnocchi with Balsamic Brown Butter Sauce
January 20, 2014
I’m just going to be upfront with this…I love gnocchi. My mom said it was one of my favorite things to eat when I was little. How can you go wrong with potato, flour and cheese? The best gnocchi I ever had was in Vernazza, a little town in the Cinque Terre region of Italy. I’ve tried a couple of times to make gnocchi at home since then and failed miserably each time…the first time I had really lumpy gnocchi and the second time I had a pile of mush. So I’ve been a little shy about trying gnocchi at home again, but when my co-worker sent me this recipe for a sweet potato gnocchi with a balsamic brown butter sauce, I had to give it a try. I mean, third time’s the charm right?
Sweet Potato Gnocchi with Balsamic Brown Butter Sauce
For the gnocchi:
2 red-skinned sweet potatoes (about 1 lb)
1 15oz container of ricotta, strained in a sieve/colander for 2 hours
1/2 c grated Parmesan cheese
1 tsp salt
2 to 2 1/2 cups (maybe more) all-purpose flour
For the brown butter:
8 Tbs (1 stick) unsalted butter
1/4 c loosley packed sage leaves
3 Tbs balsamic vinegar
1/4 tsp salt
1/4 tsp black pepper
Parmesan cheese, for serving
Make the gnocchi
1. Wash the sweet potatoes, prick all over with a fork and microwave them using the baked potato button. (You could also microwave on high about 5 minutes per side) You want the sweet potatoes to be tender.
2. Cut the potatoes in half, and scoop the flesh into a large bowl. Thoroughly mash the sweet potatoes.
3. Add the ricotta, stirring until thoroughly combined. Stir in the Parmesan and salt.
4. Begin to add the flour, 1/2 c at a time until a soft, pliable dough forms. Have patience here! Sweet potatoes vary in the amount of moisture they contain, so the amount of flour you will need might vary. But, the trick is not to add too much flour, otherwise your gnocchi will be very dense. After adding about 1 1/2 c of flour I started using my hands to mix the flour in. It made it easier to mix and feel when the dough got to the “soft, pliable” point.
5. Shape the dough into a large ball.
6. Flour a baking sheet and set it aside.
7. Flour your work surface and divide the dough into 6 equal portions. Take one portion and roll it onto your work surface using your hands until it’s about 20 inches in length. Cut about 1 inch pieces to form each gnocchi and transfer them to the floured baking sheet. Repeat with the remaining 5 pieces of dough.
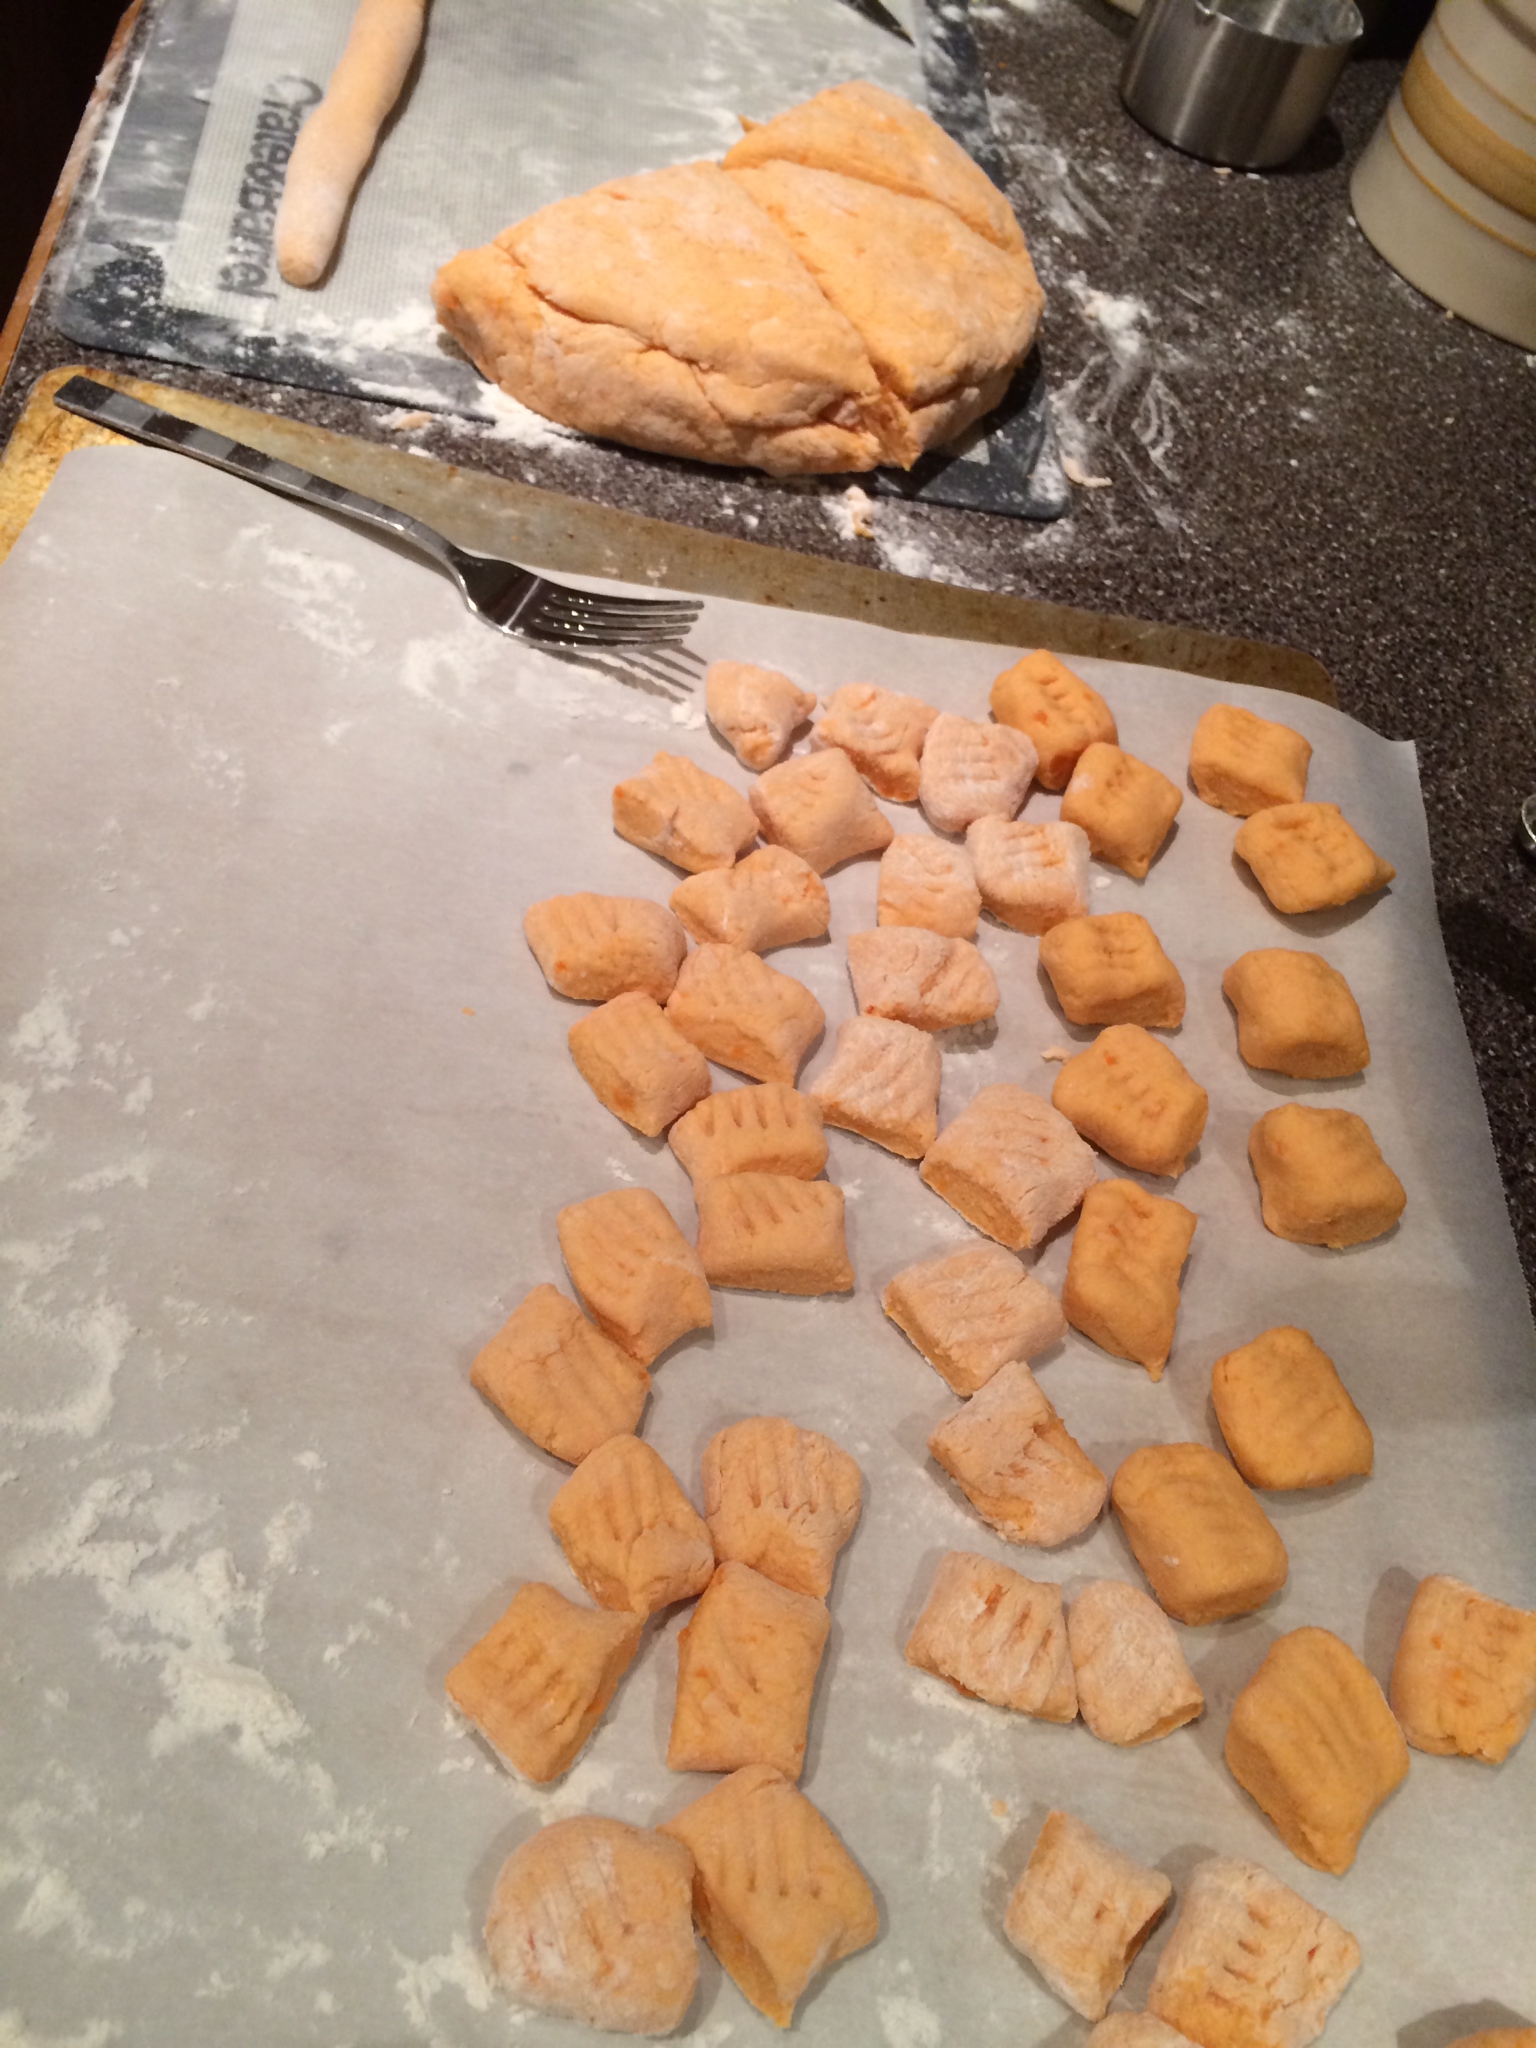
Cutting the little gnocchi
8. Using the tines of a fork, press each gnocchi to form little indentations.
Make the brown butter
1. Bring a large pot of water to a boil while you’re making the sauce. I like to add a little olive oil to the sauce to keep the pasta from sticking. The sauce will cook in about the time it takes the water to boil.
2. Melt the butter in a medium saucepan over medium heat. Stir occasionally.
3. Cook until the foam subsides and it begins to turn a golden brown color (about 3 minutes)
4. Turn off the heat and add the sage leaves, cook for about 1 minute.
5. Remove the pan from the stove and stir in the balsamic vinegar, salt and pepper. Save to toss with the warm gnocchi.
Cook the gnocchi
1. When the water is boiling, add a portion of the gnocchi to the boiling water and stir.
2. Let the gnocchi cook until the float back up to the top, about 1 minute. Be careful not to let the gnocchi cook too long! They’ll take on water and get mushy.
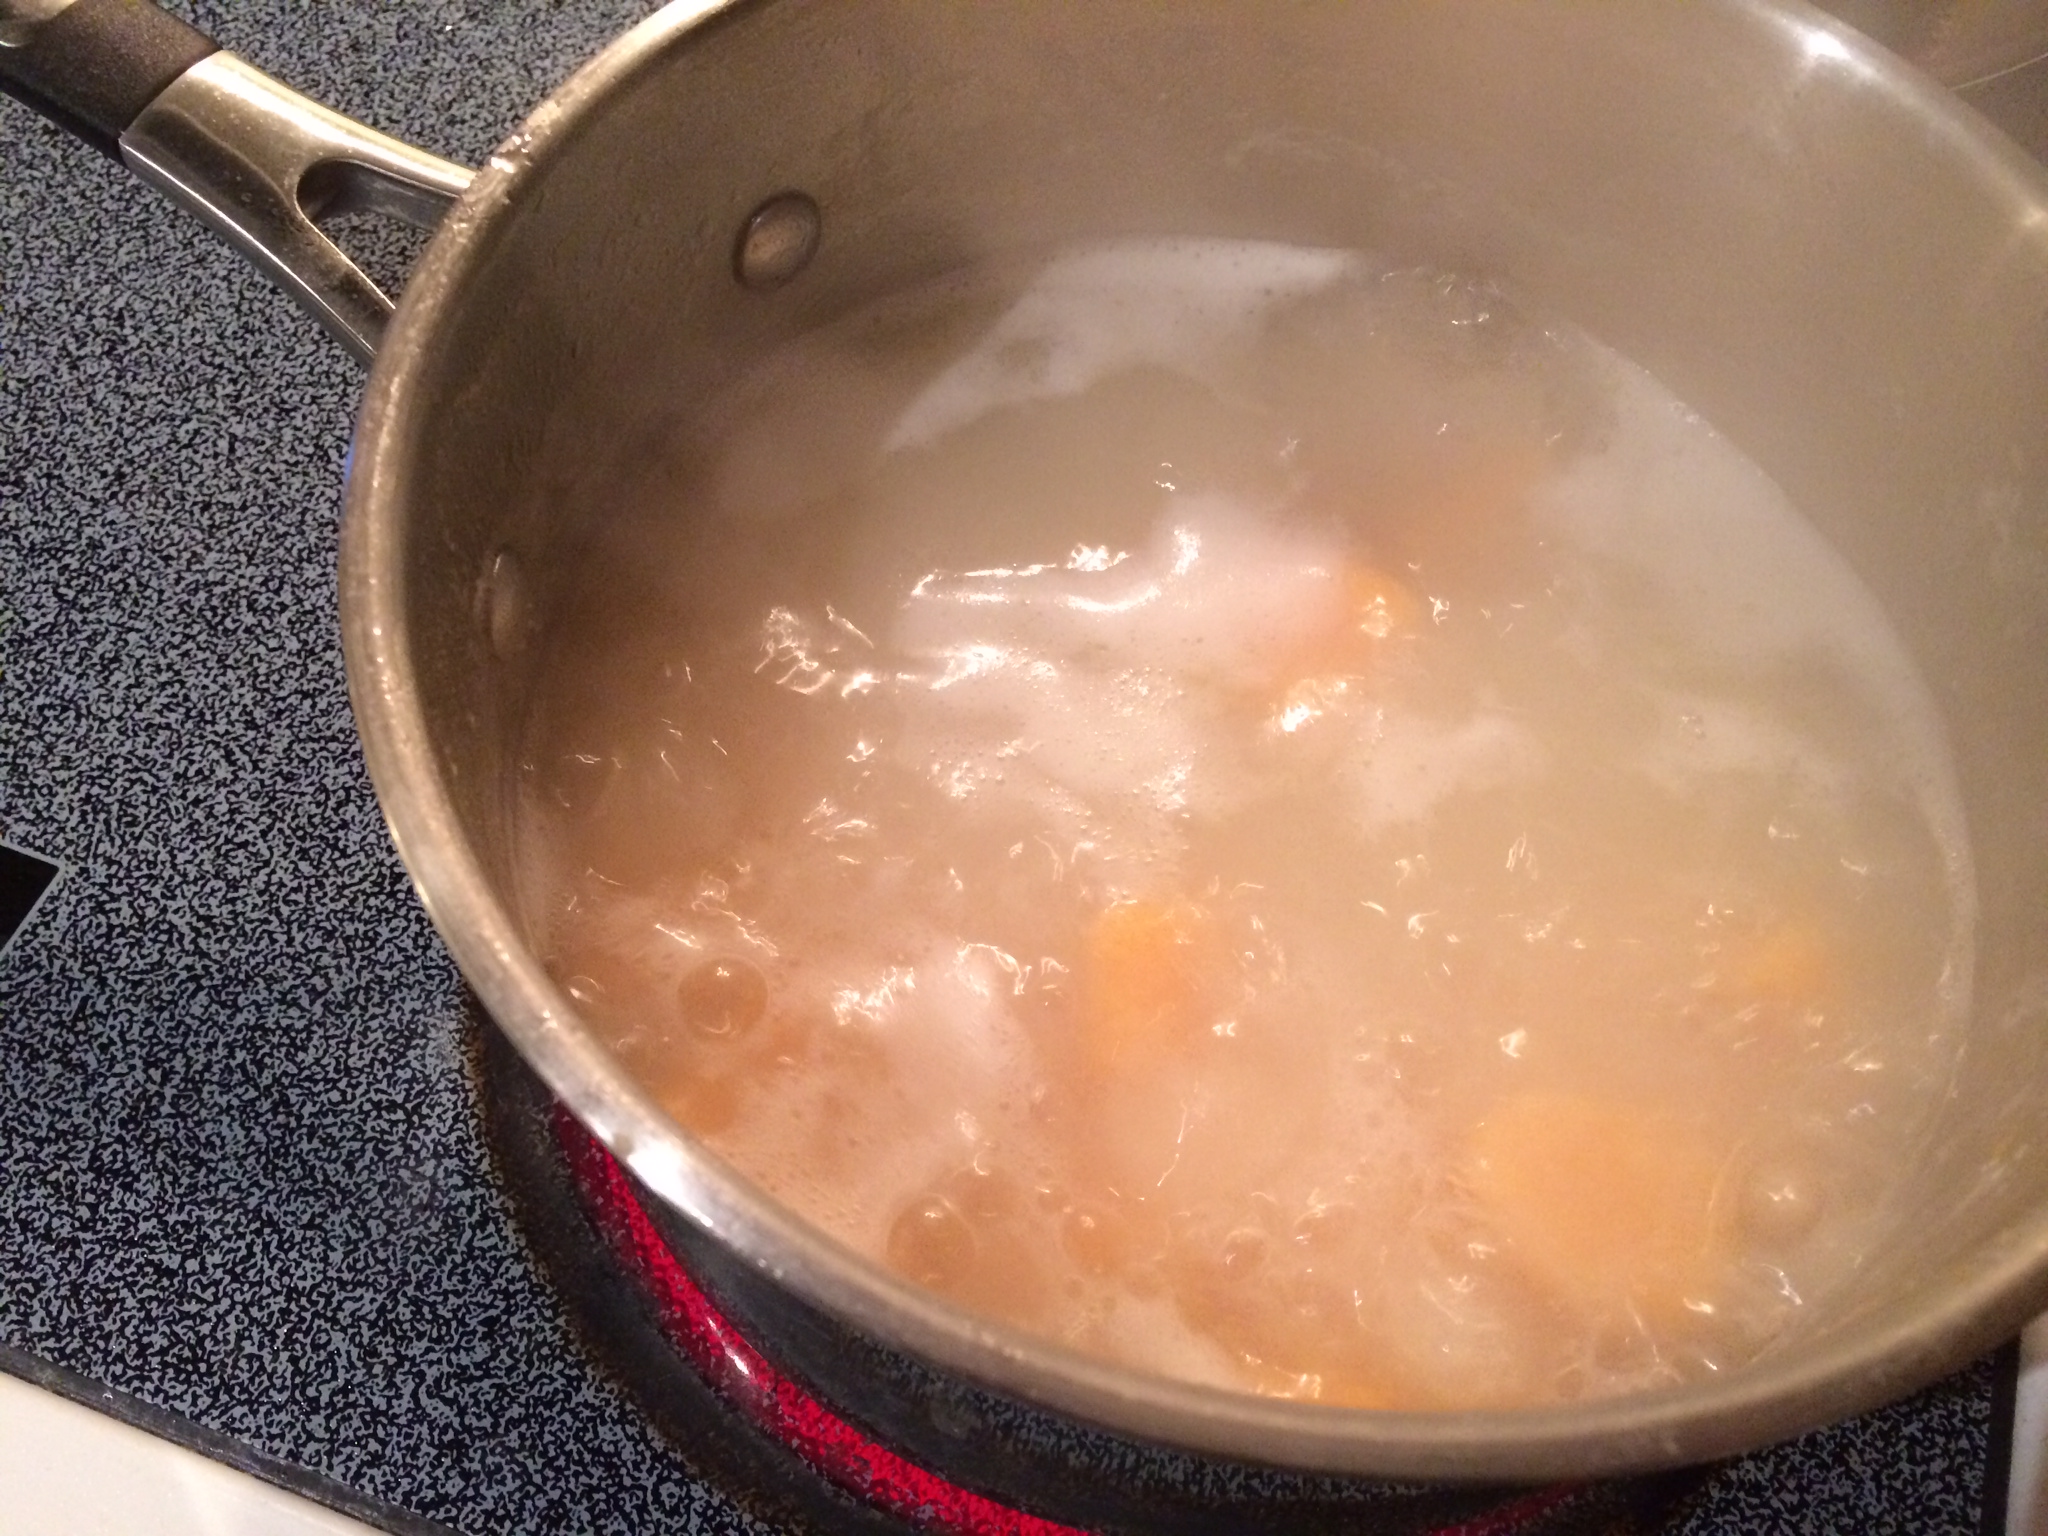
Watching the gnocchi float to the top of the pot
3. Remove the gnocchi with a slotted spoon into a serving bowl. Repeat until all your gnocchi is cooked.
4. Toss with the brown butter sauce, top with Parmesan cheese and serve.
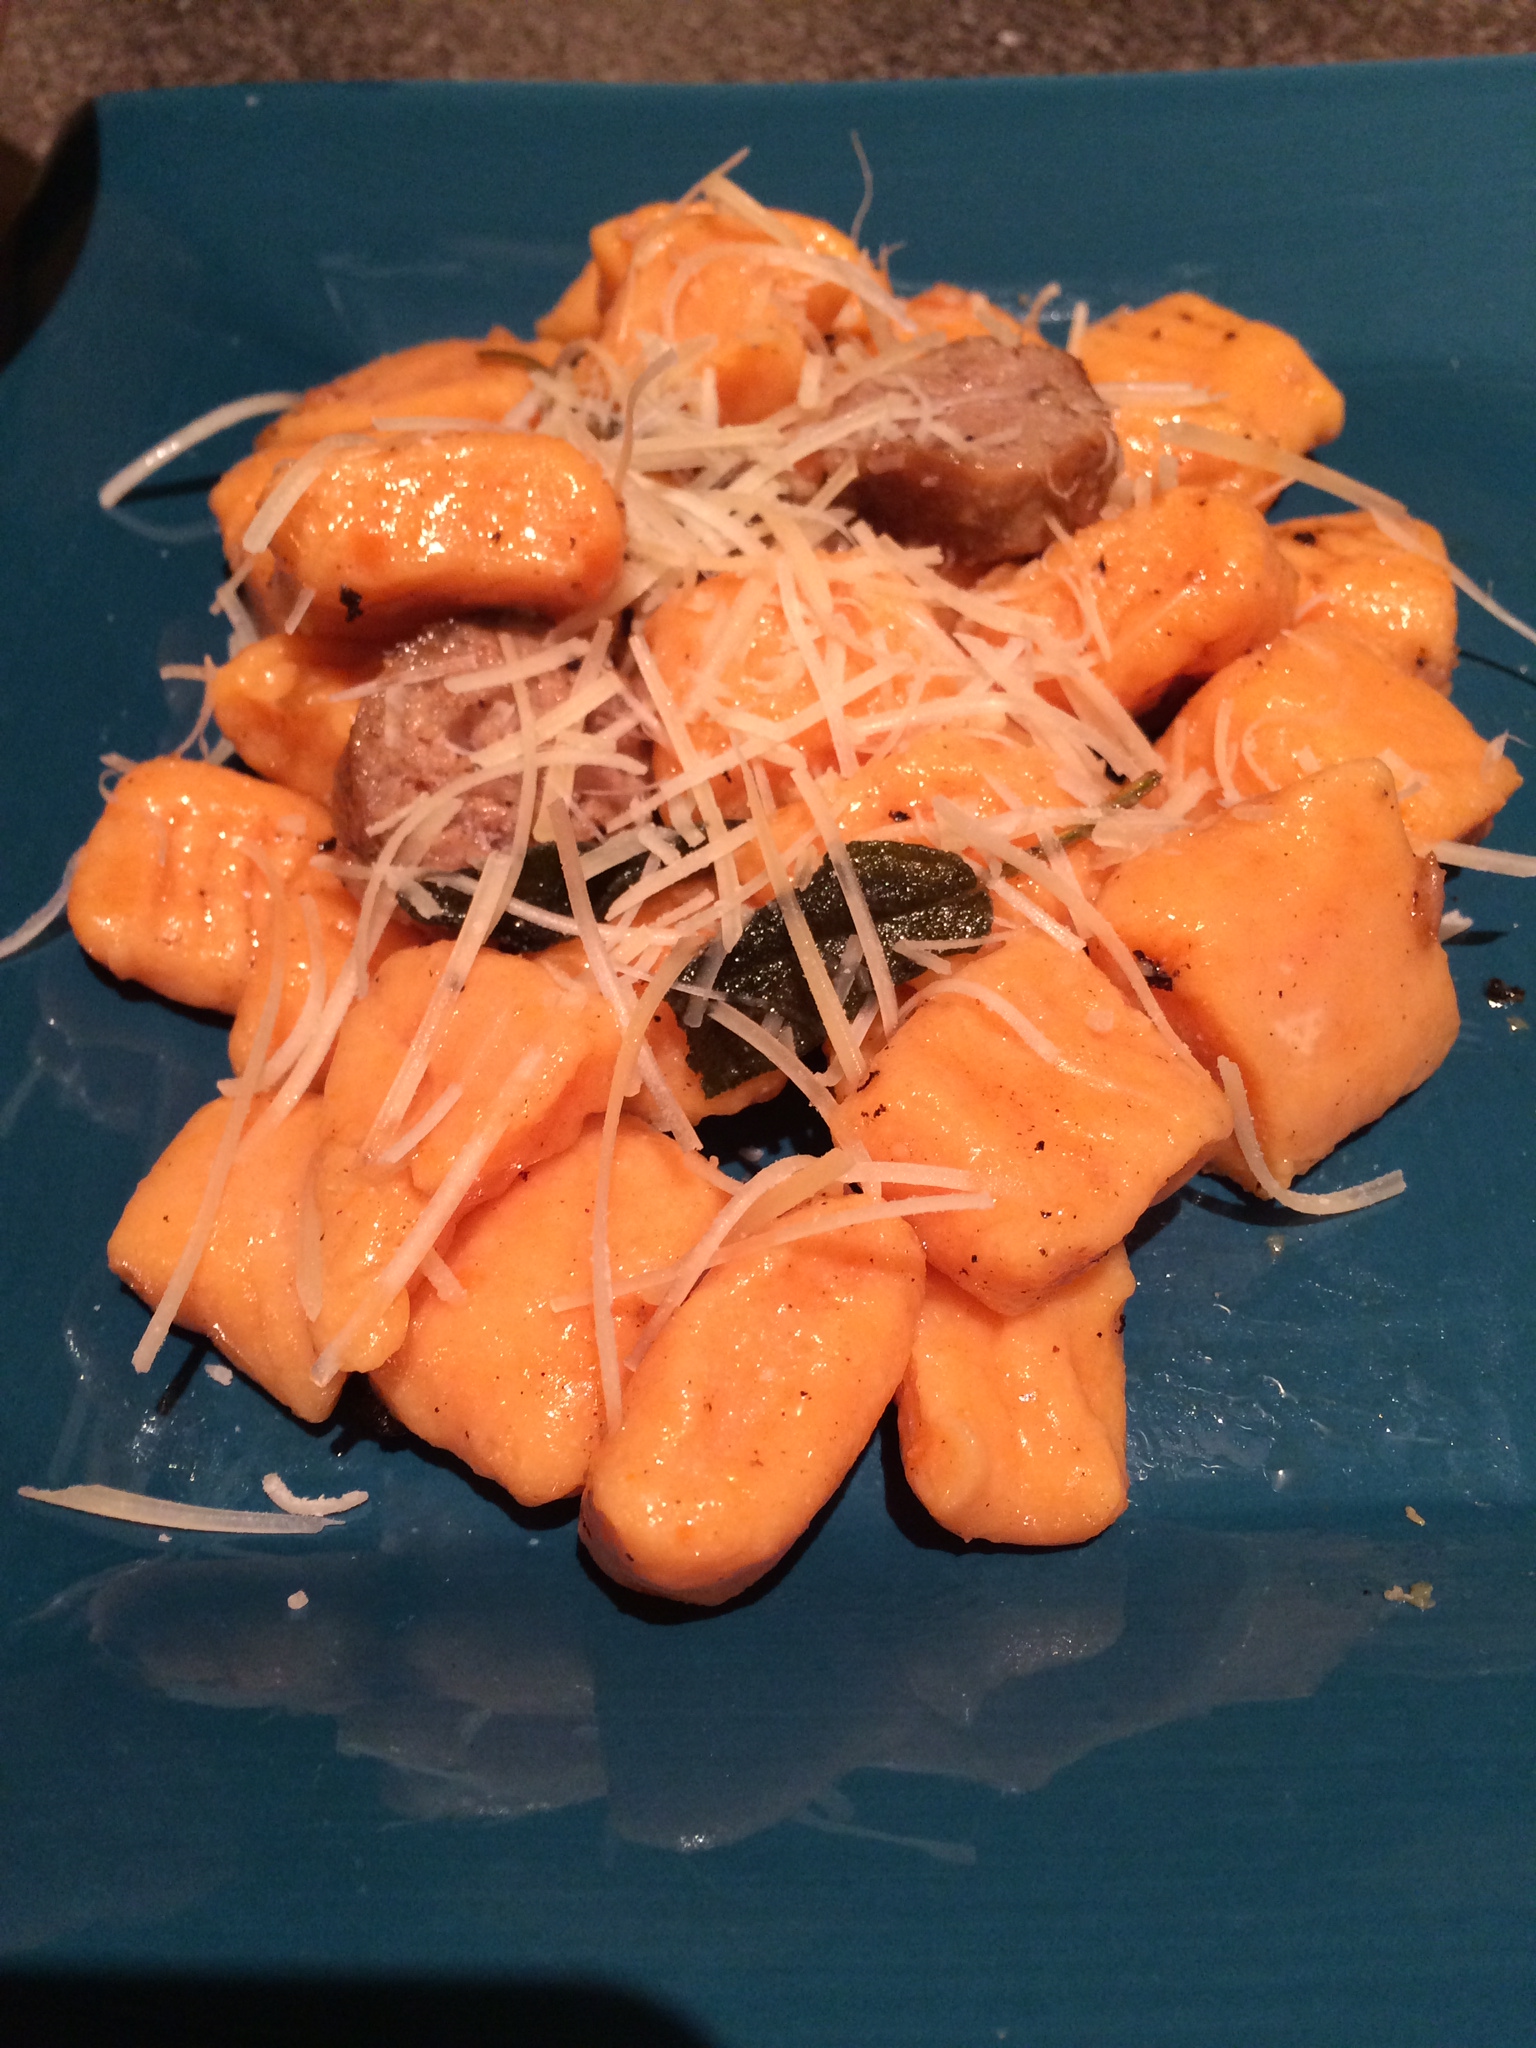
Sweet Potato Gnocchi
I was so nervous but the gnocchi turned out delicious! The texture was right and the sauce had the perfect flavors to compliment the sweet potatoes. It took me about an hour and 15 minutes to cook all of it, not counting the time I left the ricotta out to strain. I suggest a lot of patience with the dough though, take your time and don’t be afraid to add more flour to your work surface or hands to help keep the dough more manageable. Now to add a little bit of protein, I also cooked up some sweet Italian turkey sausage while I was cooking the gnocchi and mixed it in with the pasta. The savory of the sauce and sweet of the sausage worked really well together! I’m really happy that there are leftovers for lunch today!
– LG
Turkey Roll Deliciousness – A Must Have!
January 6, 2014
It’s no secret that I love food so two of my favorite holidays throughout the year are Thanksgiving and Christmas due to the large amounts of really delicious food that we get to make and eat! But not only do I look forward to the meals that day, one of the best parts is all of the leftovers. I am a huge leftover fan!
Every time we have any turkey leftover, I have made it a house rule that we make one of these Turkey Rolls because they are pure deliciousness! I’ve even gone as far as recreating this meal with rotisserie chicken from the super market but nothing beats having it with leftover turkey!
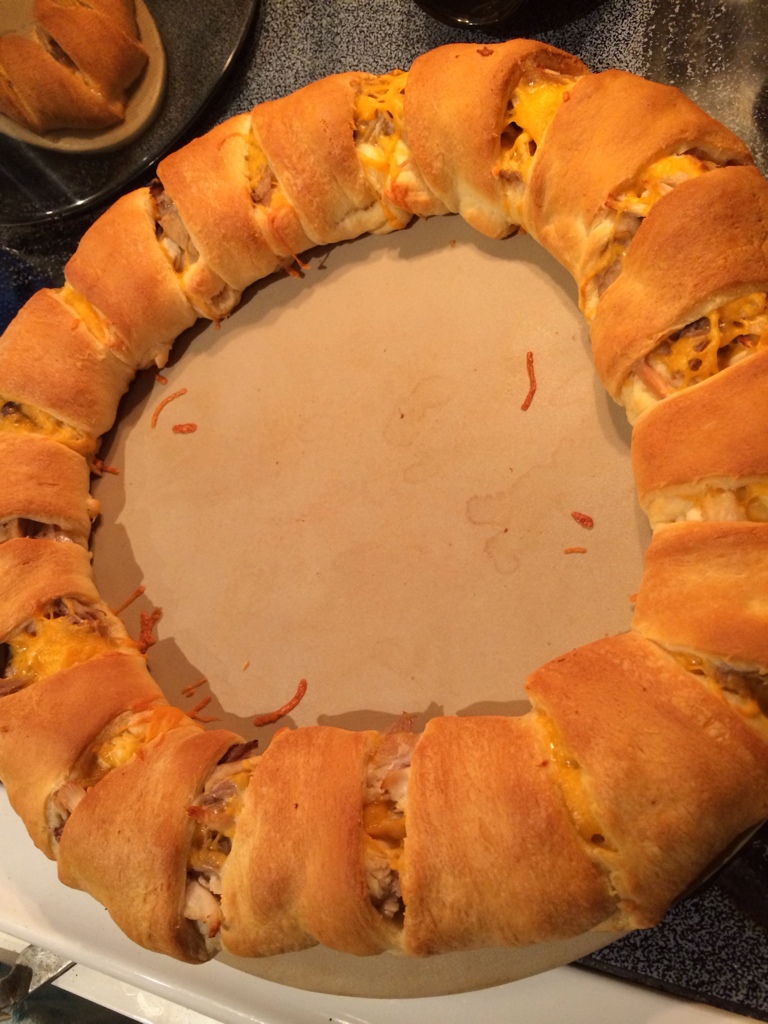
Finished Turkey Roll deliciousness!
Turkey Roll
10 oz turkey/chicken
1c cheddar cheese
2 packages crescent rolls
Dipping sauce (optional)
1c Mayo
2tbsp dijon mustard
1tbsp finely chopped onion
• Preheat oven to 375
OPTIONAL: mix mayo, mustard and onion
• Separate rolls into 16 triangles and arrange in a circle with wide ends overlapping in the center and points the outside.
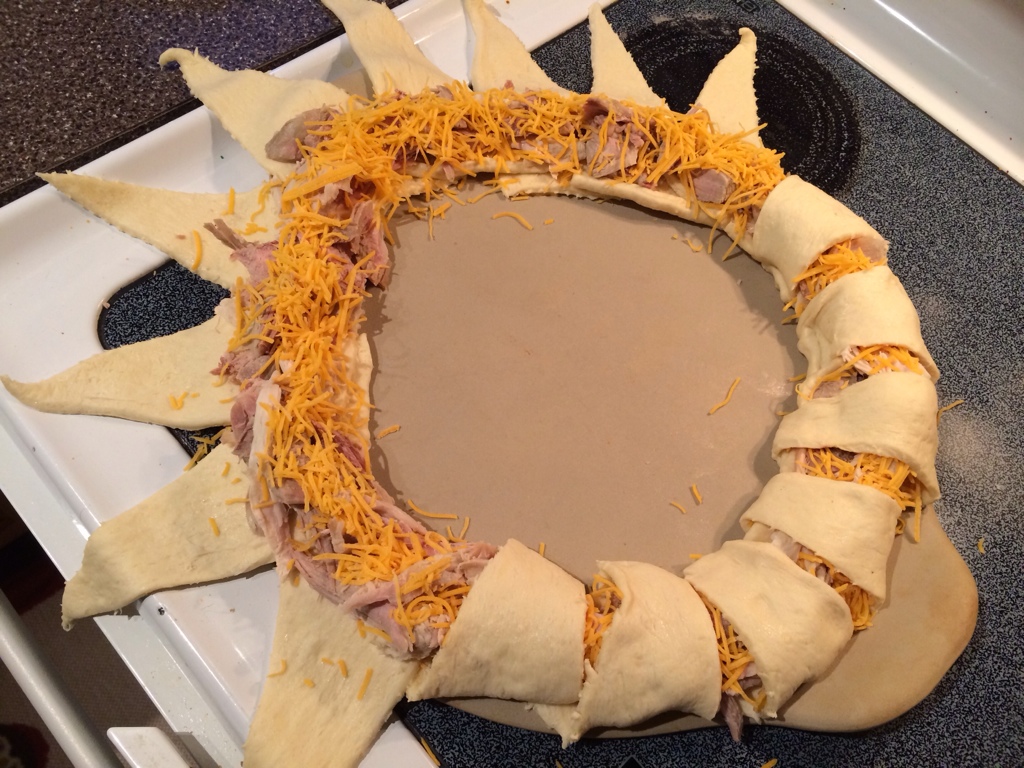
Fold each triangle over the roll and tuck up underneath
• Add turkey and 3/4 cup of cheese mixed together
• Fold outside points of crescent rolls over the filling and tuck under the dough
• Bake 20-25 minutes
• Remove from oven and sprinkle with remaining 1/4 cup of cheese
• Serve with mayo/mustard mixture as dipping sauce
Do you have anything special you like to do with leftover turkey? I’m always looking for great ideas!
– JM
Paris Travel Tips
January 3, 2014
Did I mention that I love to travel? My first 2 years in the workforce I spent traveling alone around the US and I loved it! I got to visit some cities I probably would never have on my own. The best part is, my family loves to travel too. My parents started a tradition a few years ago, after my sister and I were out of their house, traveling for Thanksgiving. They discovered that it’s a great time to visit Europe, it’s not tourist season, the flights are relatively inexpensive, and we already have a couple of days off of work!
This past Thanksgiving, we were all lucky enough to join them in Paris! I do mean we too, my parents, my sister and her husband, Jason and I. Paris had been on my bucket list of places to visit and I was so excited to be able to experience it with my family. Paris is beautiful, the food is amazing, and there is so much to see! The hard part was trying to coordinate what everyone wanted to do while we were there! We hit a lot of the main highlights, the Louvre, Musée d’Orsay, Versailles, Champs-Élysées, Arc de Triomphe, Eiffel Tower, Notre Dame, Mom and I even took a French cooking class! It was a busy trip but somehow we were able to fit it all in. I think we can all say we learned a few things about traveling in Paris on our trip. Some things we heard from others before we left, and some we figured out when we were there. So here is our top 5 list of Paris travel tips.

Eiffel Tower at night
1. Buy a Metro pass
We were in Paris for a week, so after a couple days of buying carnets (packs of 10 metro tickets) we decided it would be more cost effective to buy a Metro pass. You can get around basically anywhere you need to in the city for the number of days you buy your pass for. The Metro was not hard to navigate either, as long as you know what stop you need before you get off, and all of our tour books were good about listing what Metro stop was the closest. By the end of the week we really knew what lines would get us back to our hotel!
2. Get the Museum Pass
If you have a lot of the main attractions on your list, I highly recommend the Museum Pass. It got us into the Louvre, Musée d’Orsay, Musée de l’Orangerie (Monet’s Water Lilies are beautiful!), the towers of Notre Dame, Centre Pombidou (modern art museum)…and the list goes on! A lot of the main attractions are included in the pass so it is worth checking out. You can buy the pass for a set number of days (1, 3, 5, etc) and it becomes active on the first day you use it, so you have to plan out your stops accordingly.

A Gargoyle on the towers of Notre Dame and the Eiffel Tower
3. Spend some time sitting in a cafe
Everyone we talked to that had been to Paris said that we had to do this, and know I know why! It was fun to order a cappuccino, a snack, sit and just people watch. I loved to watch everyone in the cafes catching up with their friends, or family, in the middle of the work day! Les dux Magots is a well known cafe on Saint Germain that is supposed to have great people watching. Unfortunately, when we were there they were closed for renovations, but there are quite a few other cafes in that same area. That’s also by the oldest church in Paris which is cool to see!
4. Pay for the guided tour at Versailles
You have quite a few ticket options when you visit Versailles and our hotel concierge recommended purchasing tickets to the guided tour. You get to see the private apartments of King Louis XI and Louis the XVI, and the Royal Chapel with a smaller group, and the ticket includes admission to the rest of the palace as well! We walked the gardens, took the guided tour, then walked around the rest of the palace. We learned so much on the guided tour and it was so nice to be in a smaller group without all the crowds! The guided tour ticket is only €6 more and well worth it.

Inside the Hall of Mirrors at Versailles
5. Have the hotel concierge recommend where they would eat, and go there!
Our hotel concierge was a wonderful young lady who could not have been more helpful! She strongly recommended reservations for dinner every night, and helped us find restaurants within walking distance from the hotel. My mom made it a point to ask her where she would go eat dinner, and then we had her make reservations at those places. We tried some traditional French cuisine, a concept restaurant where all the main dishes looked like desserts, tapas, and a small Italian place. It didn’t look like any of these restaurants could hold more than 30 people at a time and the food was always amazing! I don’t think we had a bad meal the entire trip! I’m going to have to remember this tip when I go places on my own too, always ask where the locals go eat.
We had a wonderful week in Paris, ate way to much, saw some amazing sights, and did quite a bit of shopping. Both Jason and I said we would go back, but this time take some day trips outside the city, and spend some more time just wandering around the streets of Paris. We found some cute areas with shops on the last couple days and we wish we had more time to spend just browsing. Until next time, au revoir!
-LG

Notre Dame Cathedral