Mmmm Ribs!
August 30, 2013
There’s something about all the summer holidays that makes me want to grill, mix up some potato salad and buy local sweet corn from the farm up the street. And of course it’s around the same time that the grocery stores put racks of baby back ribs on sale! With Labor day coming up, I picked up a rack to enjoy on the “unofficial last day of summer.”
Honestly, I was legitimately scared to cook ribs at home for a long time. It seemed like too much work, and I was nervous about over cooking them to the point where they would end up being dry. I was flipping channels a few years ago and Bobby Flay was on the Food Network (a frequently watched channel at our house in case you hadn’t figured that out yet) talking about cooking ribs on the grill. Now I get that he is skilled at grilling everything under the sun, but he made it sound easy enough that I had to give it a try! The first time around was a success, so I invited some people over for a second try. There are a few people (Jason included) that get excited when they hear I’m cooking ribs!
I modified Bobby’s rib rub recipe (I’m a little bit of a wimp when it comes to hot spices), prepped the ribs and after about 2 hours on the grill, dinner was served! Here’s the step by step:
1. Mix the dry rib rub together in a separate bowl
1 T cumin
1 T paprika
1 T garlic powder
1 T onion powder
1 T chili powder
1 T brown sugar
1 T sea salt
1/2 t cayenne pepper
1/2 t black pepper
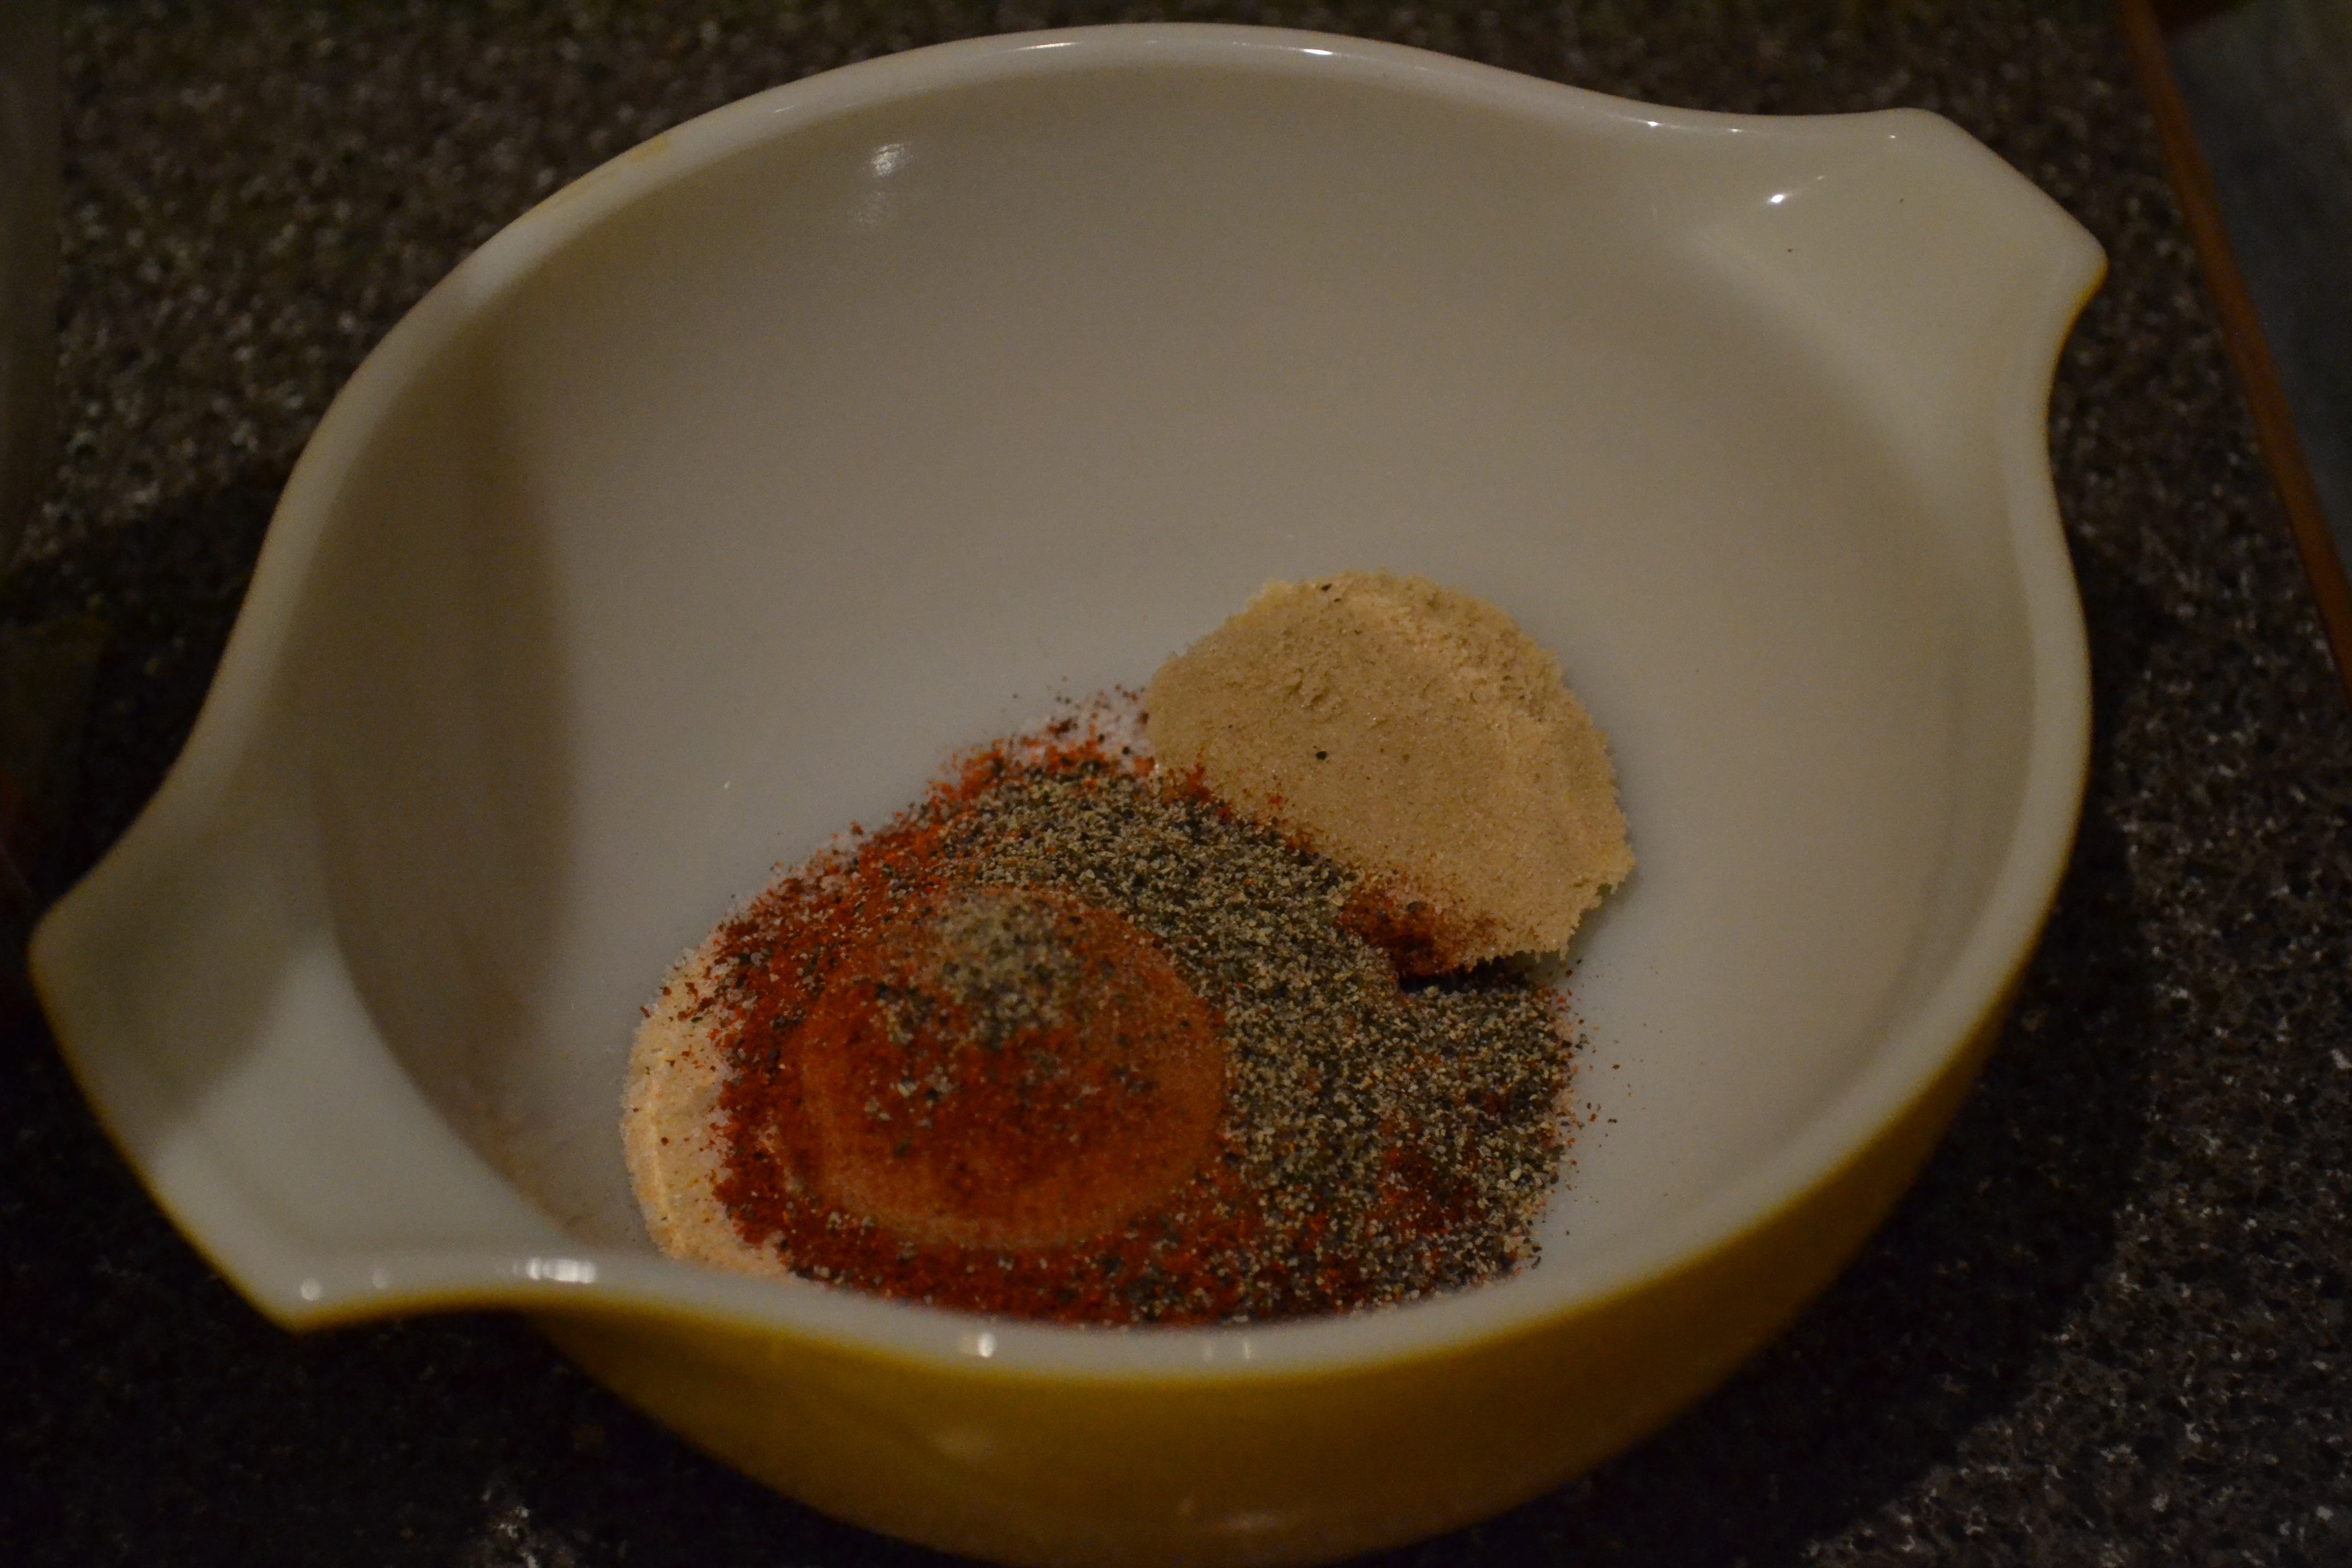
Mixing together the spices
Don’t put the brown sugar away yet! You’ll need about an additional 1/4- 1/2 c when it comes time to season the ribs
2. Prep the ribs
After I take them out of the package I lay them on a cutting board covered in paper towels and pat them dry. There is a membrane on the back of the ribs that needs to come off. I’ve heard if you leave it on, the ribs come out tougher and prevent the rub from really getting into all of the meat. To do this, you can take a finger or a butter knife, and slide it under the membrane/over a bone. Lift the membrane until it starts to tear (it’s a pretty audible noise.) Use a paper towel, grab the membrane and slowly pull across the rack of ribs until it comes off. You might be able to get it all in one piece, or it might take a few tries, but just be patient with it, you’ll eventually be able to remove it all.
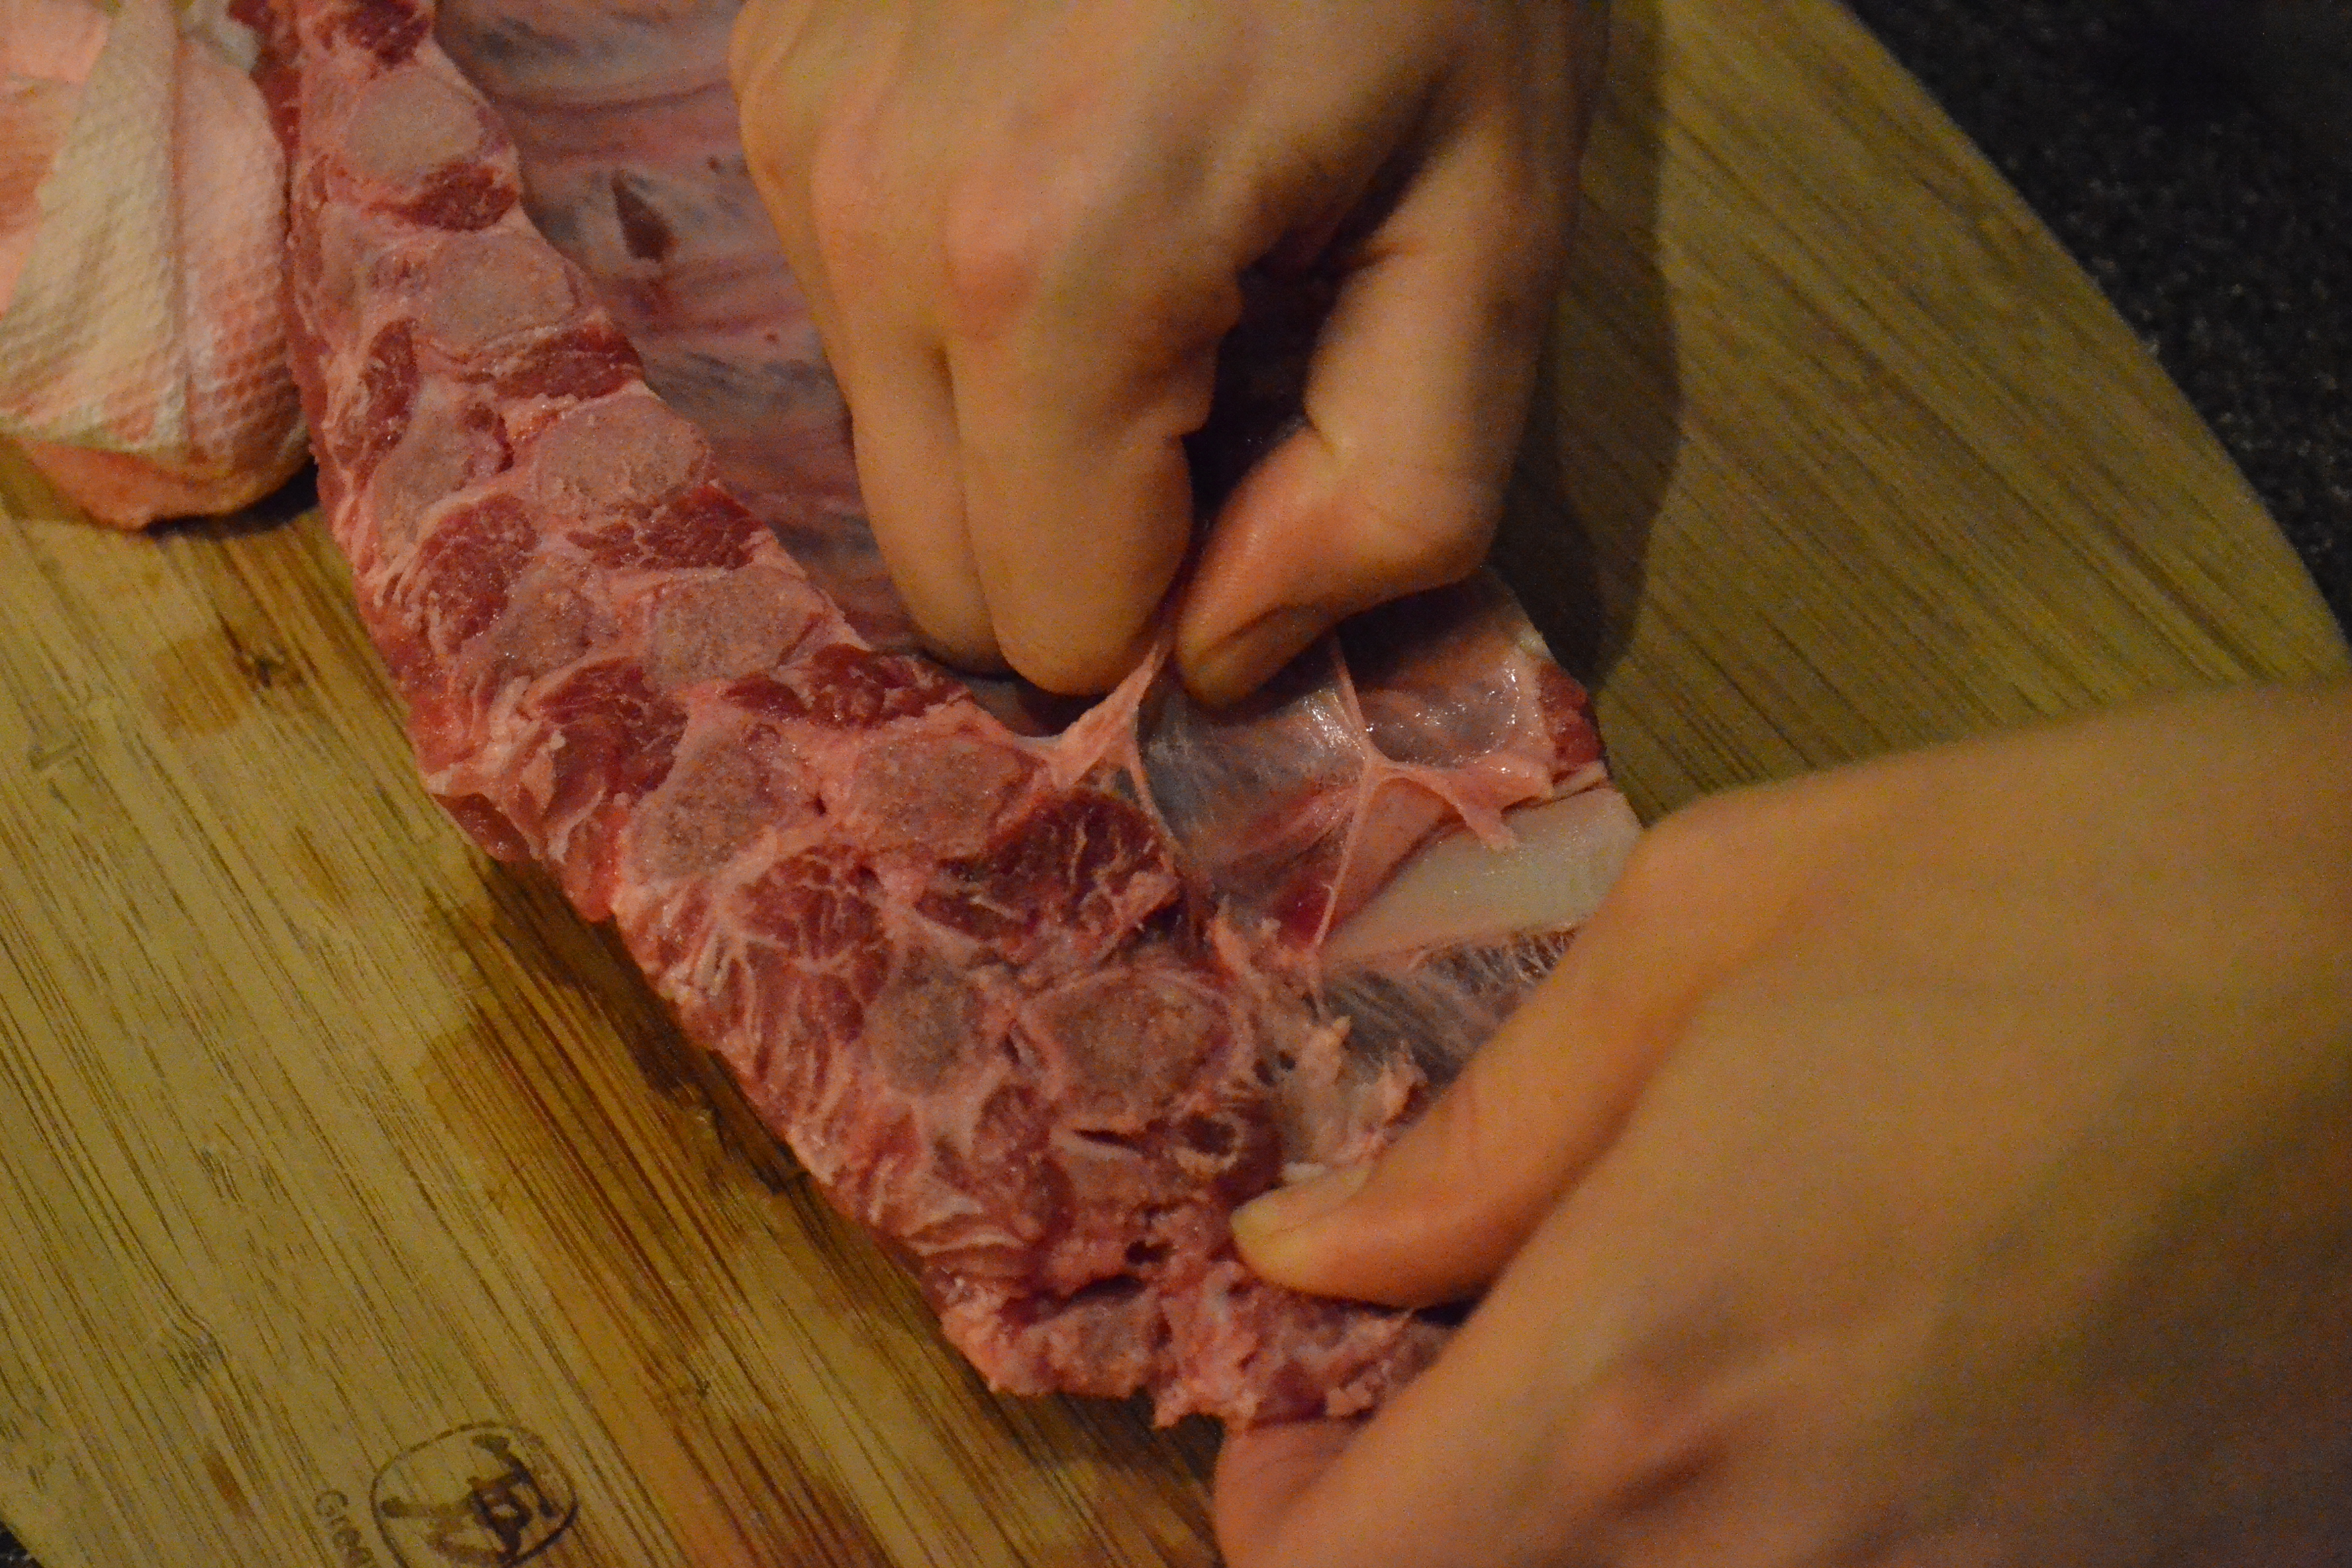
Starting to remove the membrane
3. Season the ribs
The dry rub will cover about 2 1/2 to 3 lbs of ribs. I start with the back (bony side), pour about half of the rub across the rack, then rub and pat it in until it covers the back and sides of the ribs. Flip it over, and repeat on the front (meaty side). To help balance the heat and keep the ribs moist, I pour anywhere from an additional 1/4 to 1/2 c of brown sugar onto the front of the ribs and pat this in so it covers the ribs evenly. You don’t have to do this if you’re trying to watch your calories or sugar though (1/2 c of packed brown sugar is about 415 calories!)
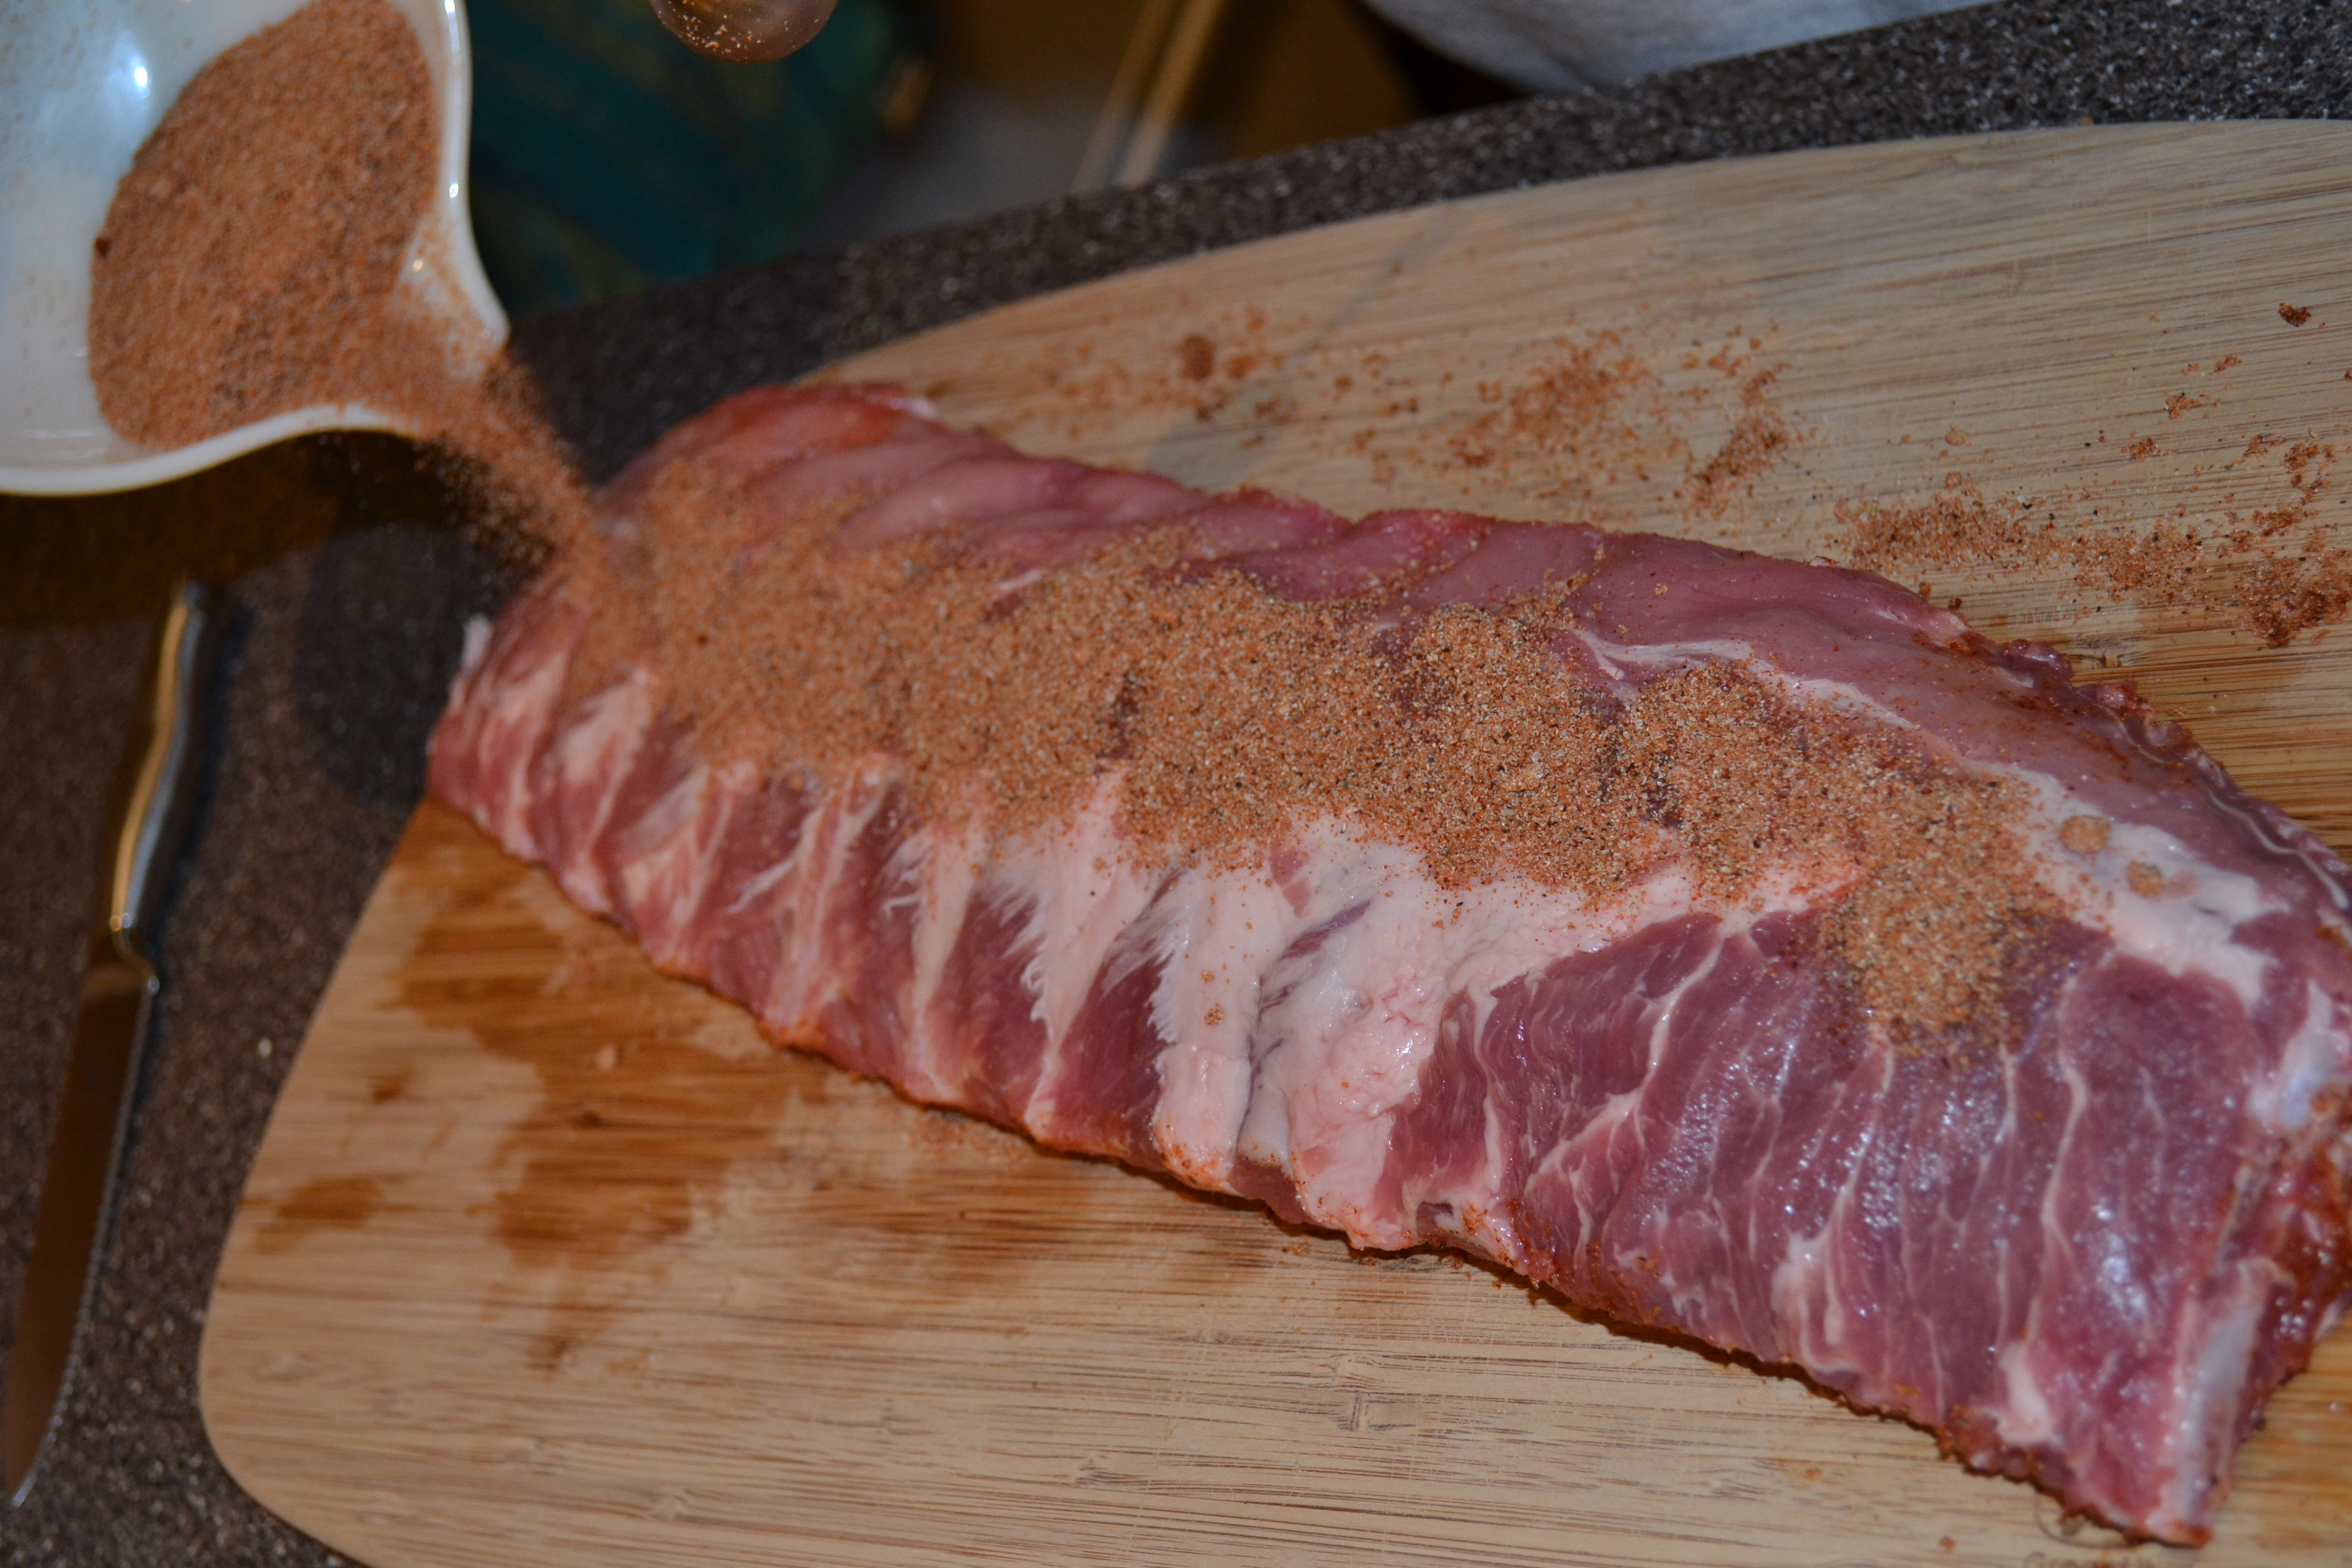
Rubbing the spices into the ribs
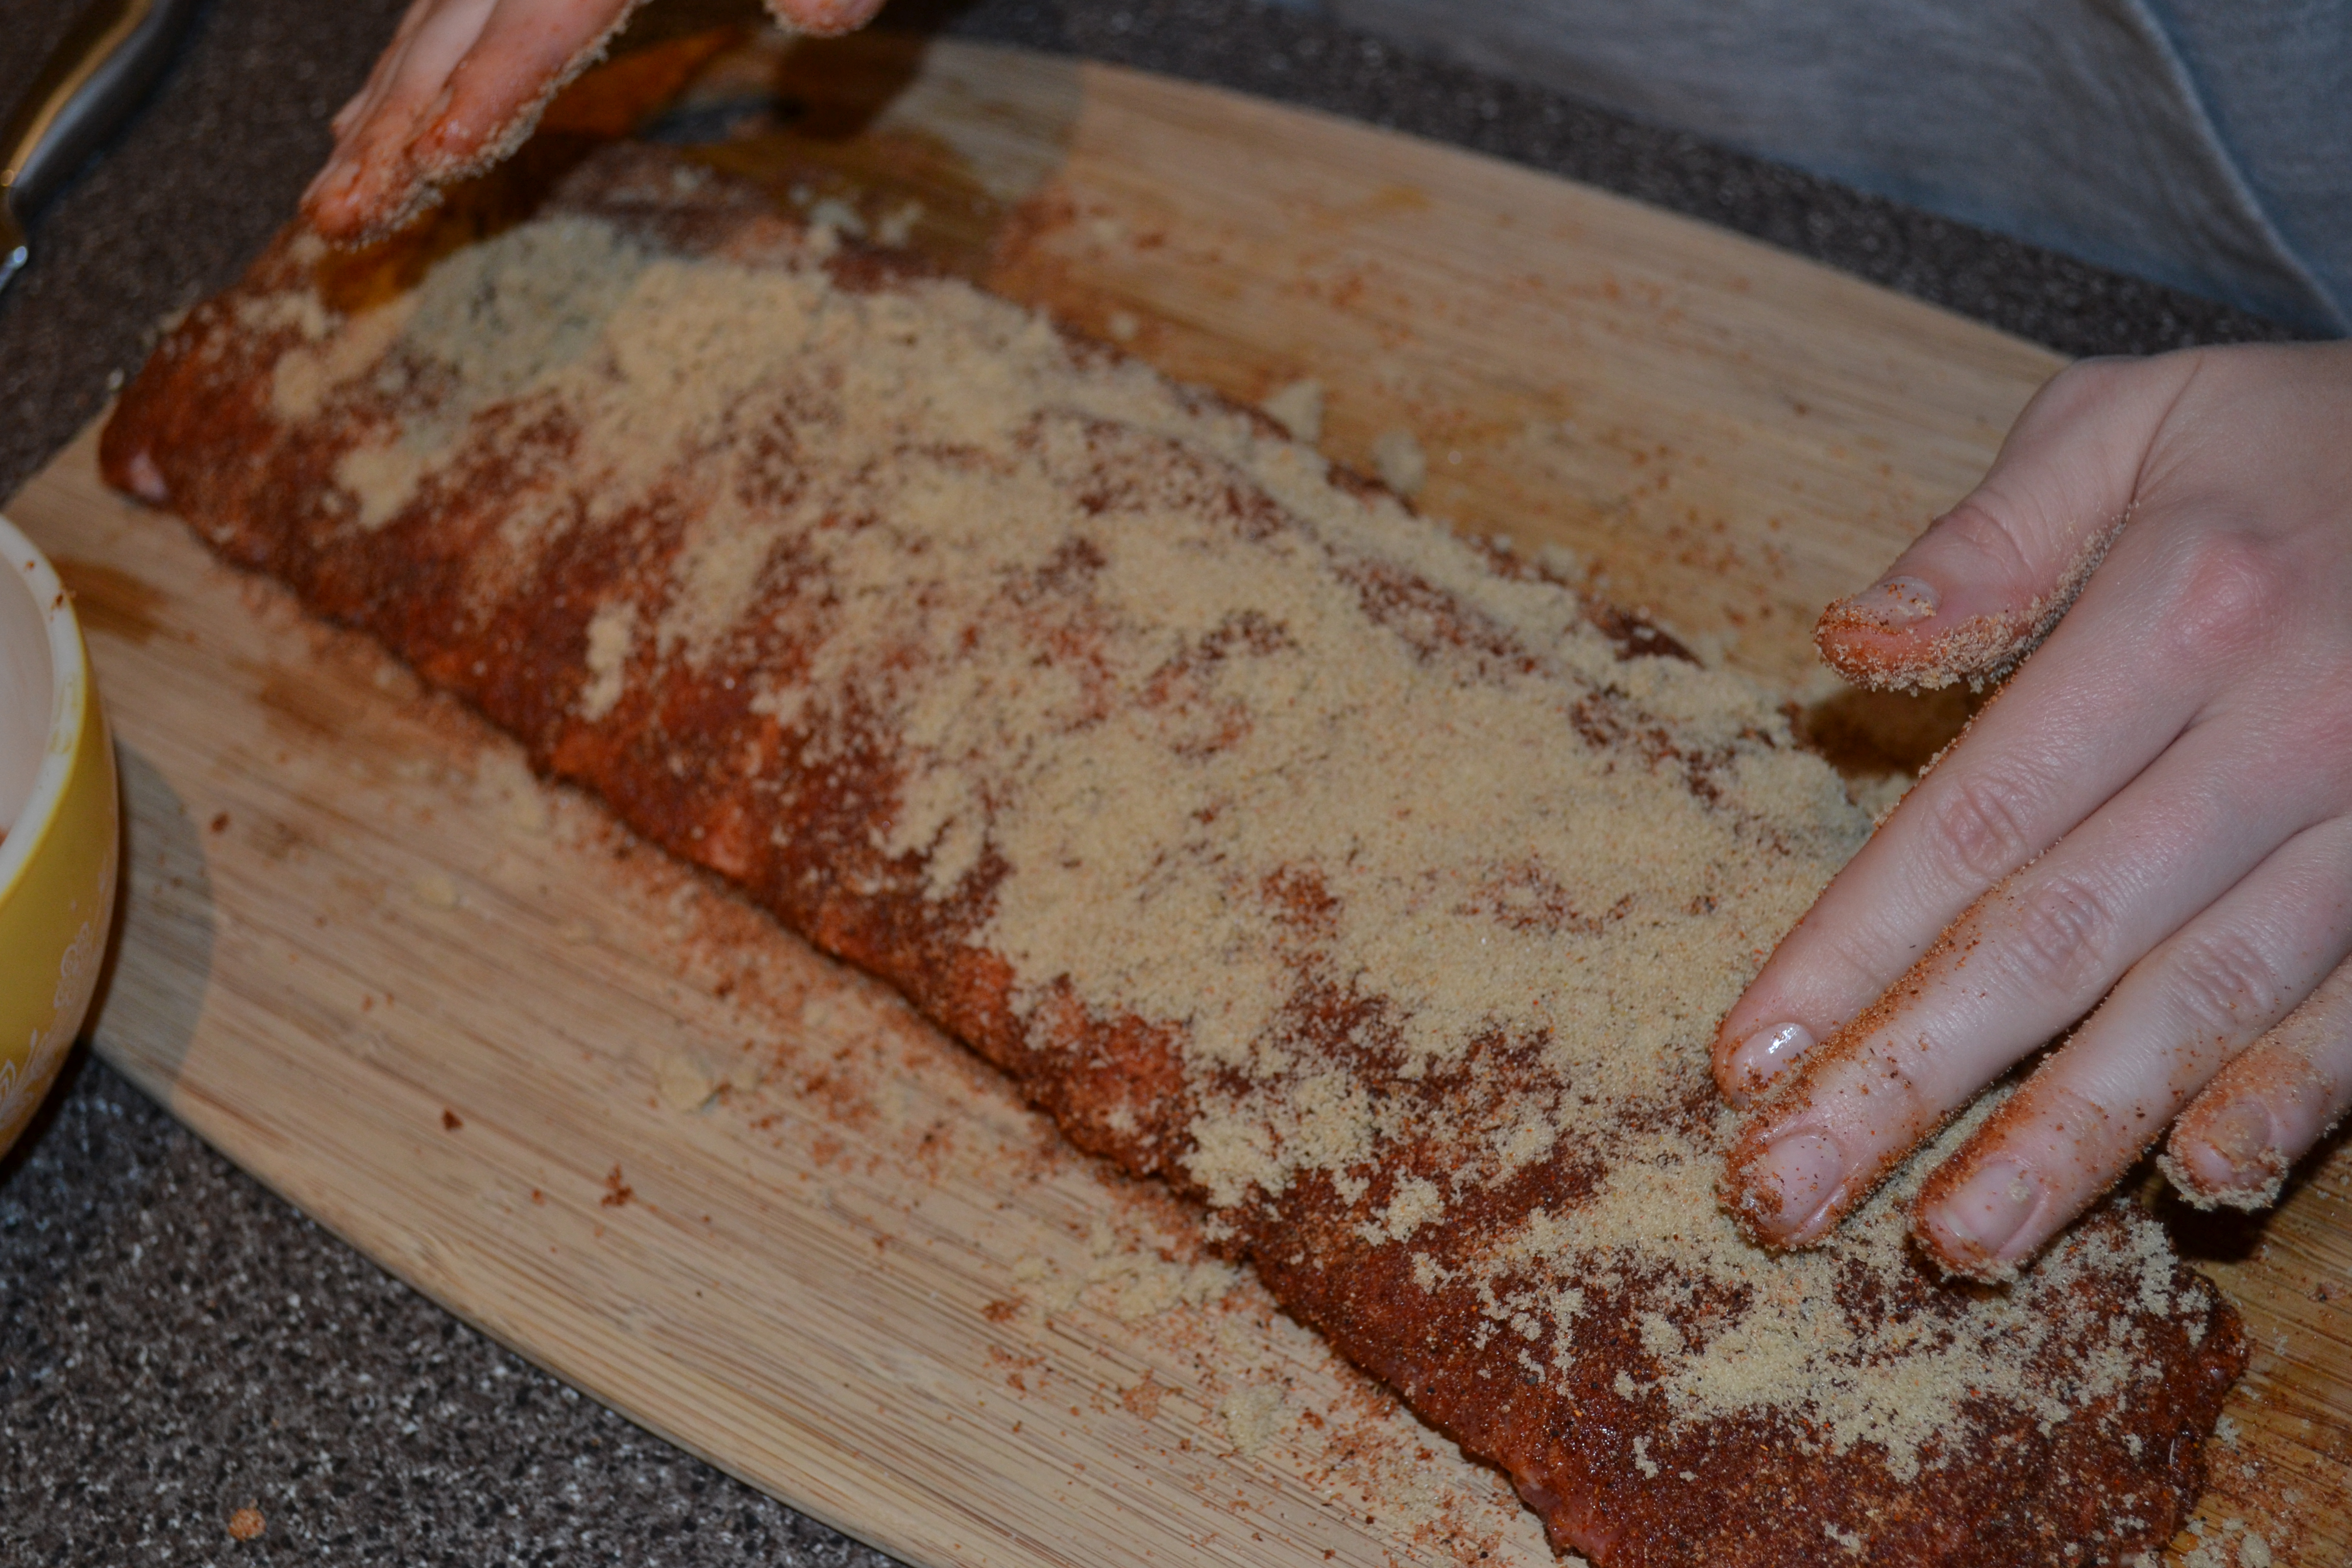
Adding the brown sugar to the top of the spices
4. Wrap the ribs in tin foil and let them sit
This helps the seasoning really get into the meat. I leave mine in the fridge for at least 2 hours. When it’s almost time to start cooking them, I let them rest on the counter for about 30 minutes to an hour so they come up to room temperature.
5. Pre-heat the grill
I always cook the ribs at 250°F over indirect heat. (I accidentally cooked them over direct heat once, they were fine, just not as tender as I like) We have a gas grill so it makes keeping an eye on the temperature very easy!
6. Cooking time!
I’ve learned that it usually does not take as much time to cook the ribs as the package recommends. The USDA recommends that you cook pork to an internal temp of 160°F, so I absolutely make sure I get the meat up to temperature! But on average, my 2 1/2lb rack of ribs takes about 2 hours to cook.
Every 30 minutes I flip the ribs over to the other side for even cooking. When I get to the 1:50 minute mark, I go check the temp of the ribs and if we’re close to 160°F, I’ll baste the top of the ribs with bar-b-que sauce and let it cook for the last 10 minutes, or until it’s up to temperature.
7. Let the ribs rest
After they are done, I have to exercise a lot of patience to cover the ribs in tin foil and let them rest for about 15 minutes. In reality, it helps us set the table and make sure everything else is done.
8. Cut the ribs along the bone and enjoy!
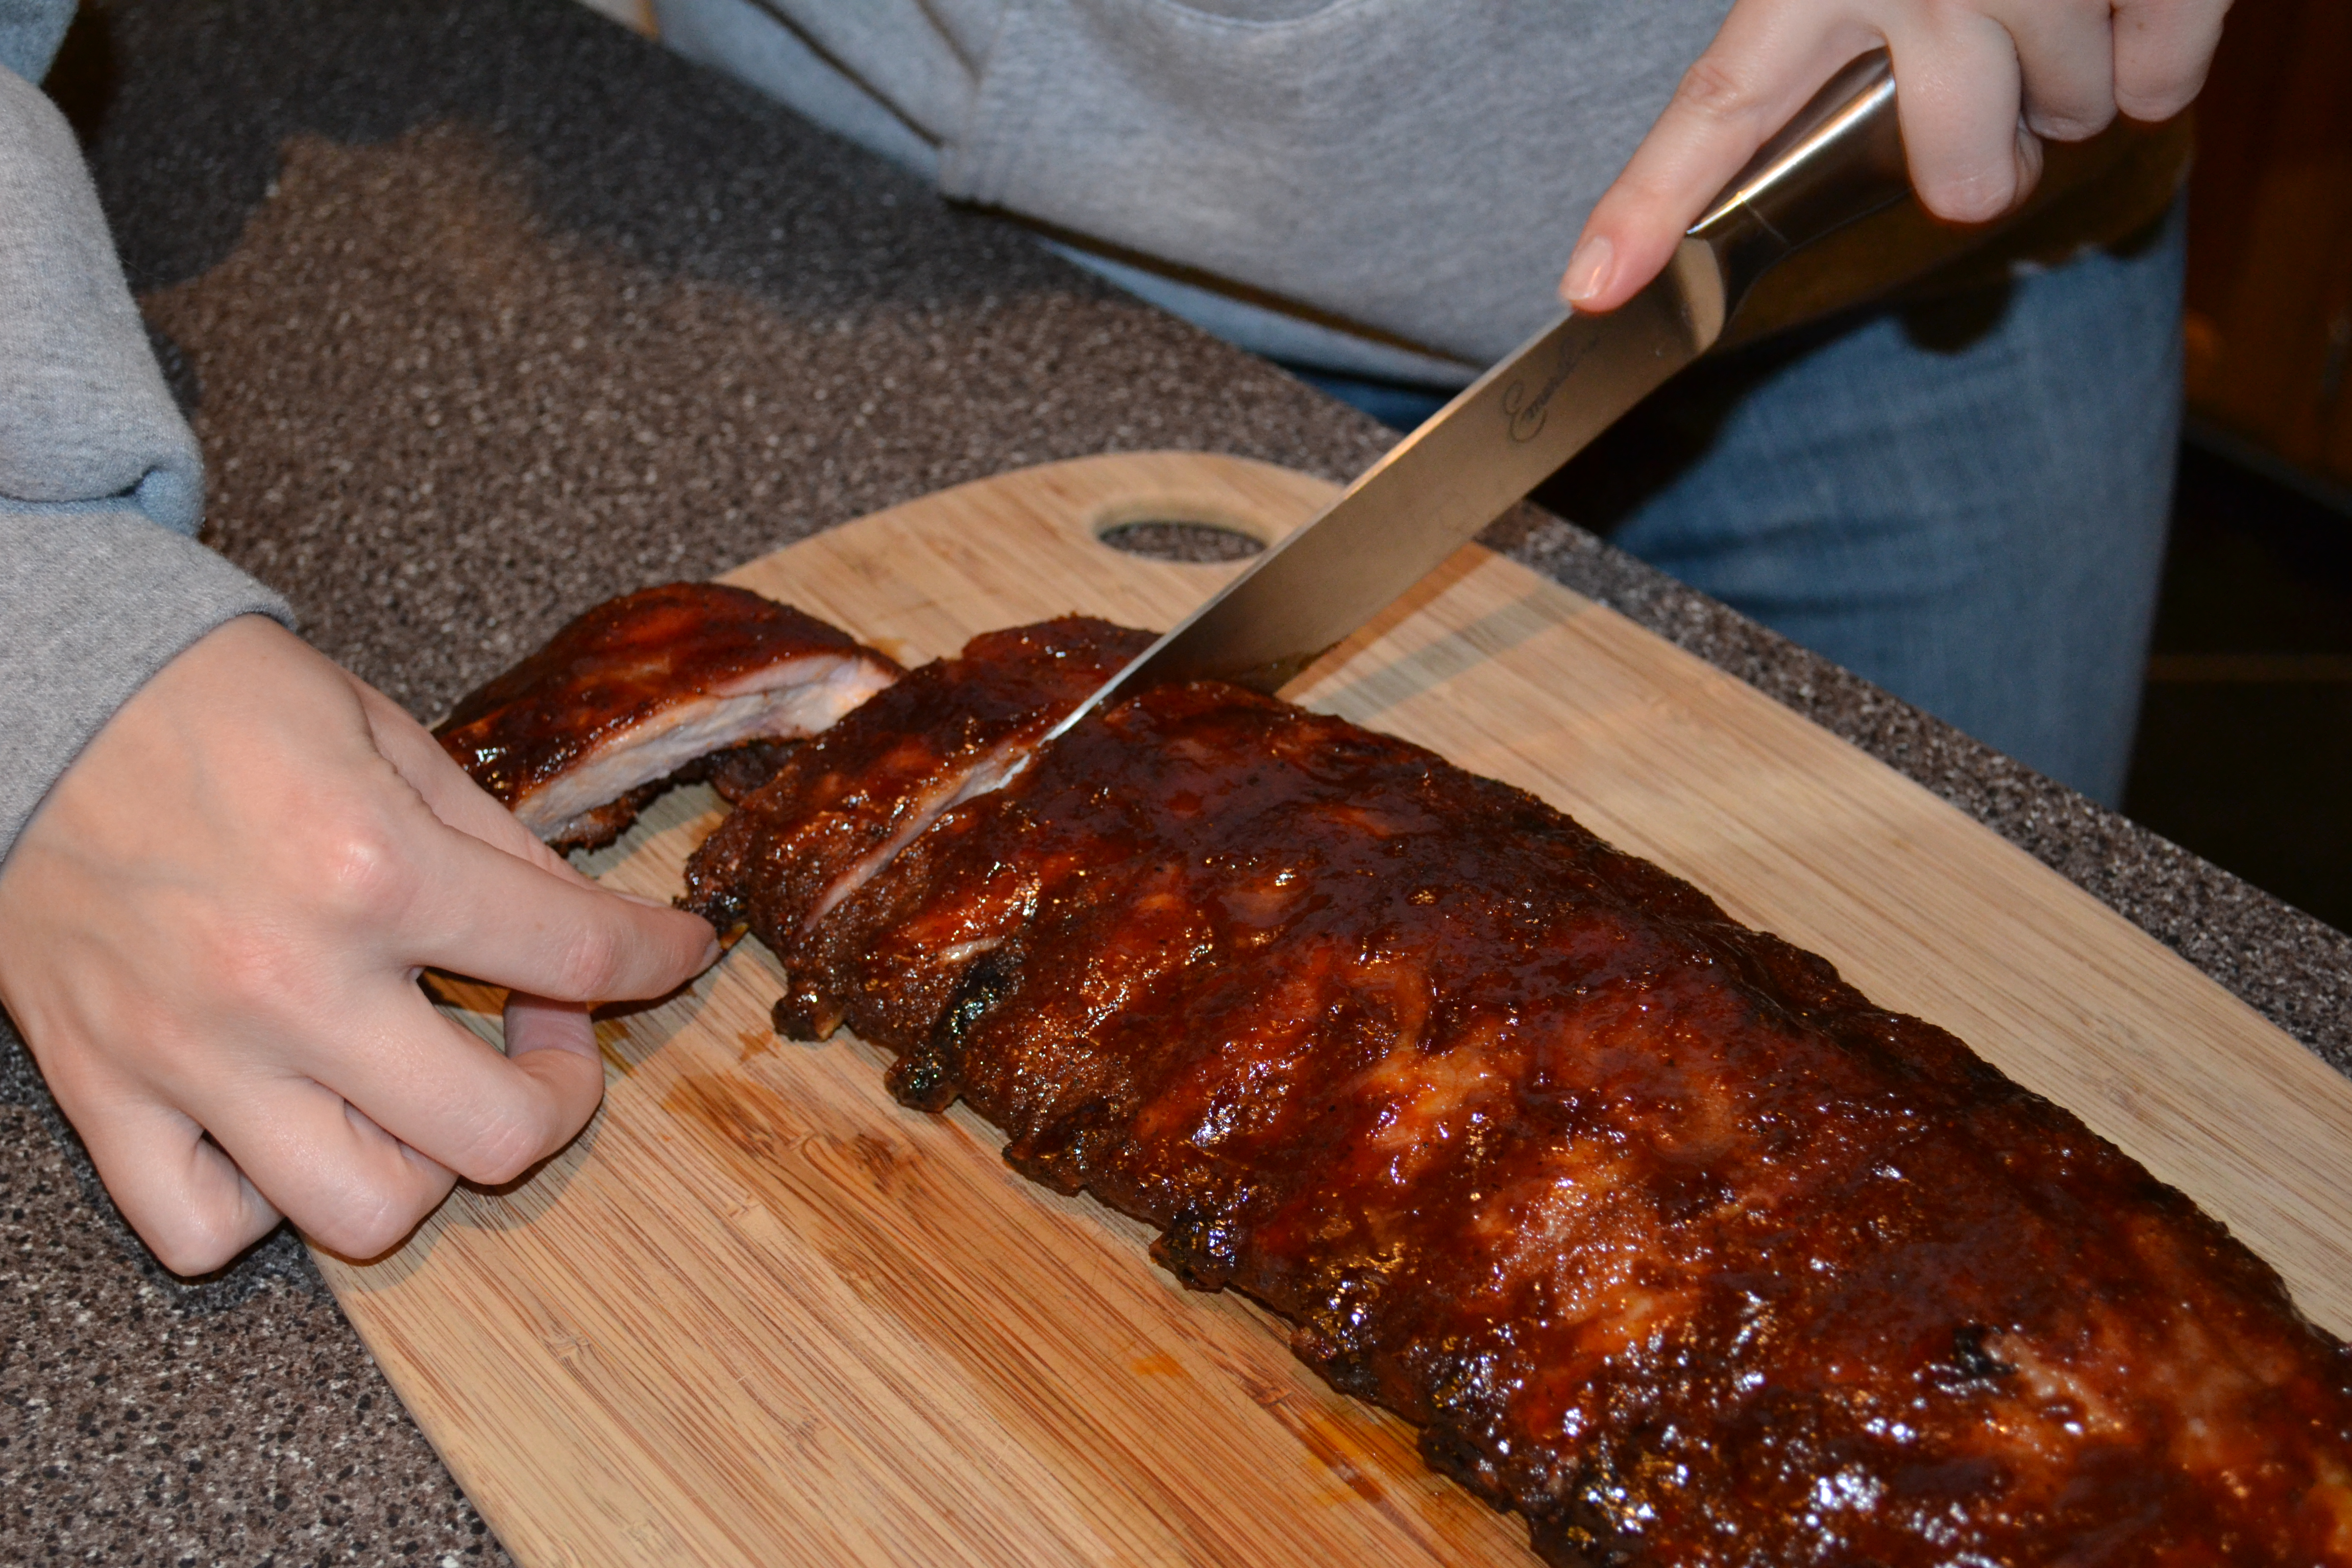
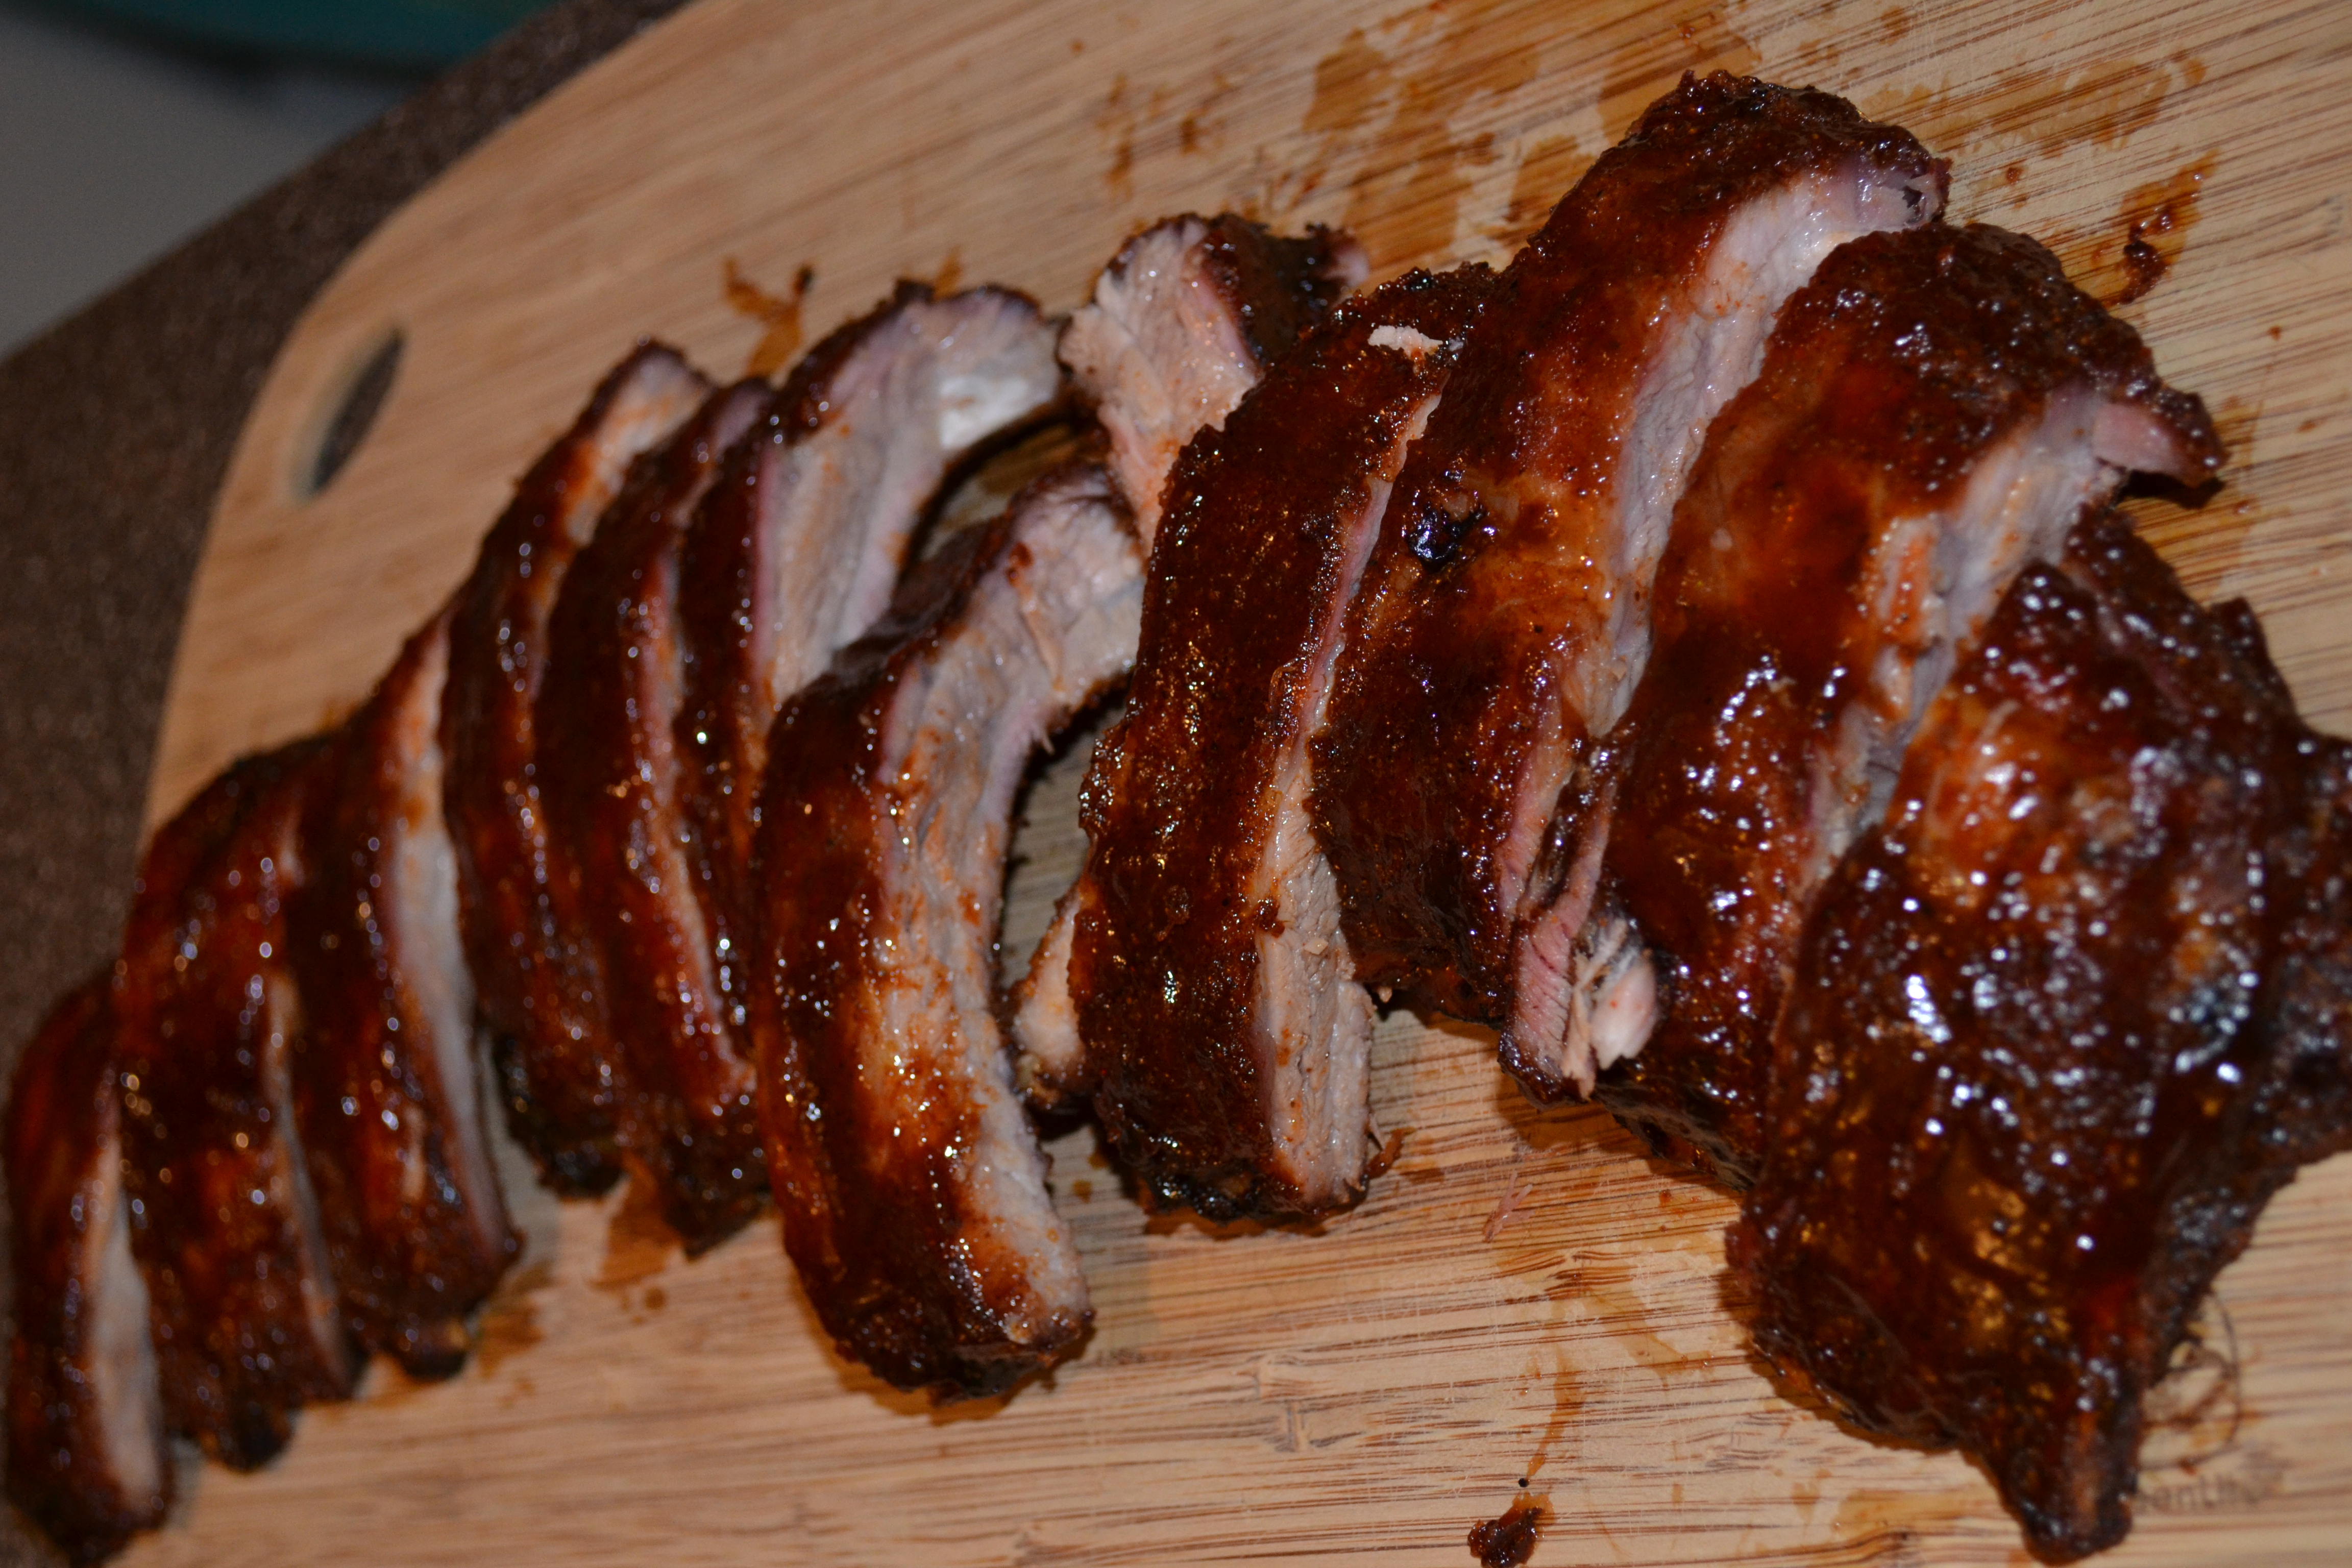
Finished Ribs all ready to eat
It does take about 5 hours total with prep time, but since a lot of the time is spent with the ribs resting, the entire process is really pretty easy! So what’s your favorite food to cook on the grill?
Important Healthy Facts:
Time: 3 hour prep time, 2 hour cook time
Yields: 3-4 servings (4-5 ribs per/person)
Calories: appx. 232 (this is just for the meat and does not include the brown sugar or bar-b-que sauce if you used any)